
Rambler 1963-1964 Strut bushing fabrication and replacement
The problem here is that the original part, an overly-complicated two piece
assembly, is made of rubber. Old rubber. Newly-manufactured parts are simply
not available, and there is no substitute from other years. New-old-stock parts
are available; mine lasted four (4) days before splitting (I actually drive my
car, on real roads; they’re probably OK for a museum car). This design was
used only on the early cars; I believe the design was changed to the more
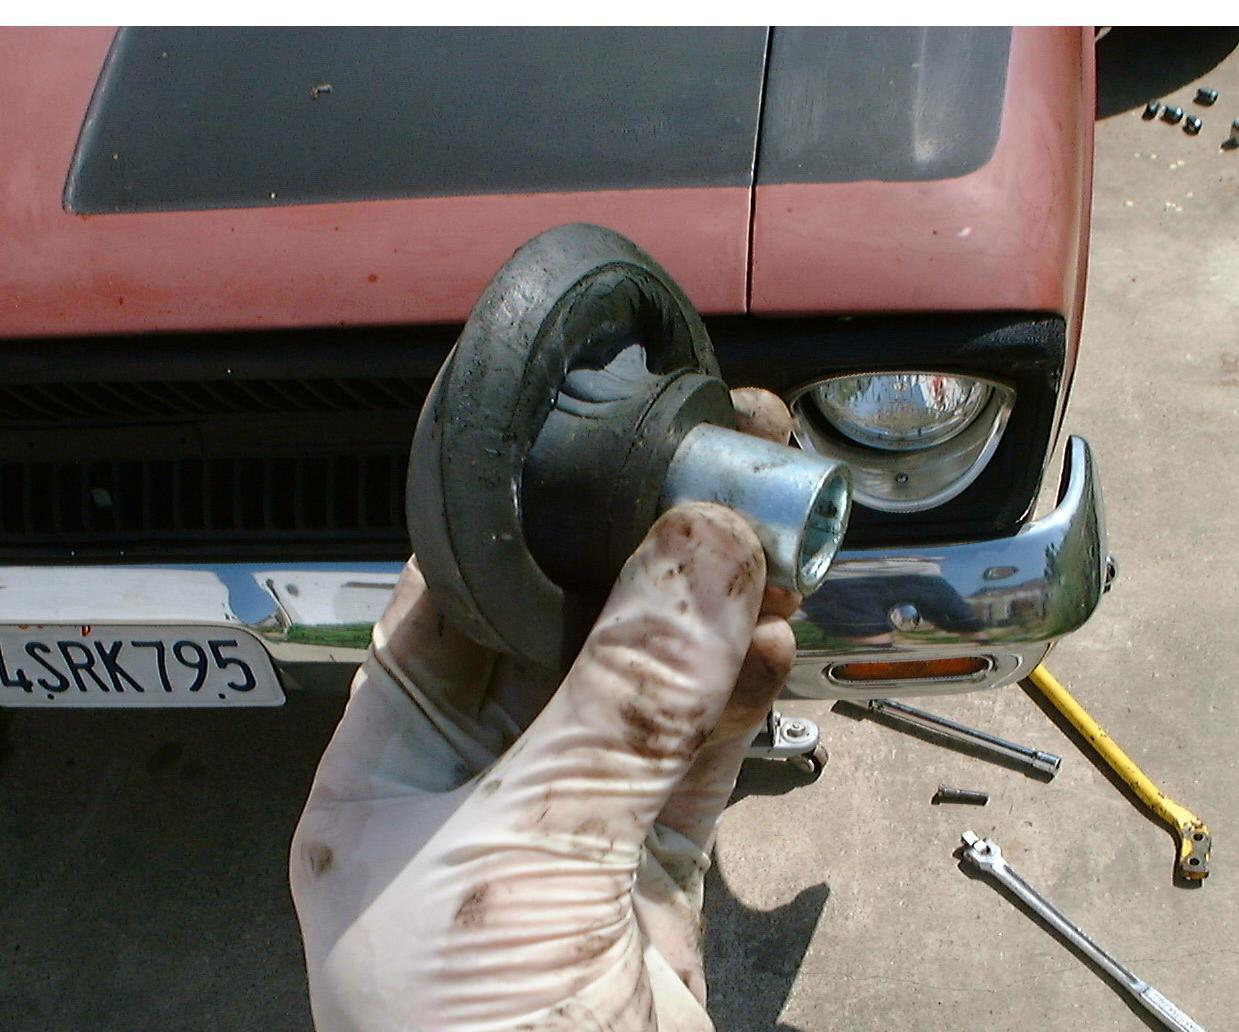
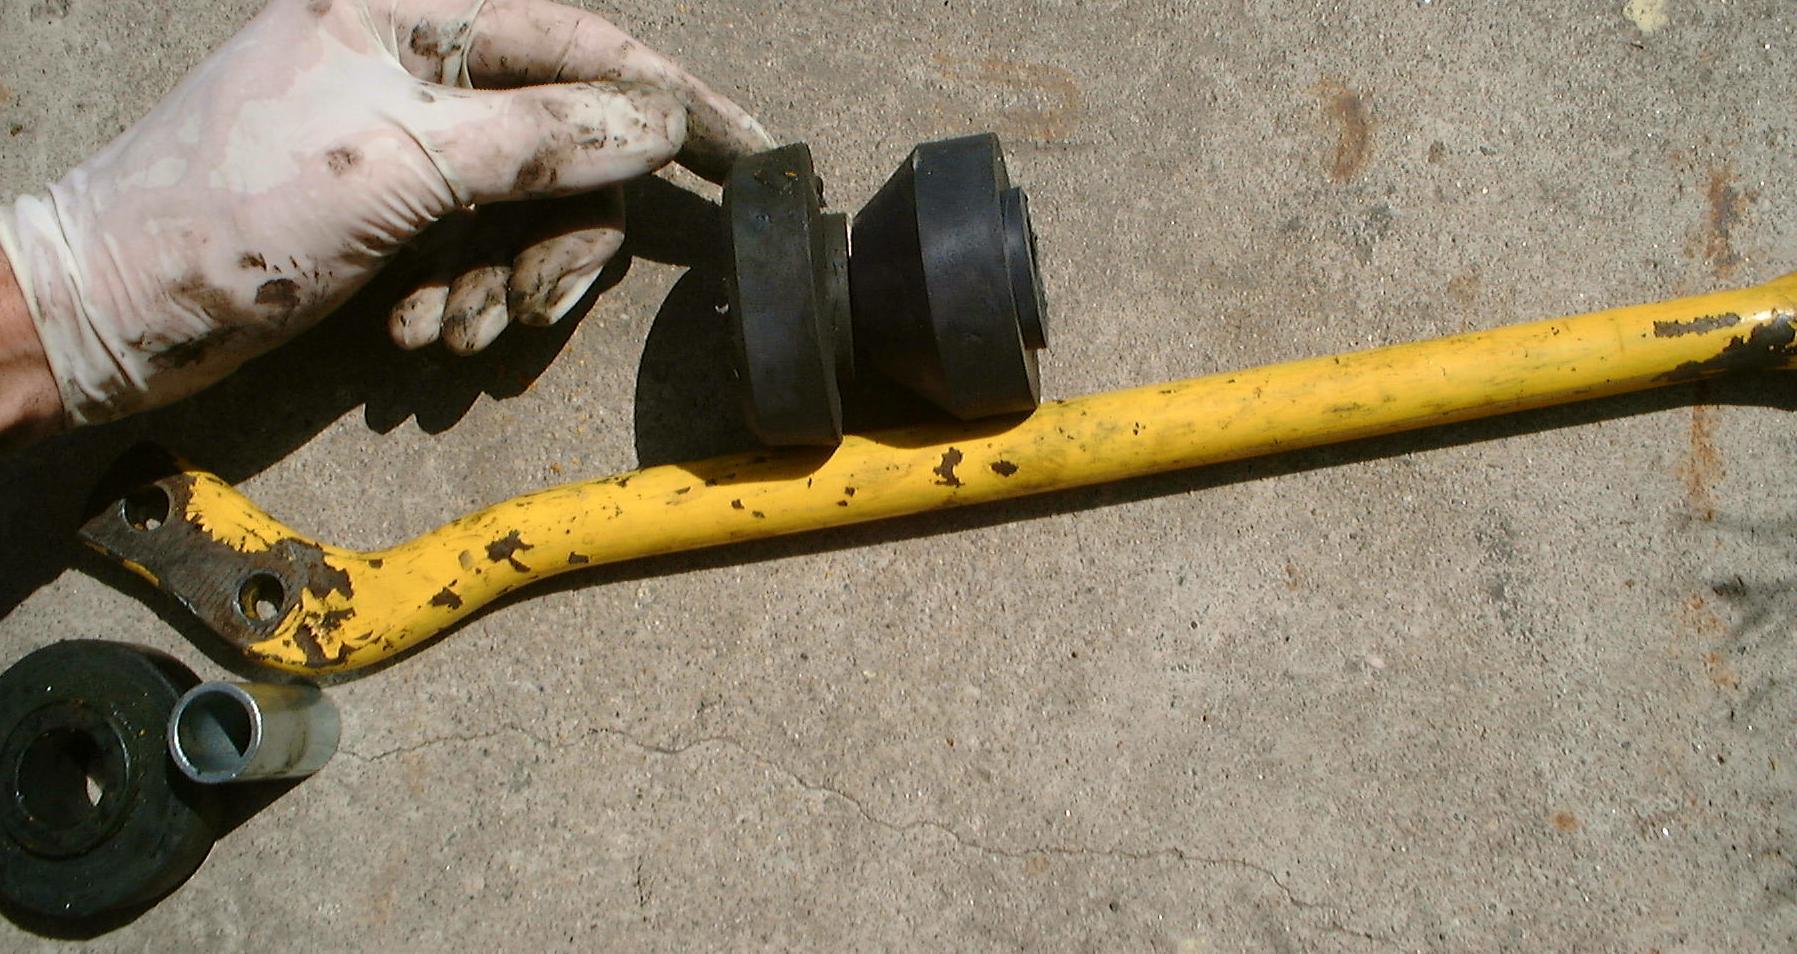
typical two-piece rubber job in 1965. (In the photo on the right, a blown-out
factory bushing is compared to a “late model” style bushing.)
For such a simple part, I spent an awful lot of time getting this right!
I can personally attest that no matter what anyone tells you,
1965-up strut bushings do not and will not fit. 1965-up strut
rods will not fit either. (The length is correct, but the angle of the tang
that bolts to the lower arm is incorrect.)
(For comparison purposes, take a look at modern-type strut
bushings in various states, in my 1970 Hornet.)
The solution requires some machining of plastic parts; it can be done on a
drill press.
To summarize before I get to the details of my solution:
The problem is that the installed thickness of the original strut bushing is
very thin, approximately 3/4″ to 7/8″ thick (measured from the dished “washer”
to the strut bushing bracket). The more-modern system uses a bushing that is
2.5″ thick. Even if you managed to cram it in there, it would exert tremendous
forward force on the lower arm, dangerously stressing the thin inner end, and
would put off-axis force on the trunnion. Don’t go there and do that.
What doesn’t work!
It seems obvious to cut down a modern replacement to the correct thickness
and I did just that; and it worked great for a day or two. I was surprised at
the results, which you can see here.
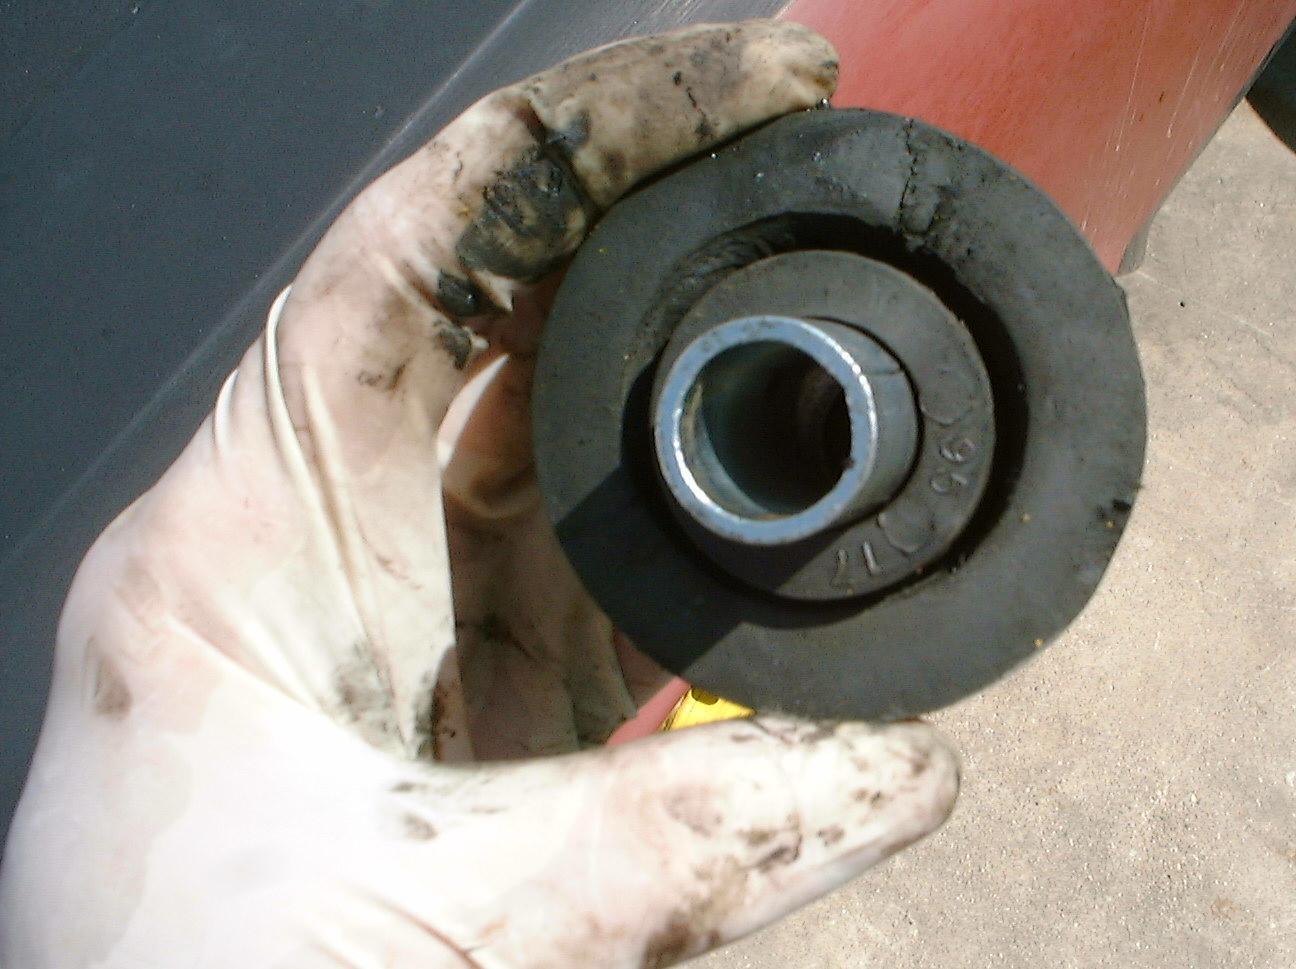
Basically, the overall strength of the cut-down bushing plummeted, the
over-3″ dished washer pushed through the 1″ center hole! Once this happened,
turning the wheels lock to lock would push the dished washer in and out of this
small hole; quite a sight!
My solution is to retain the modern two-piece bushing design, but to use
suitable materials to get the necessary strength. The new bushing design had to
be short enough to maintain proper geometry, but strong enough to absorb the
substantial energy that strut bushings are meant to absorb.
The trick was to use different materials for the front and rear halves of
each bushing pair; the front half is a modified urethane aftermarket part, the
rear stock rubber.
The front bushing half maintains correct geometry, and works as new designs
do (eg. the dished washer is concave-side-rear; stock 1963 is convex-side-rear)
and transmits forward energy (like whacking a curb) to the chassis. The rear
bushing being rubber deforms as necessary as the suspension travels up and
down, and since it is of stock thickness, is strong enough to survive when
rear-directed energy (eg. potholes in reverse, lock-to-lock, etc) is applied.
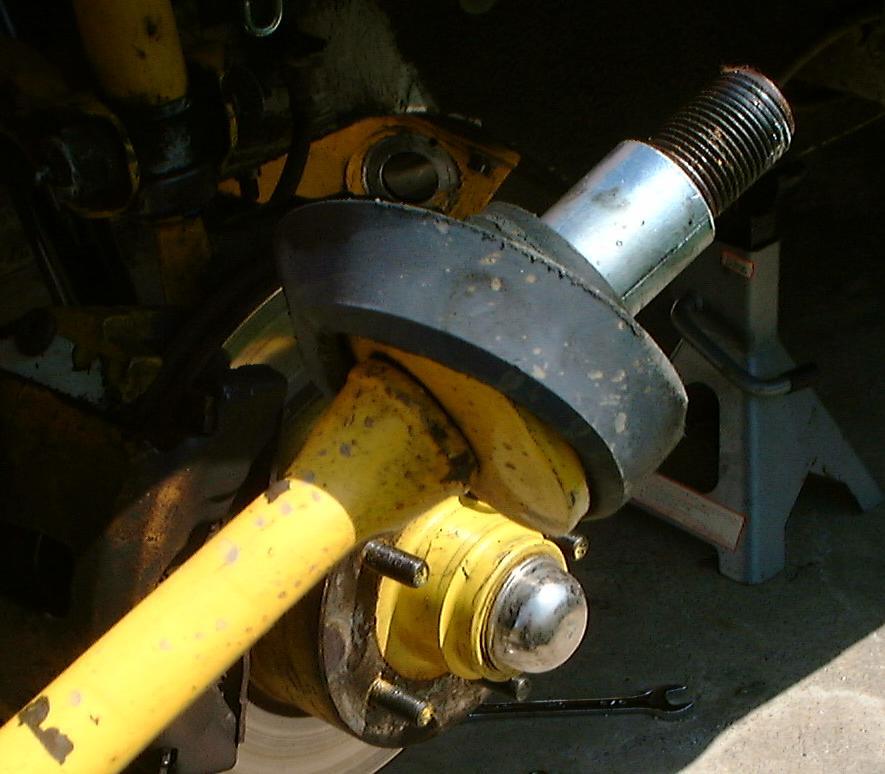
There are two other minor problems with this arrangement: One, the overall,
assembled length is longer than stock (short urethane in front + stock rubber
in rear), therefore the castellations on the big nut don’t reach the cotter
hole. The fix is to use the modern-style steel inner sleeve, supplied with both
bushing kits, cut down to 1-3/4″ (CHECK THICKNESS!), replace the castle nut
with a plain nut, and use Loctite. Two, urethane groans. It’s surface durometer
is so much higher that it grabs the bearing metal parts, and oscillates like a
tight string. The method I used to make the bushing (below) creates a surface
that groans less than a smooth surface, but it isn’t silent. Greasing makes it
so, but doesn’t last. Some have suggested drilling the dish washer for a grease
fitting, but the effects of lubing it seem only to last a week or two.
Fabricating a proper strut bushing
I purchased two sets of bushings; a stock set for application 80-83 Concord,
MOOG #K3090, Perfect Circle #FA685. These should be easy to find. I also
purchased a set of urethane bushings, but I neglected to record the part
number; they are dimensionally identical to the stock ones above and are also a
Jeep part; nearly any late (1980+) urethane strut bushing should be correct.
Note that it MUST be urethane!

By measuring two other assembled 1963 cars I determined the approximate
installed effective length of the front half of the bushing to be 3/4″ to 7/8″.
Since urethane compresses very little, I cut down a urethane bushing half, one
for each side, and shaped it to fit.
First I sawed each bushing in half, saving the “inside” portion, the part
with the step that fits into the bracket on the chassis. I cut it approximately
1″ thick with a cutoff saw in my mill-drill; I clamped the steel inner sleeve
(that comes with each bushing kit) into the vice so that it stuck up about 3/4″
and pushed the bushing stepped-part down onto it. This kept it flat and level
as I cranked the table horizontally against the cutoff sawblade. You could
probably achieve a less precise result by claming the sleeve in a vice
horizontally and cutting the bushing with a hand hackshaw, rotating the bushing
as you go.
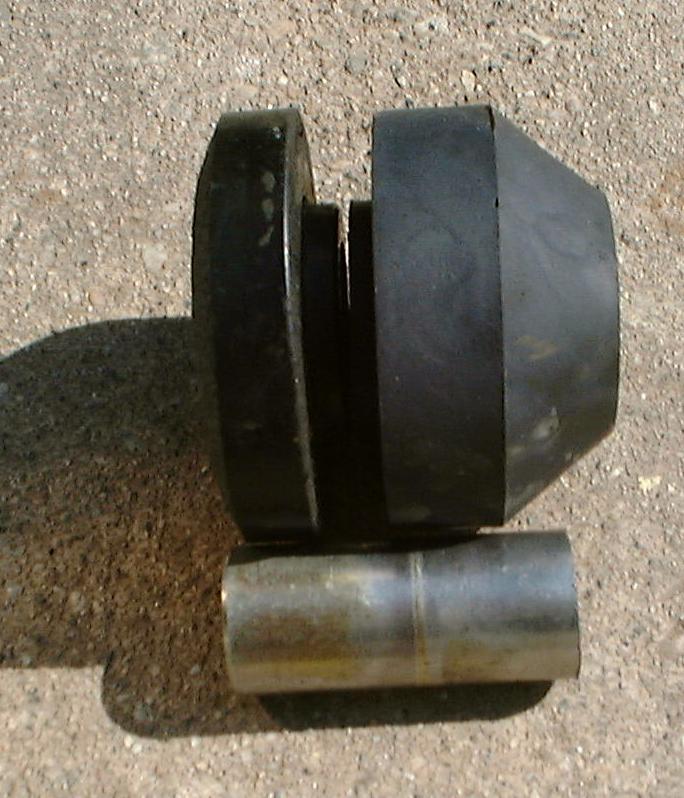
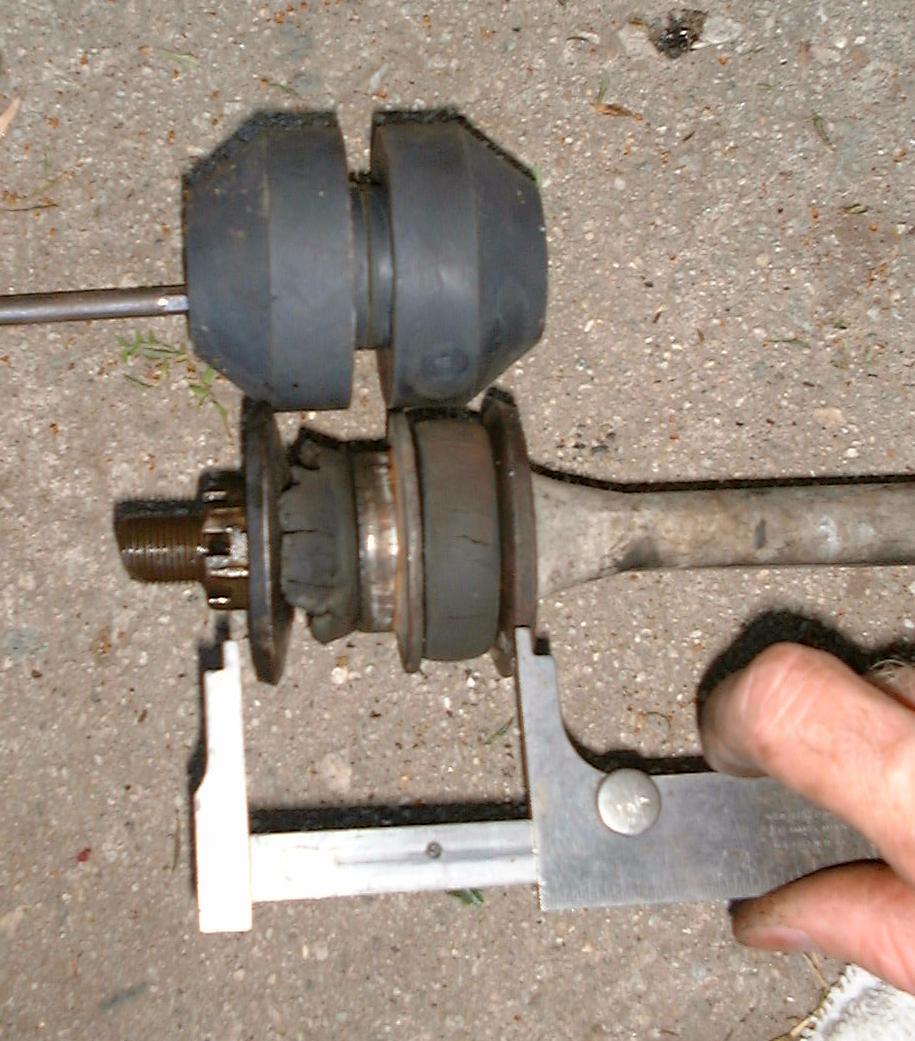
(To the left is the completed bushing assembly prior to installation.)
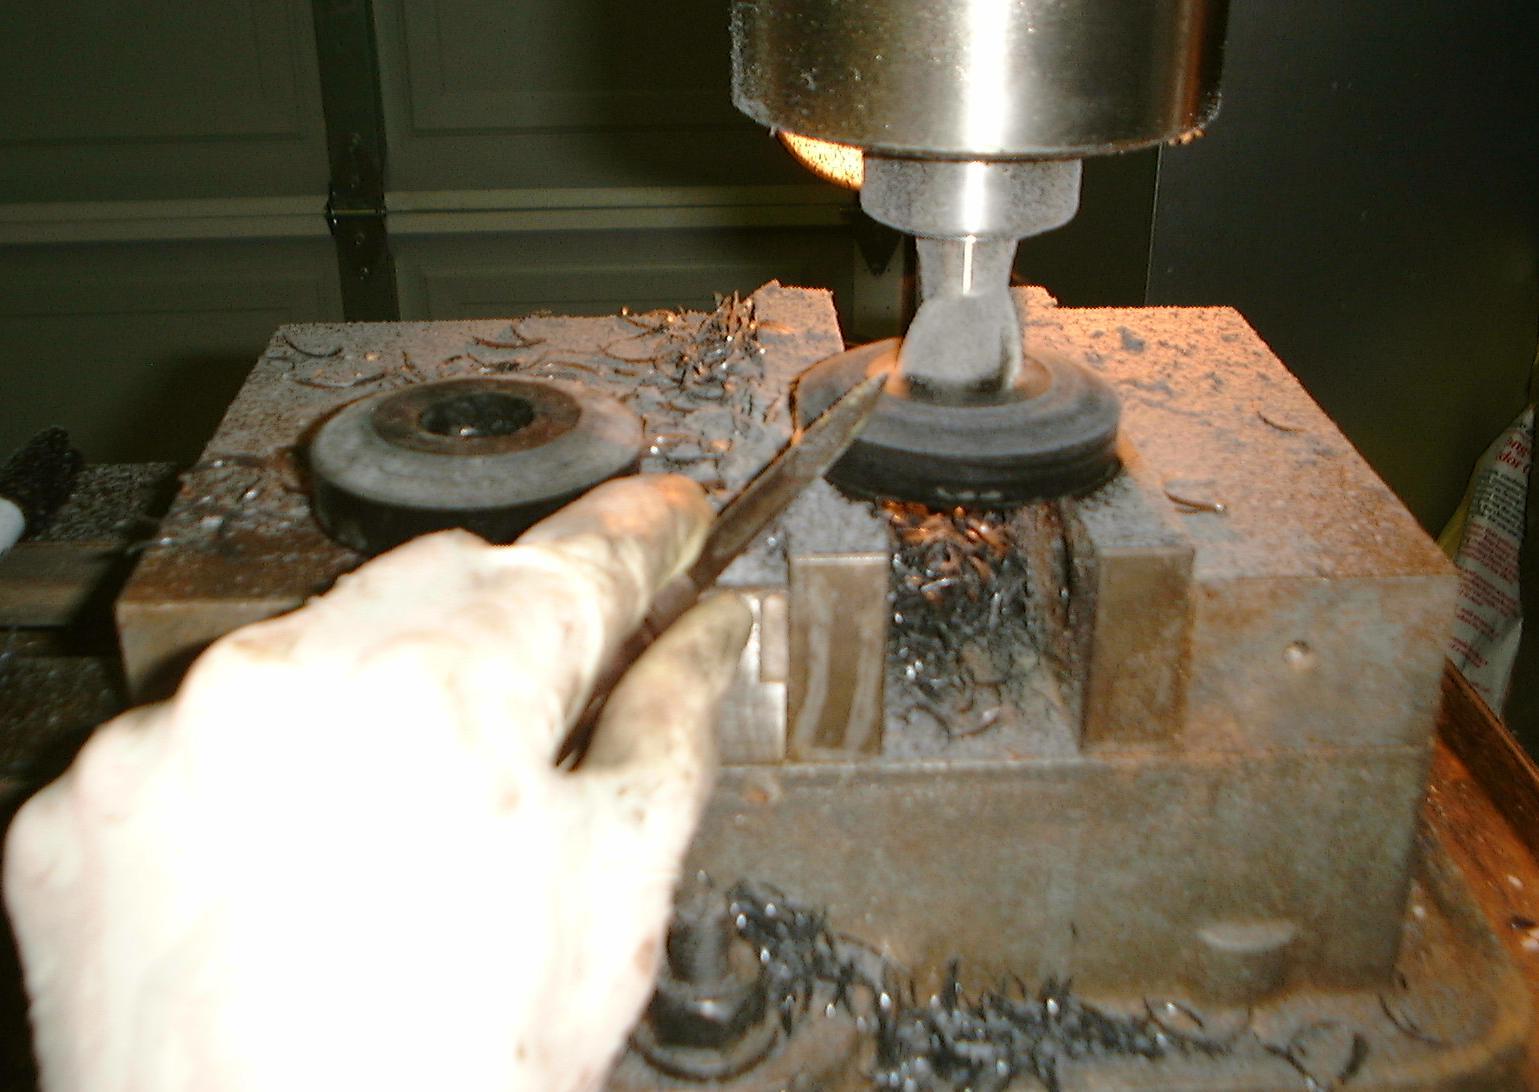
Next, I chucked this half into my mill-drill (a drill press will do).
Chucking urethane ain’t easy — obviously it deforms if you squeeze it. What
worked for me was to use a 1″ mill bit and just jam the bushing on it; then I
ran the bushing-jammed-into-bit down so that the bottom of the bushing ran
against the top of my big vice, opening the jaws such that it straddled the
stepped backside of the bushing, and applied oil, and turning the motor on. The
bushing ran nice and smooth and flat across the vice top surface.
Then I took a three-cornered knife and radiused the top of the bushing to
match the concave part of the strut rod dished washer. Basically I rocked the
knife over the bushing, cutting off material until it looked right, removed it
from the mill-drill and checked against the washer, and repeated as
necessary.
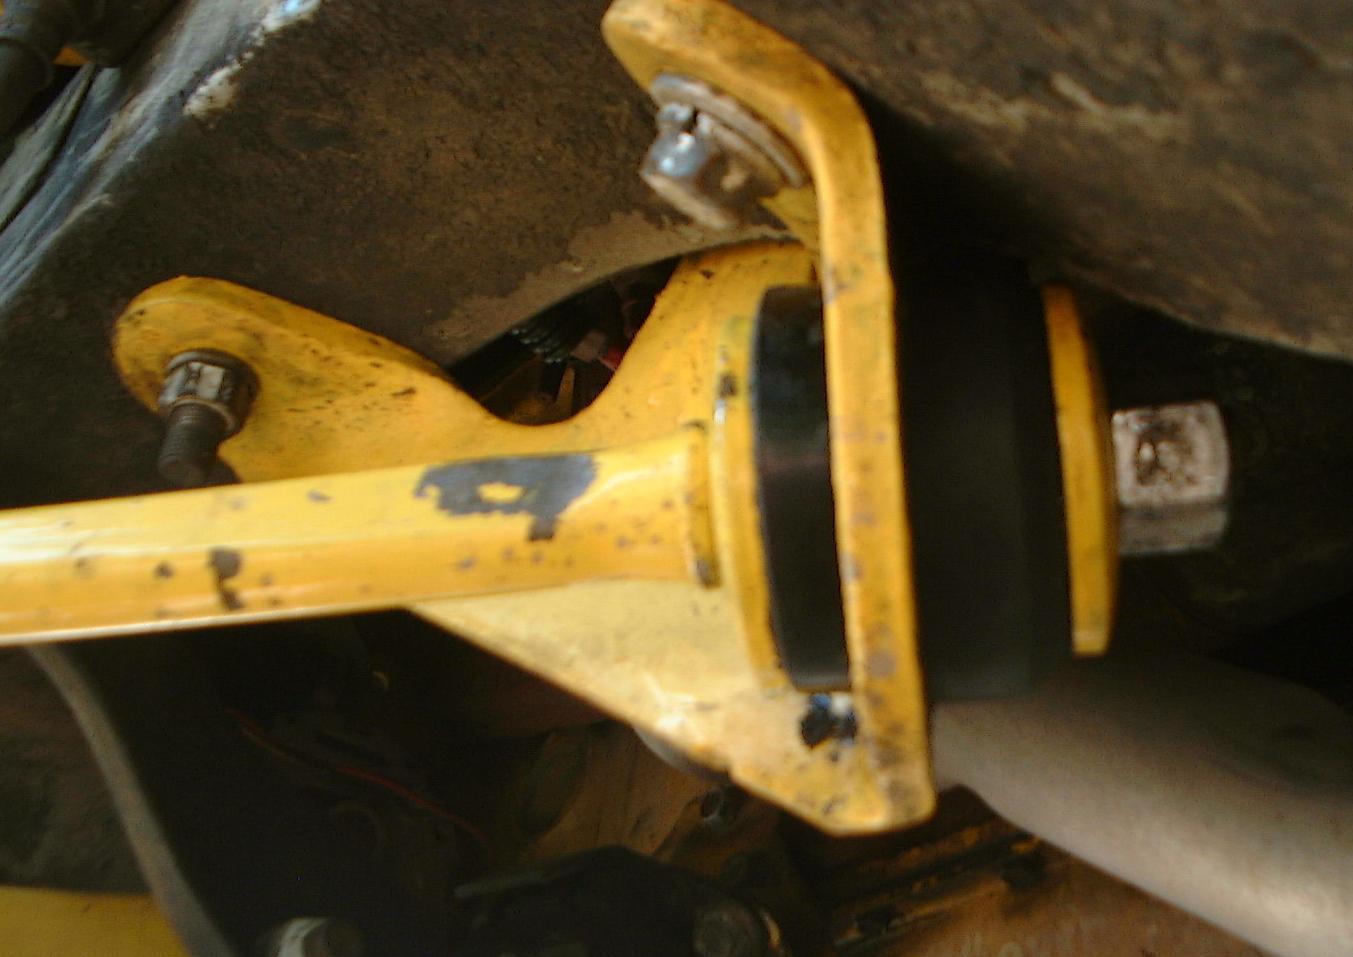
Here you can see the assembled unit; note the unsymmetrical bushing
thicknesses. However, geometry is now perfectly correct, the urethane part
should last a long time, and since the original design and metal parts are
retained, it should be as safe as stock.
Deprecated: File Theme without comments.php is deprecated since version 3.0.0 with no alternative available. Please include a comments.php template in your theme. in /home3/amcmagc1/public_html/wp-includes/functions.php on line 6114
Leave a Reply