
Aftermarket A/C installation
Written by Tom Jennings August 2008, edited by Frank Swygert 02-02-2026
This isn’t a complete how-to, it’s a somewhat complicated job, but this should cover the high points of retrofitting a Vintage Air or other aftermarket add-on A/C system into a 1963 Classic or similar car. The engine’s a 1970 232ci six.
Let’s just say I took the long route to getting the job done. I started off trying to mate modern parts (O-ring fittings, Sanden compressor, etc) to a factory built-in evaporator. I don’t want to further embarrass myself by detailing the mistakes, to save you the trouble — the old stuff is all flare fittings, the new stuff all O-ring. I did in fact manage to mate them, with real parts, but it was ugly; also the low (suction)
side on all the new gear is #10 hose and the old stuff is #8. Even so, it would probably have worked adequately well if, after I got it all together, tight and leak-free, I hadn’t discovered that the 40-year-old expansion valve was bad. I abandoned this foolishness and bought a new, matching evaporator unit; an under-dash VintageAir that was designed to look old-timey (eg.1960’s).
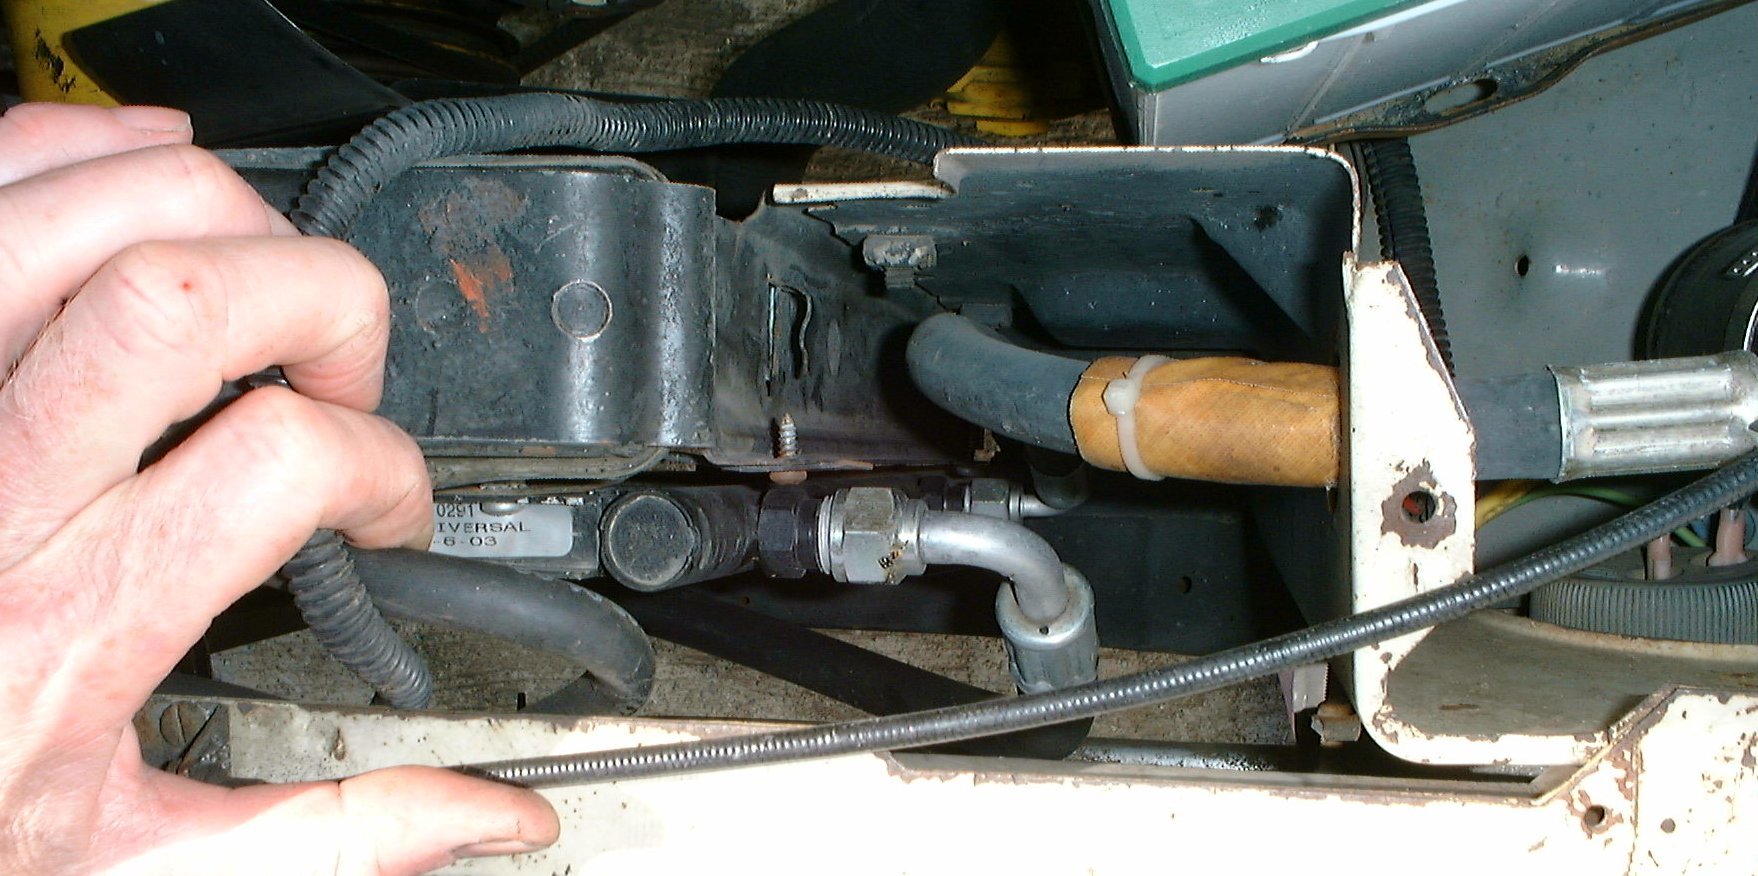
Frank, on the other hand, did get his working that way! He’s using the original 1963 evaporator (his car had factory A/C) and expansion valve with a modern Sanden compressor. He has a 1989 4.0L in his car, and that came with the Sanden style compressor. He had new hoses made by a local (to him) A/C hose shop with o-ring fittings for the compressor and universal replacement drier, and flare fitting for the evaporator. An adapter was used to change the hose size on the low pressure side. New flare fittings are available, but if they can’t be found the old fitting can be re-used. Carefully cut the crimp collar off with a hack saw or Dremel, being careful not to cut all the way through the hose and into the fitting part inside the hose. Pry the collar off and pull the old fitting out of the hose (you will probably need to split the hose to get it out). A local hose shop can crimp a new collar on the old filling. He got lucky and his original expansion valve was good, but you can still get replacements with flare fittings. One source for automotive A/C parts of all kinds is Cold Hose (they have flare and o-ring expansion valves). He adapted a condensor from a Chrysler LHS, which is a parallel flow condensor.
Old vs. new
Unless you’re doing a restoration, I most strenuously suggest a good aftermarket system like Vintage Air. Leave the old factory stuff for the restorers.
Believe me, I’ve done it both ways (or tried to). If it’s a restoration OK, but 40+ years of development has gone into the new stuff, and believe me, you want that! It’s like 6V generator vs. 12V alternator!
The bottom line on compressors is this: the old York style “lawmower engine” compressors are inefficient, large, heavy. The reason the got a bad rep (deserved) is that they are most efficient at low speeds — eg. when idling and in-town. Right when your cooling system is least efficient. At higher speeds, like highway cruise, York-style compressors are less efficient. They are one or two-piston designs that consume
lots of energy. They are all now very old and all need to be rebuilt, period, so they’re not even cheaper.
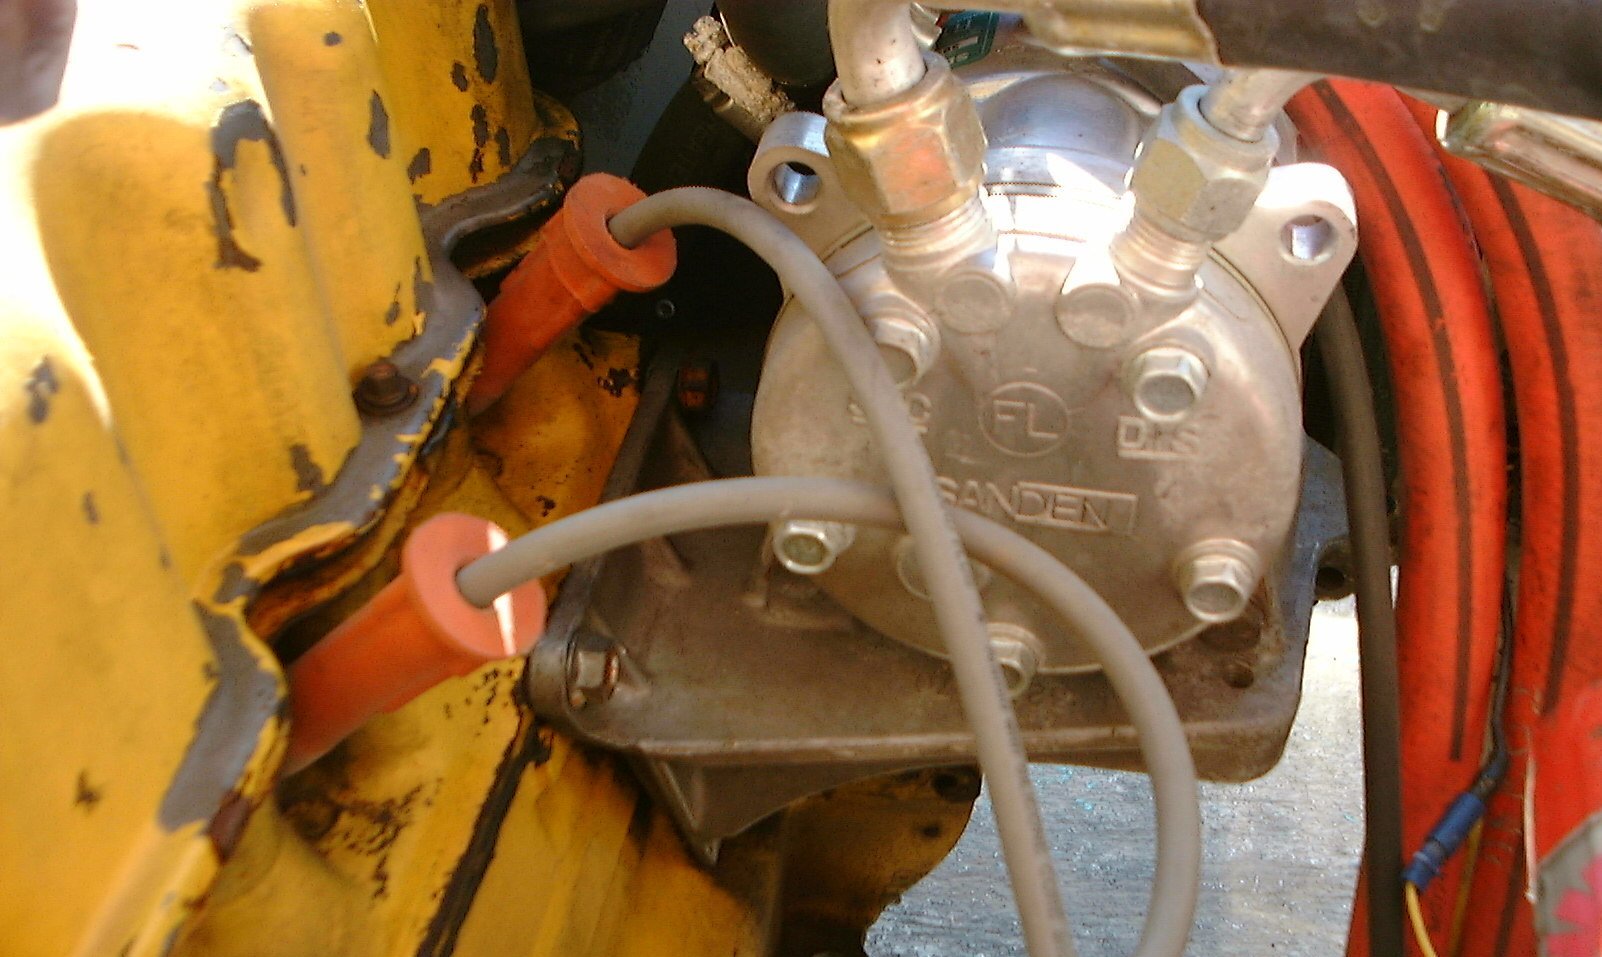
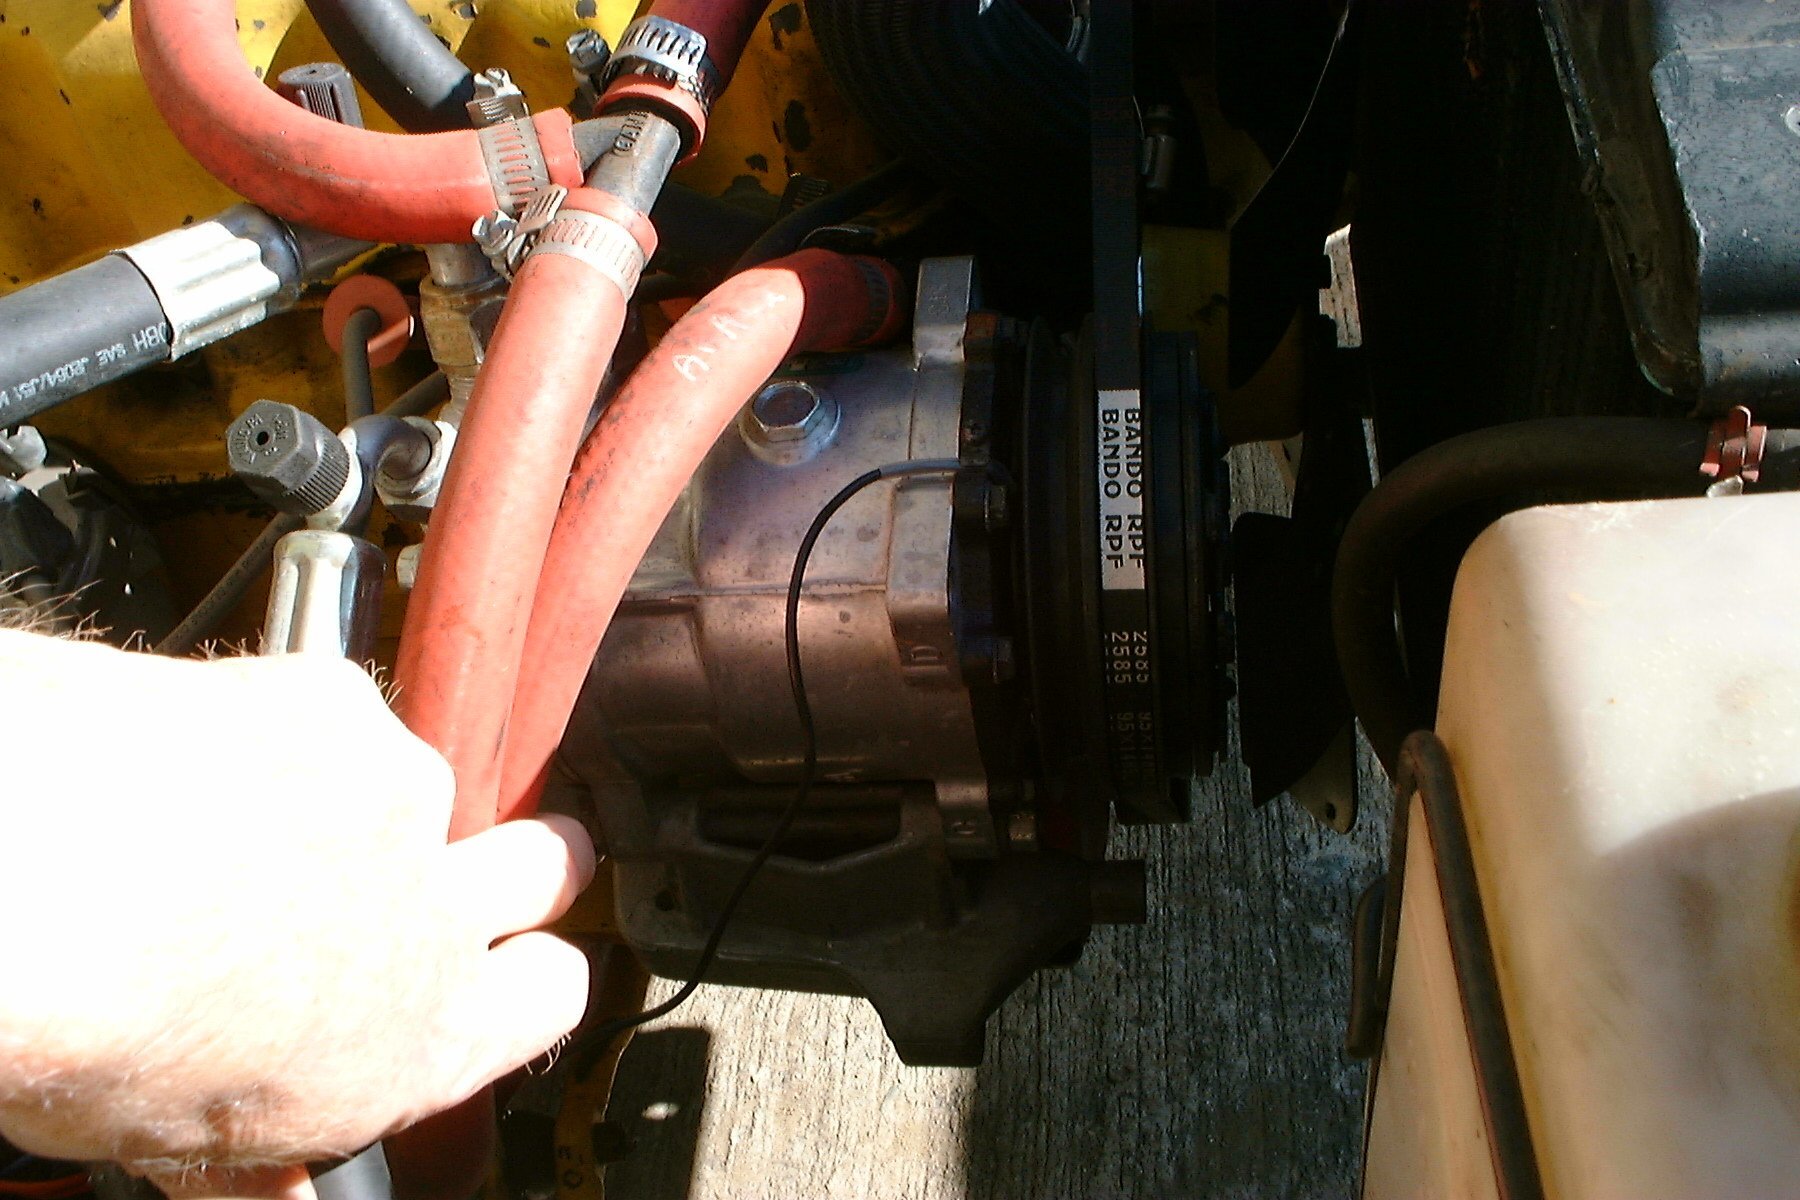
The new Sanden type compressors are small, light, 7-piston designs, that are more efficient at higher speeds. They consume lots less power over all. There’s a mount kit that adapts them to York mounting plates. They are common, available, repairable, new. Cold Hose has the adapters for Sanden and other type compressors.
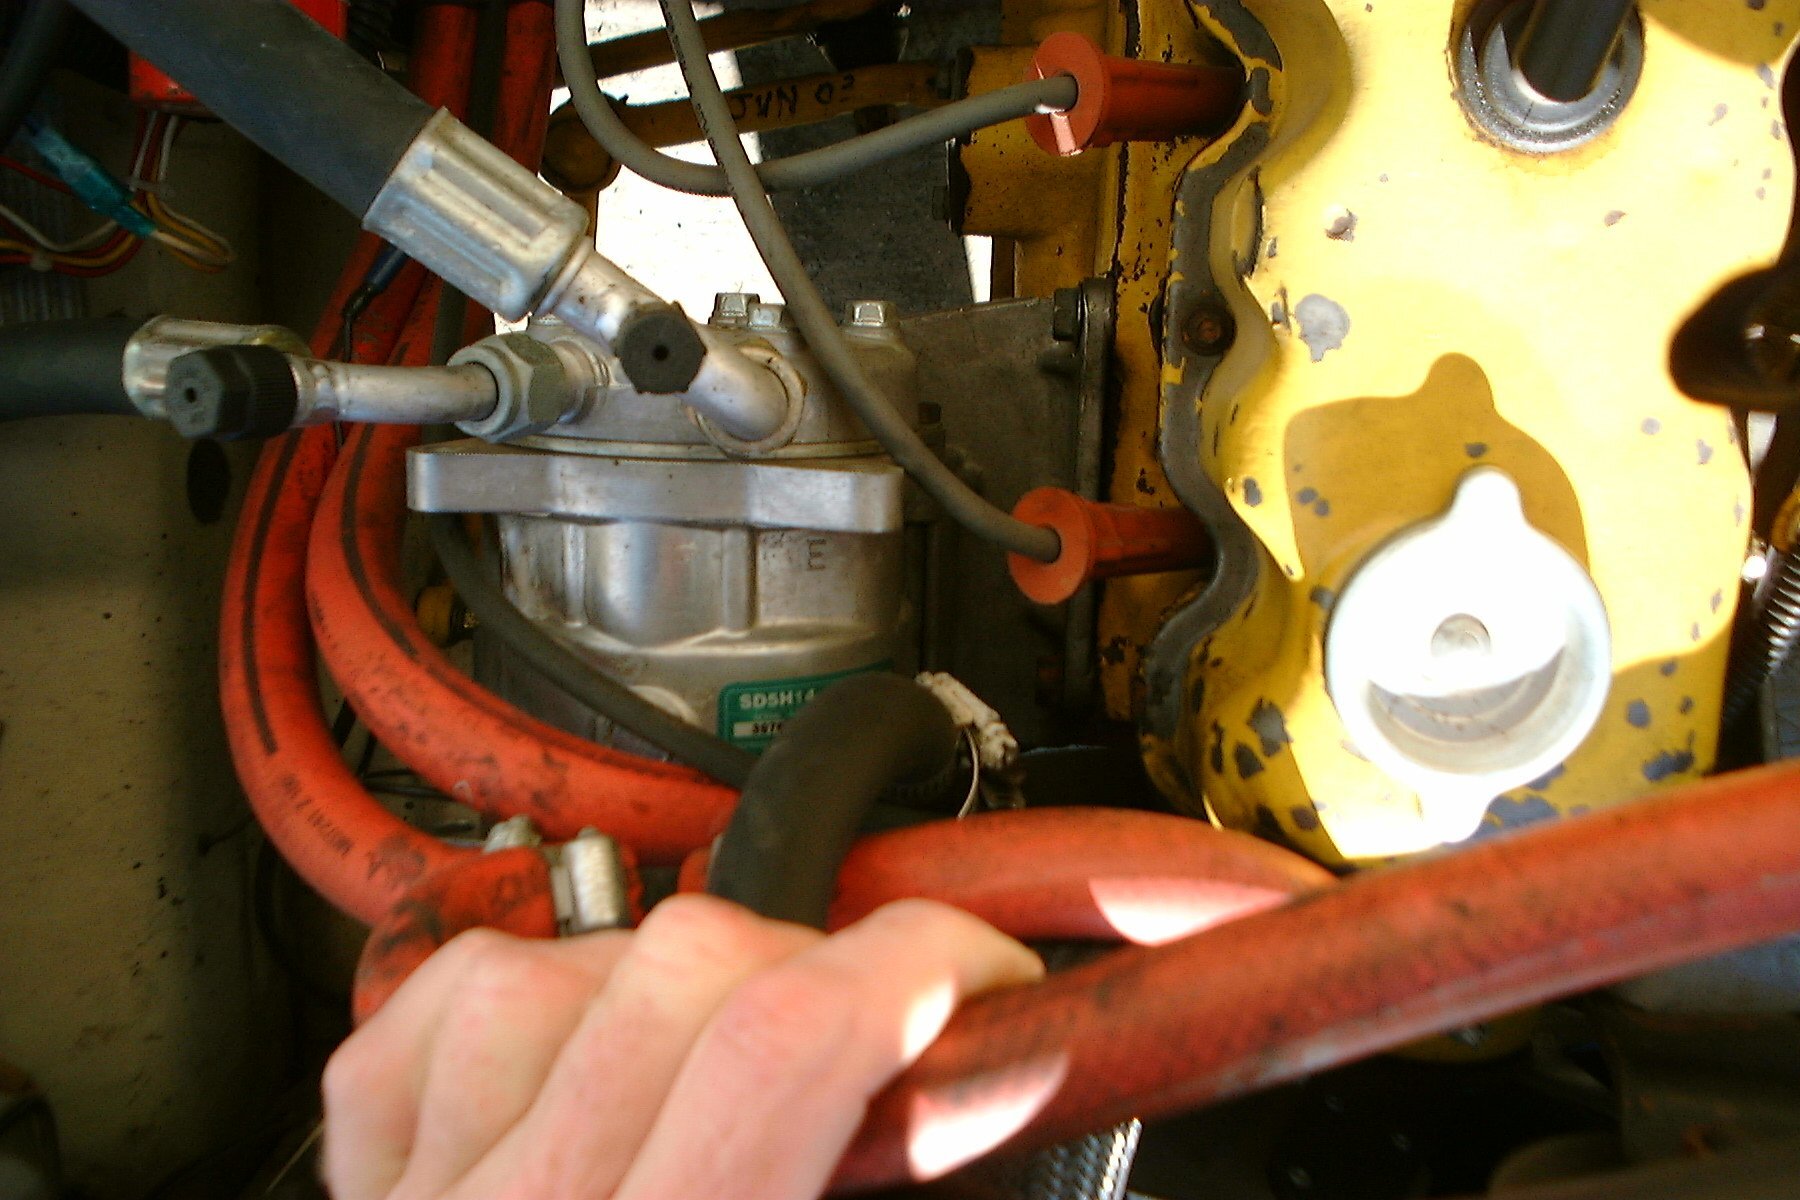
The old plumbing used flare fittings and even some clamp-type compression fittings. These are hard to make not leak (with good care they do work first time, but… not so good when they are old! hint hint)
The new fittings are all O-ring. They basically never leak. All the new stuff comes with O-rings.
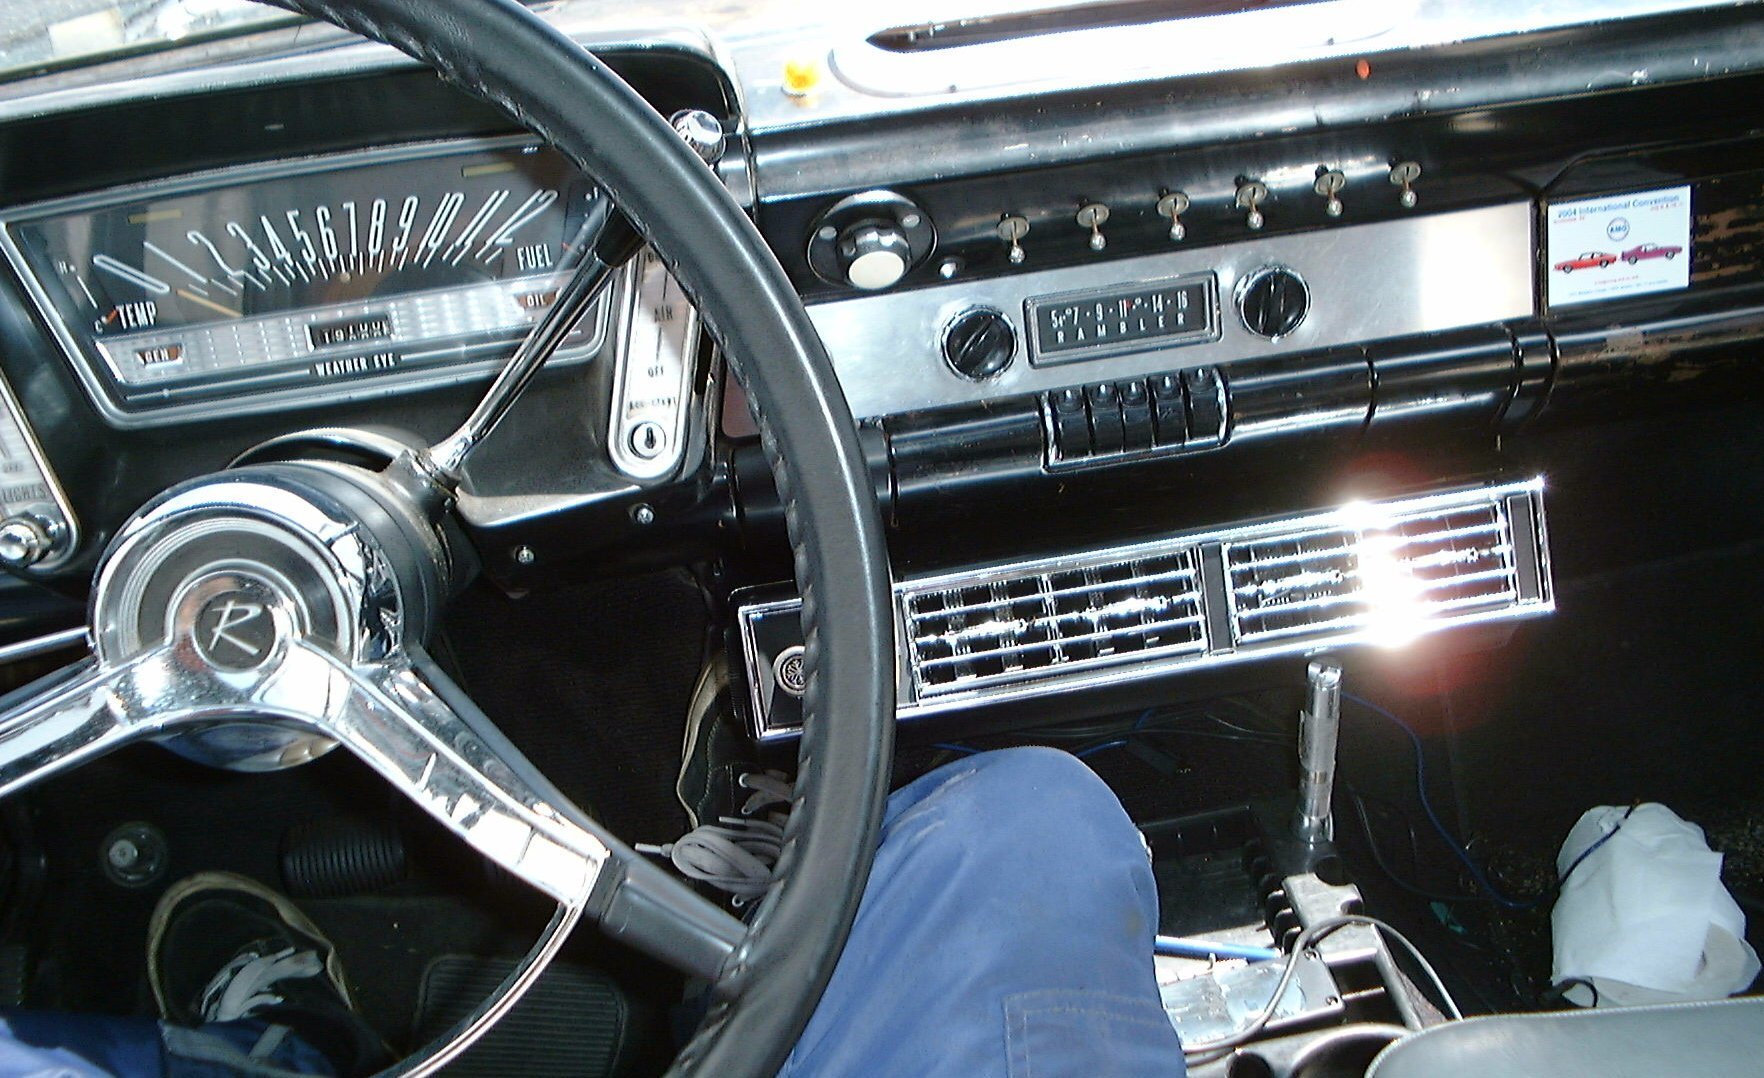
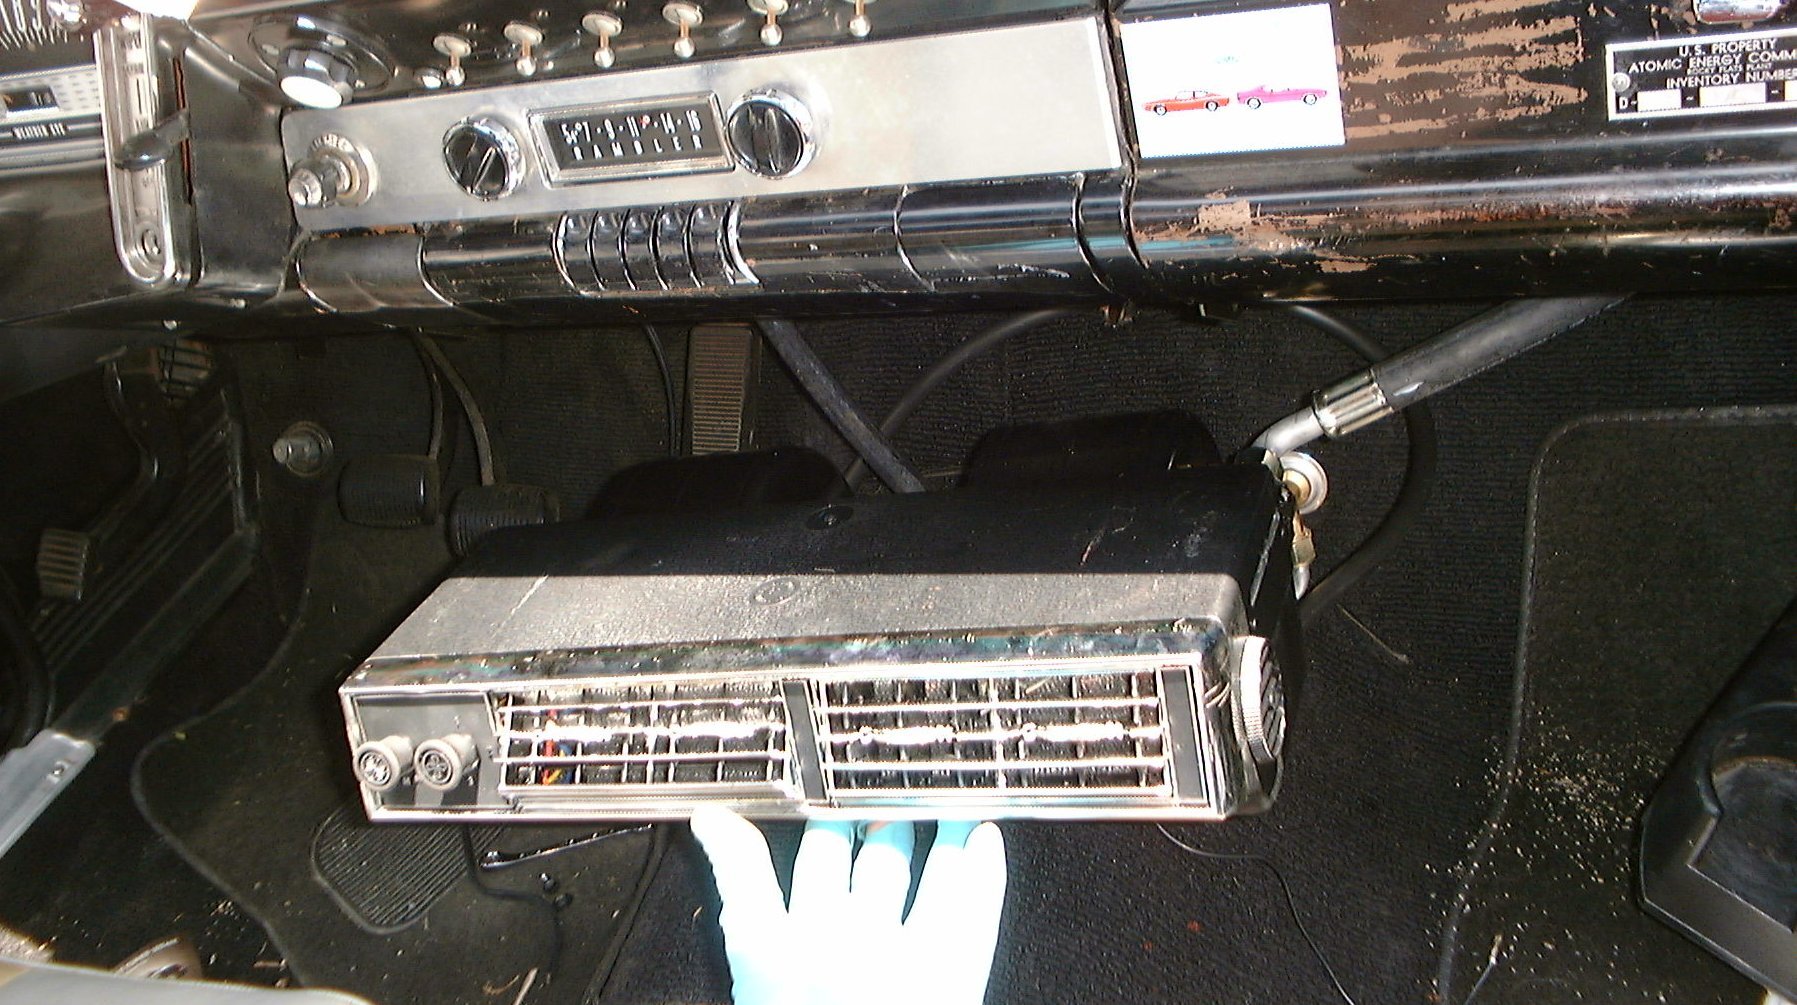
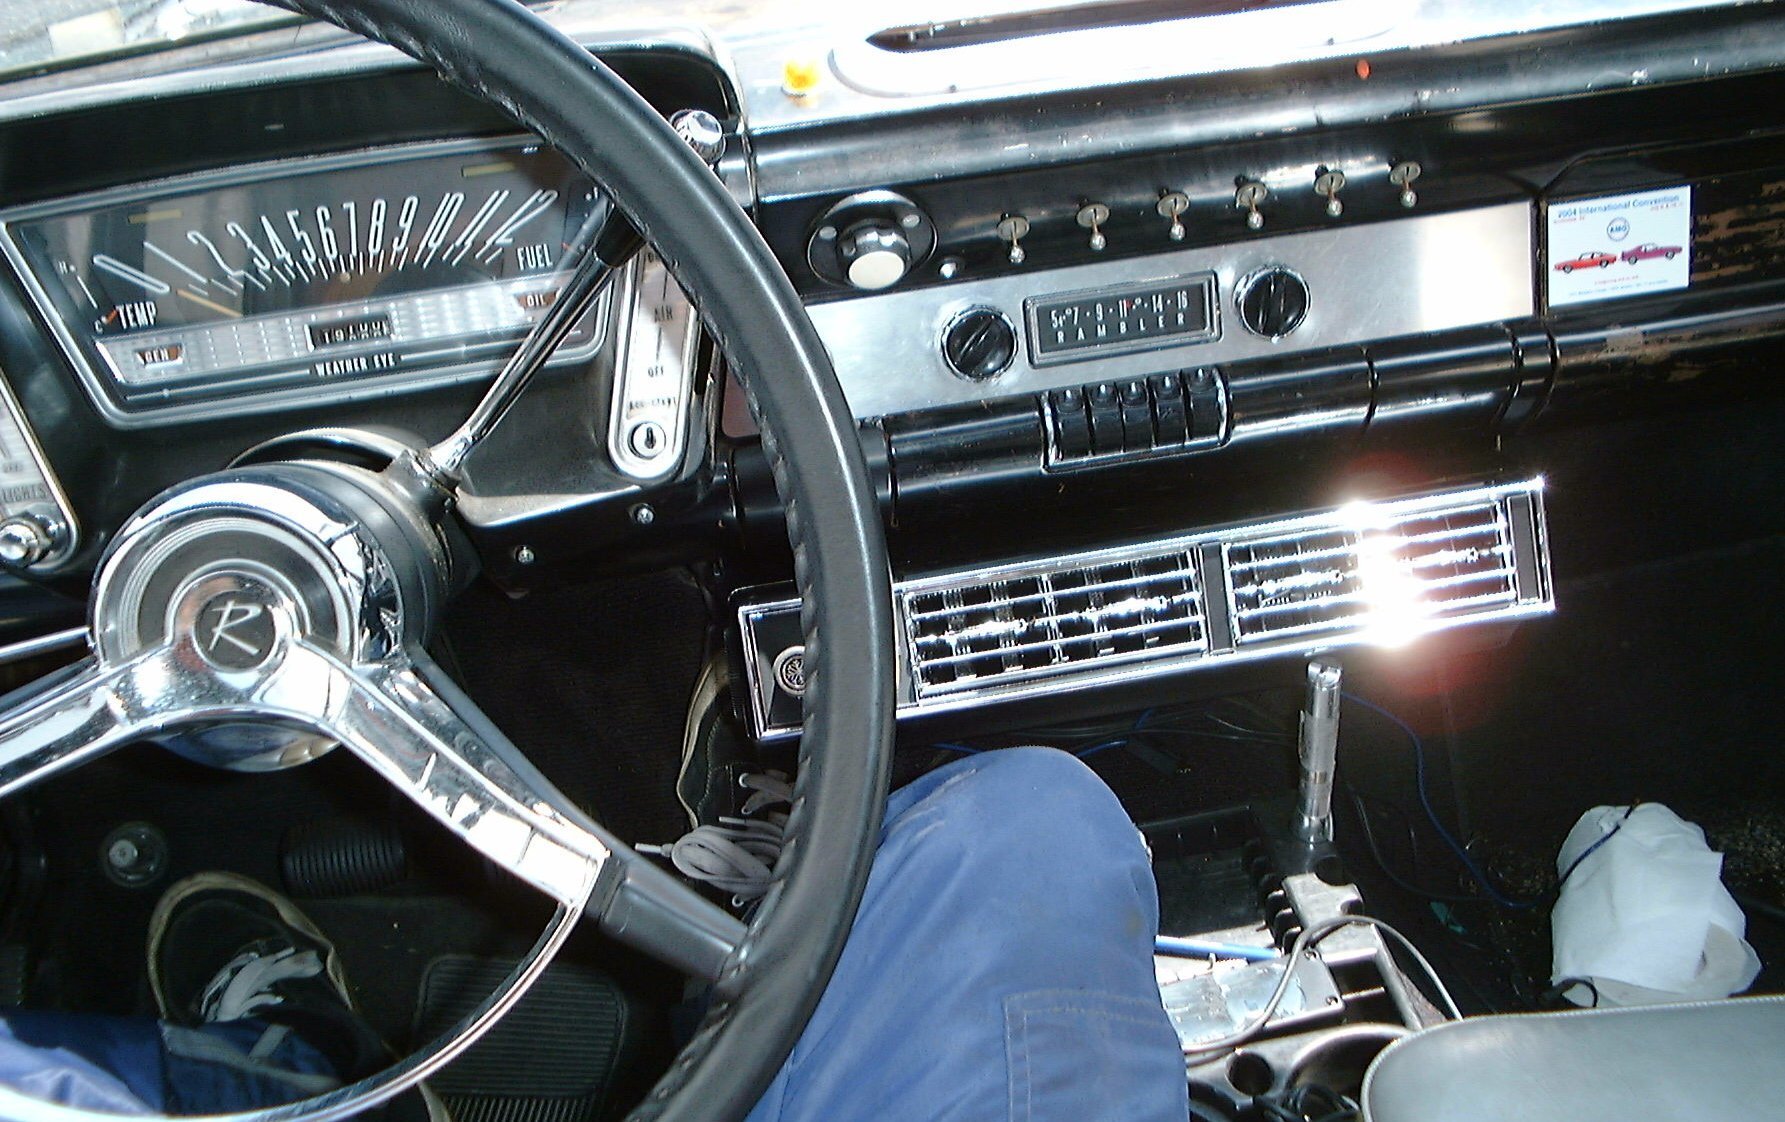
There are old-timey-looking under-dash units. I have one in my 63 Classic. It fits fine. Wouldn’t work with floor shift, probably. Check that if you have a floor shiter.
R134a cools as well as R12 if you have a big condenser (in front of the radiator). Factory condensers are often “as small as we can get away with” for cost. Aftermarket ones are larger and not dented, fins all good straight and clean, and connections are not corroded and all O-ring.
There’s nothing magical about R12. There are some issues back-converting old sytems to R134a, but that’s due to old seals not being compatible and inefficient condensers.
There is essentially a “calibration” in the evaporator unit (inside the car) that is R12 or R134a specific. They’re close enough to be “close enough” if you have a good clean system and convert from R12 to R134a. THIS is where people complain that the new stuff isn’t as good as the old — in marginal old systems designed for R12, and they may not have been properly converted. A properly calibrated expansion valve or orifice tube helps, but new barrier hoses are a must!
Last, alas, it’s simply not cheap. I tried to use a factory under-dash system, it was a major PITA, and then in the end the expansion valve was bad, and would have cost too much to re-cal for R134a, I bit the bullet and spent the $250 (in 2004?) for the under dash unit. Compressor was around $250, condenser $100? $150? dryer, hoses, blah blah.
Installation
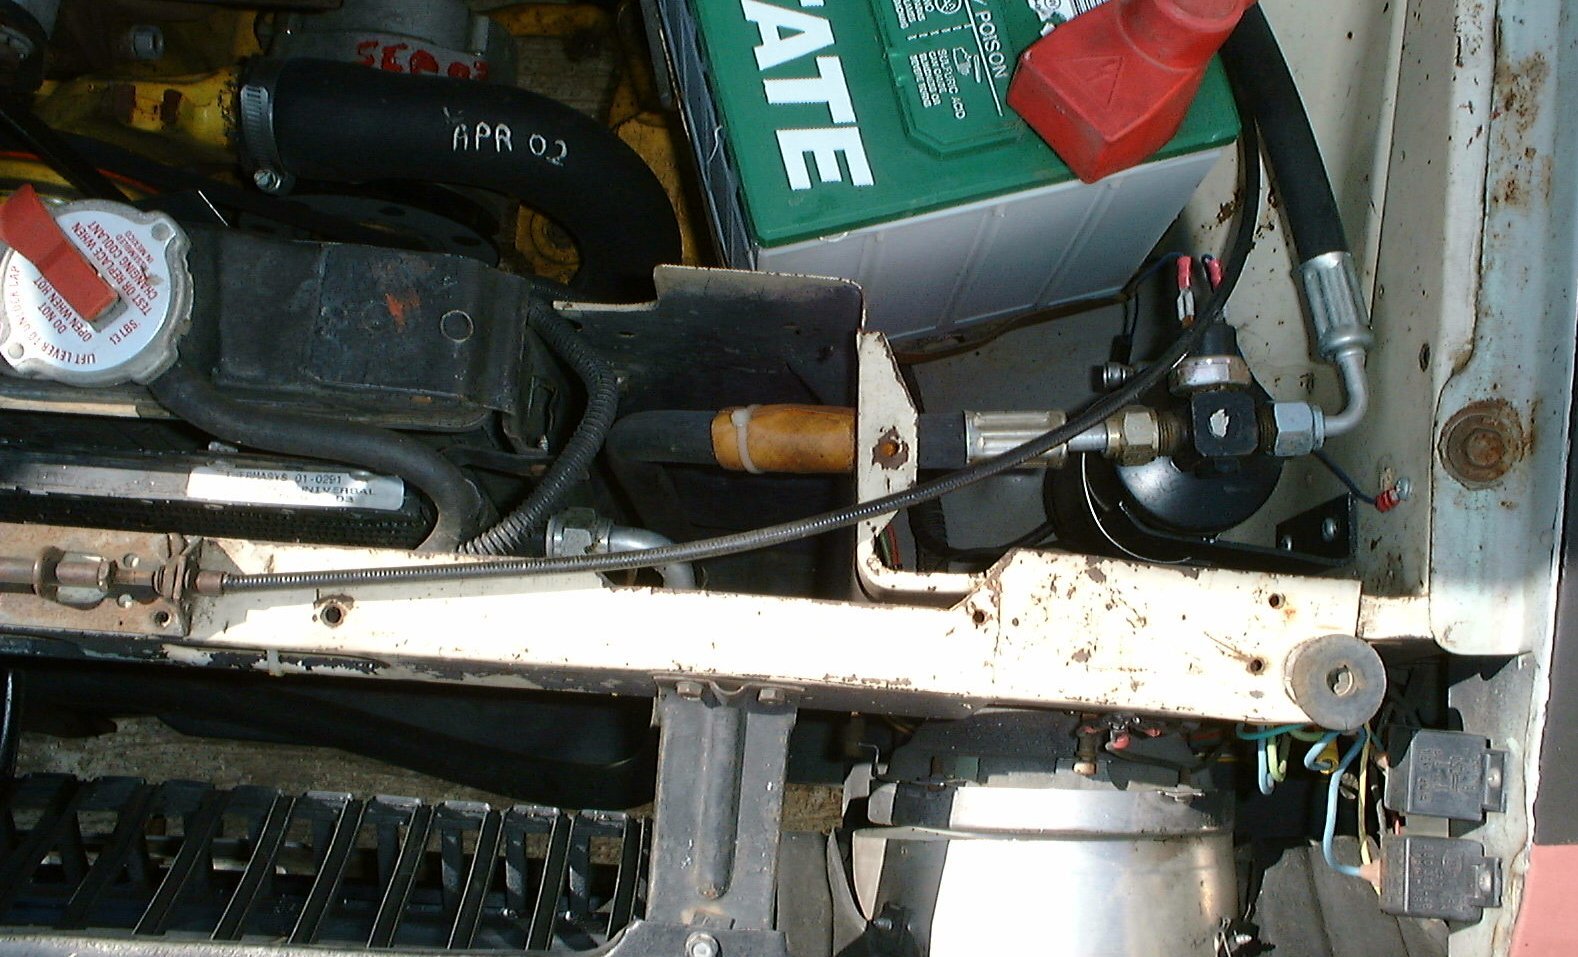
In the abstract, the installation consists of mounting the major components, evaporator (inside the car), condenser (in front of the radiator), and compressor on the motor. The rest is custom work connecting all the parts. The hoses are a big deal.
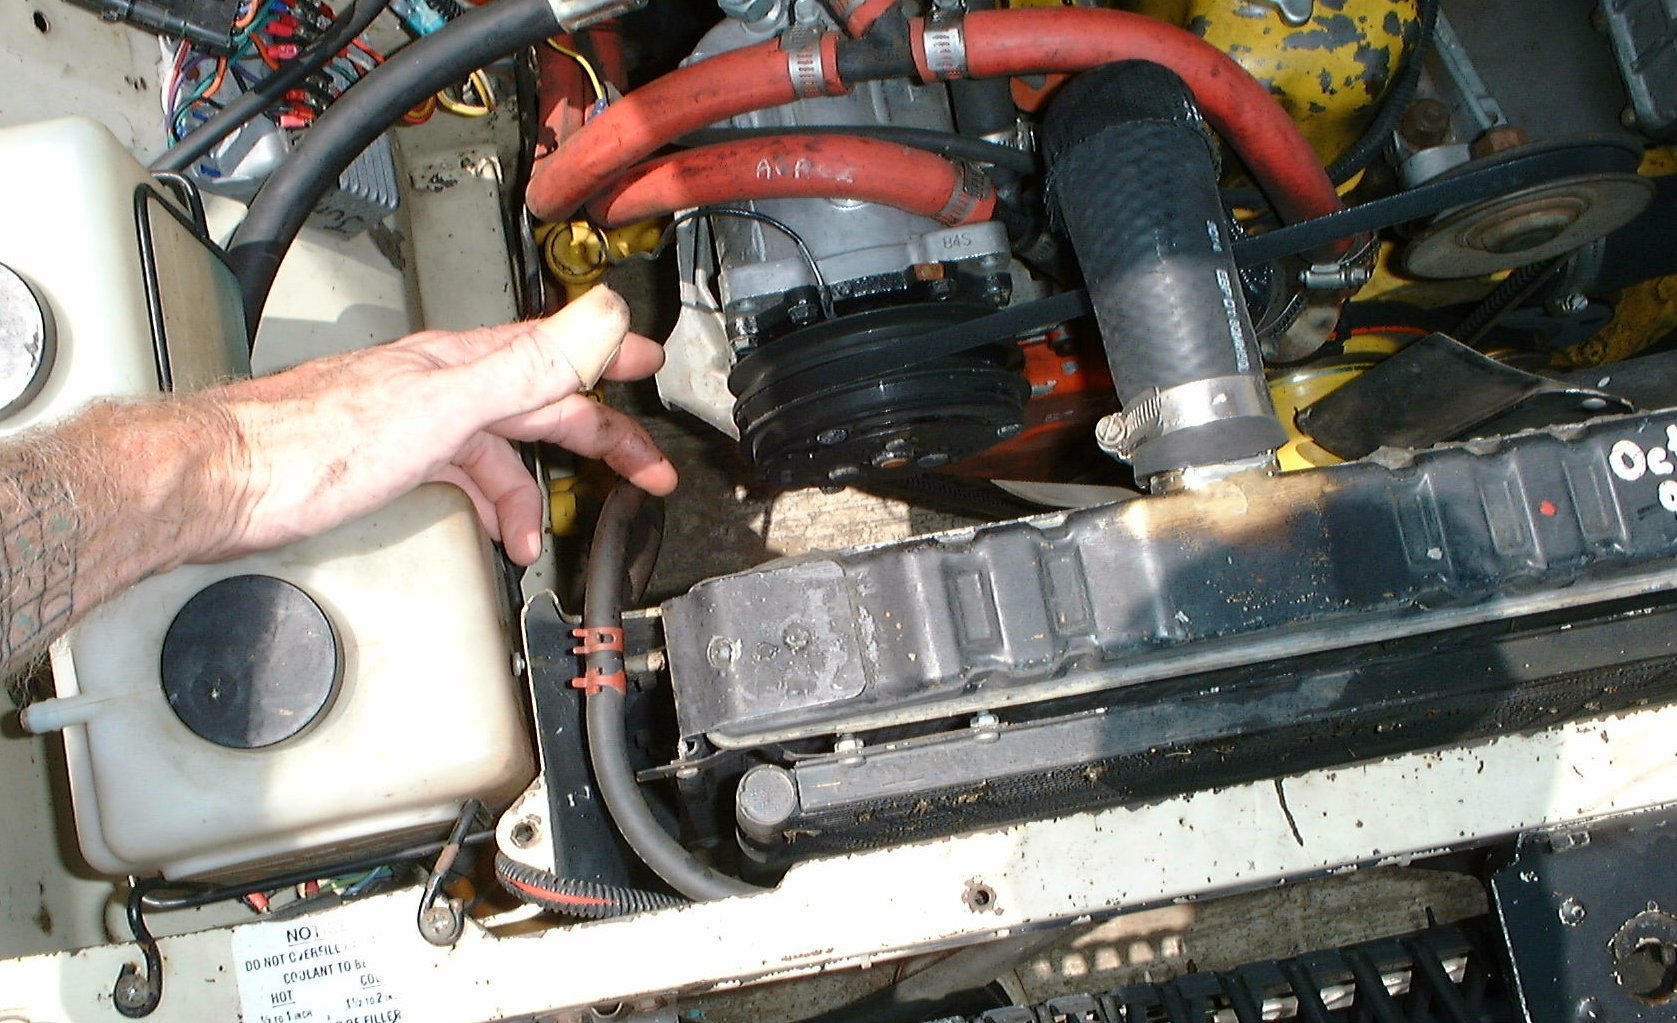
I couldn’t find compressor brackets to fit my engine (pre-1972 AMC 232) so I modified a 1980’s bracket I found in a salvage yard. It would mount an alternator in the newer position too, but I didn’t use that. The bracket attached to the block via three tapped bosses on the left; some time after my engine was made the bottom boss was re-positioned. I had to lop off the bottom of the bracket, and re-drill the hole. I did it on a small mill, but it could easily be done with a hacksaw and file.
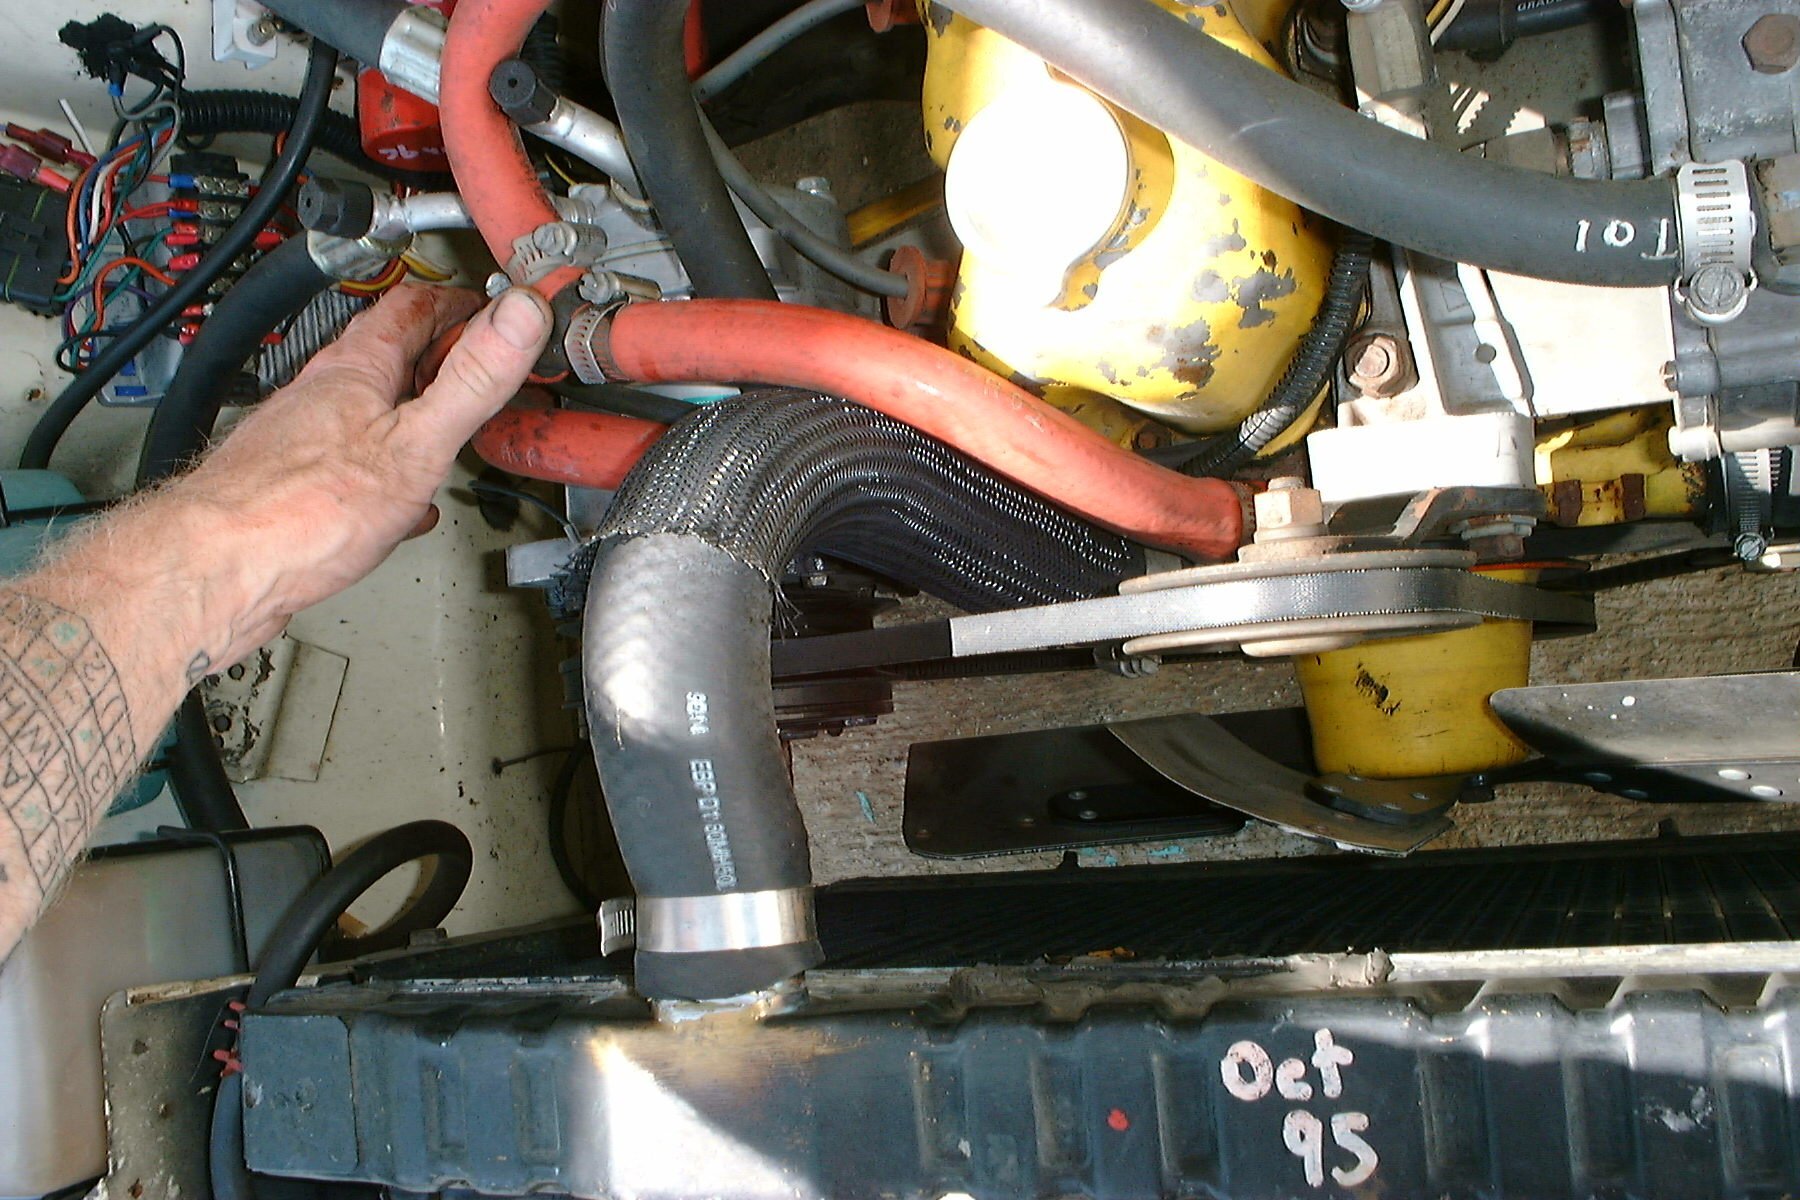
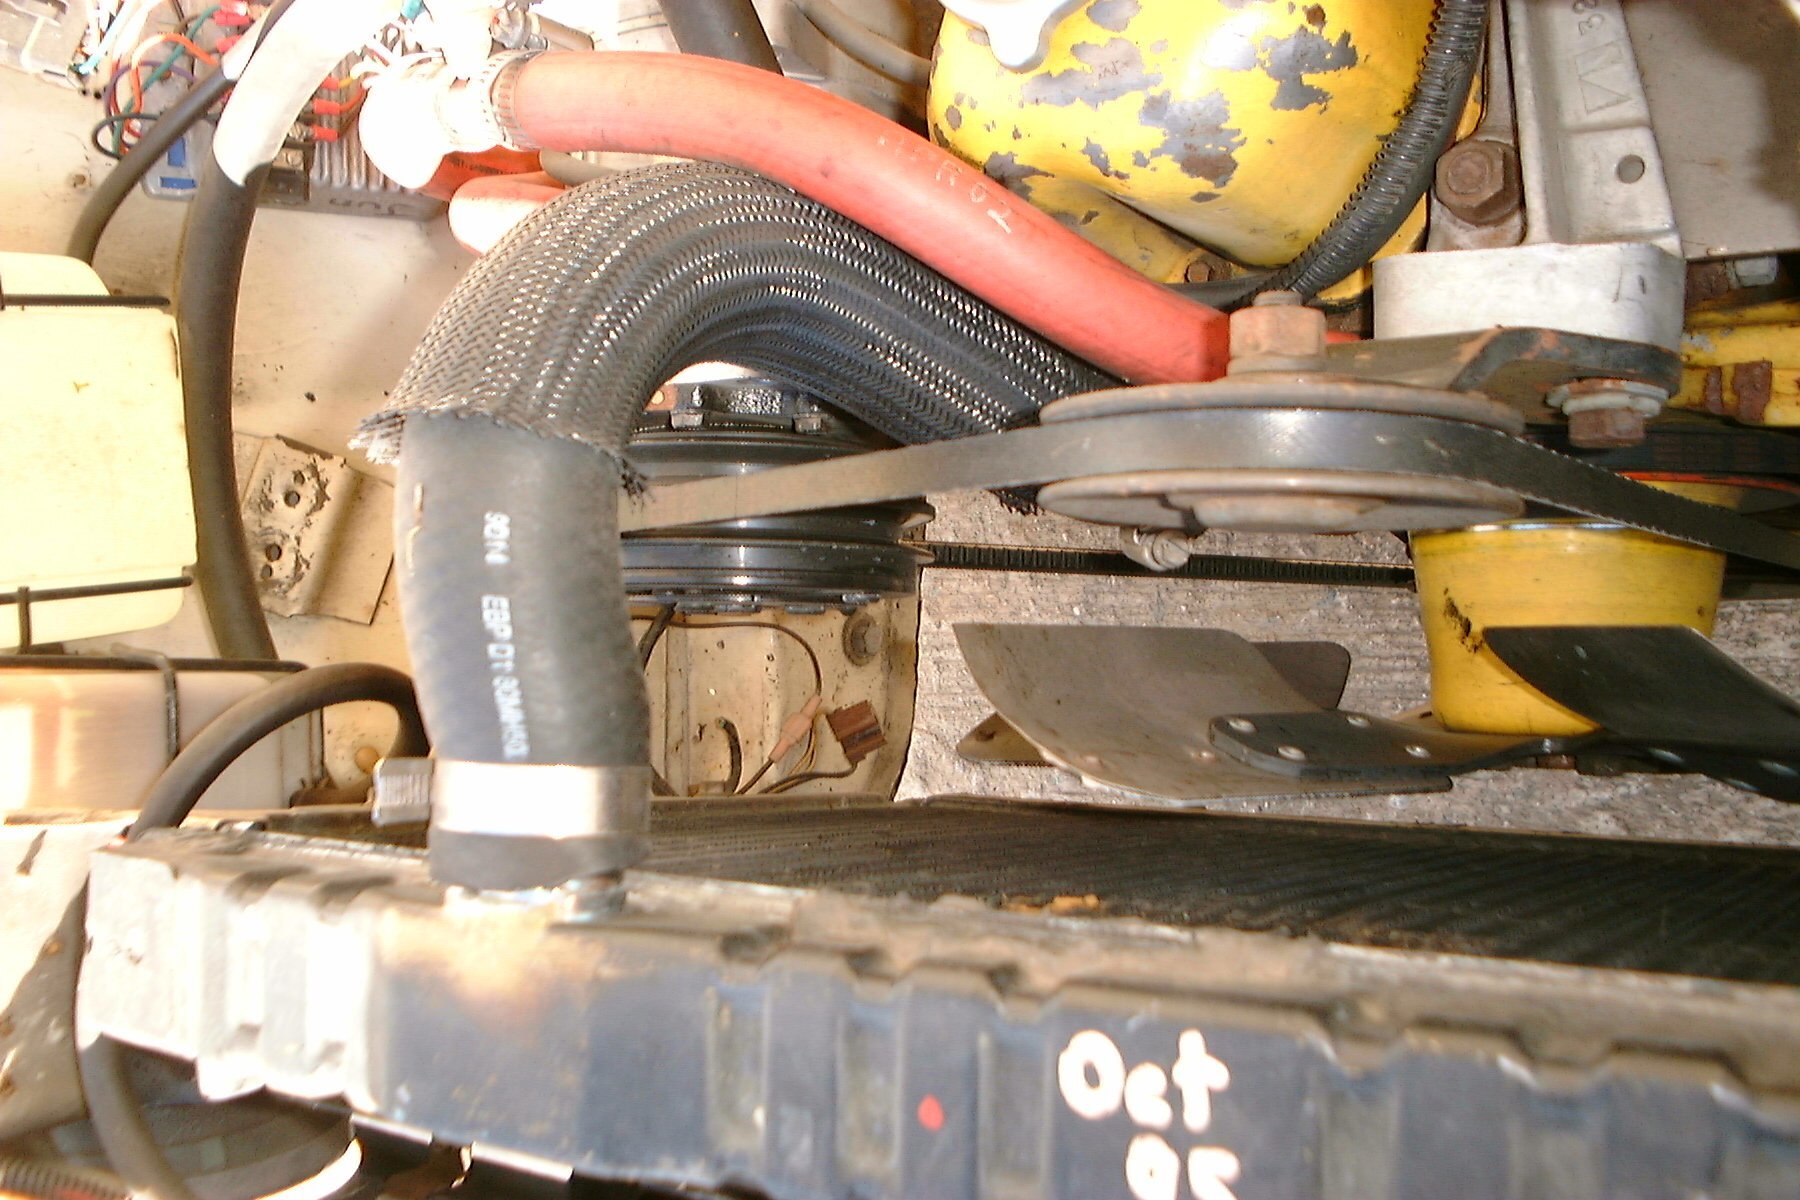
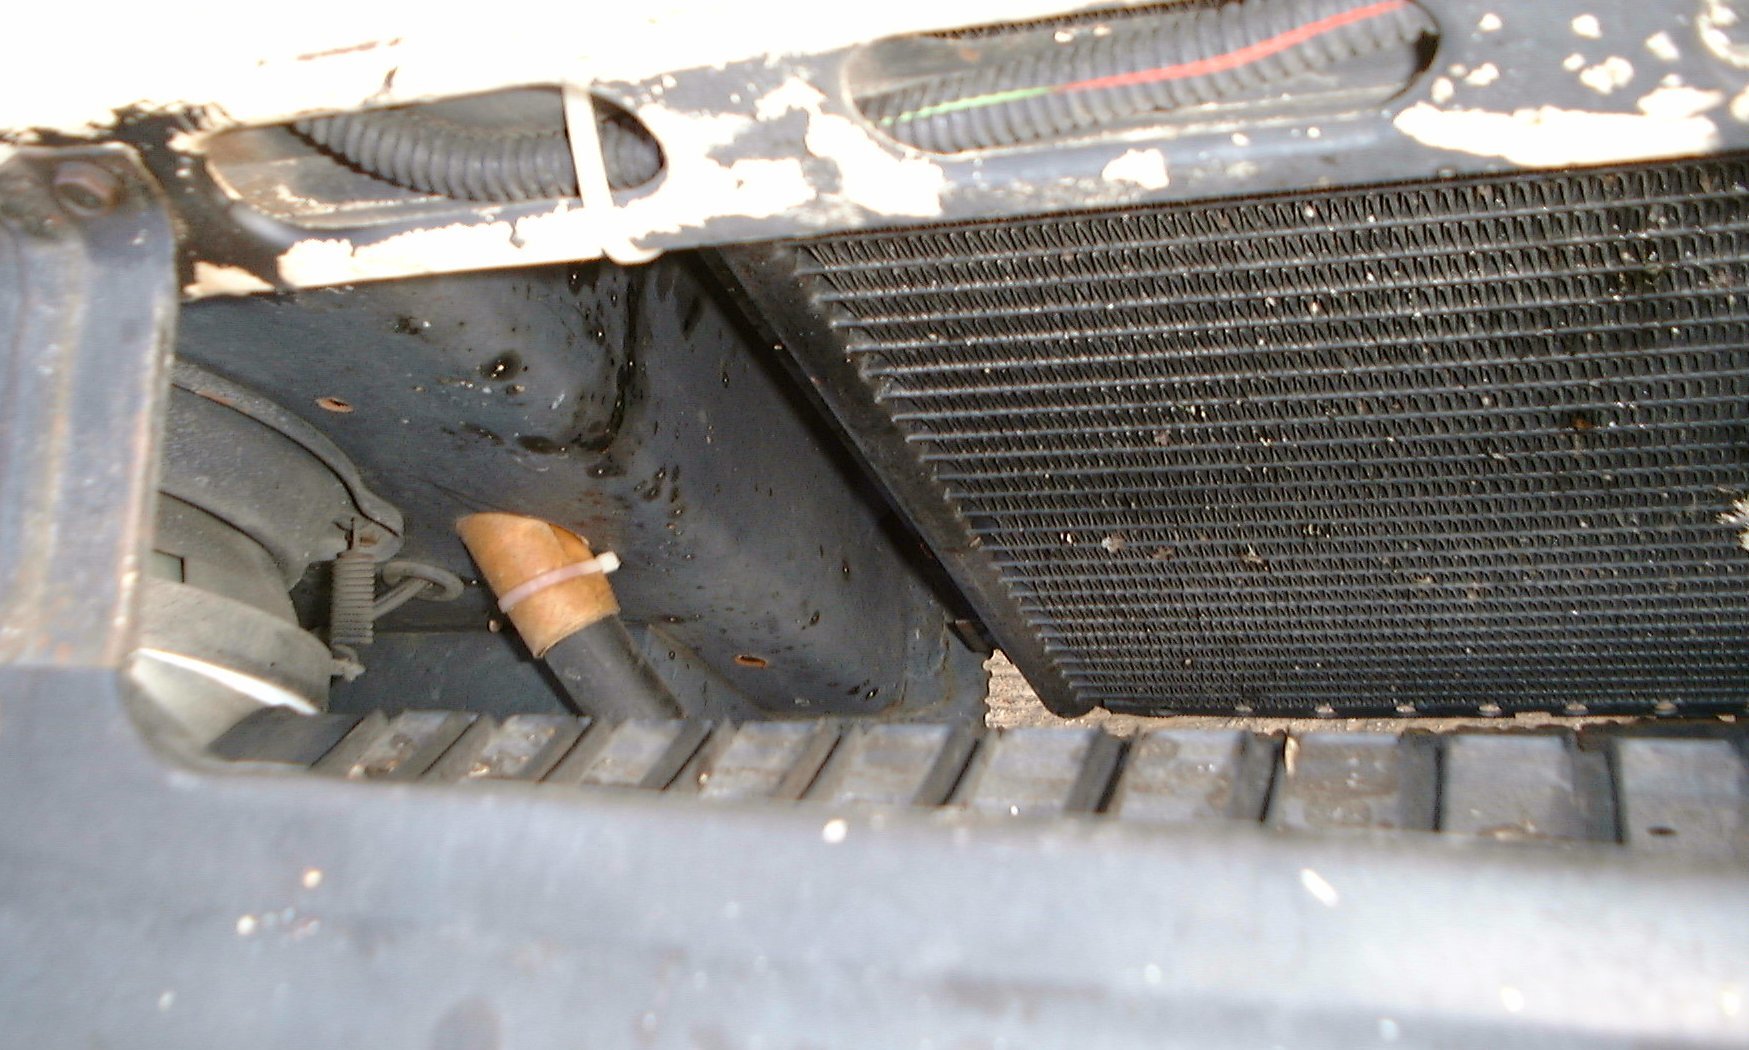
The condenser was fairly easy; I simply measured and bought the largest one that would fit, from Vintage Air. The condenser is the single most important part, don’t get a cheap one. I punched a hole in the radiator surround to pass the high-side hose from the compressor, it was simply the easiest way. The condenser comes with a mount kit, it screws onto the radiator brackets. I took the grille and bumper off, it made life a lot easier.
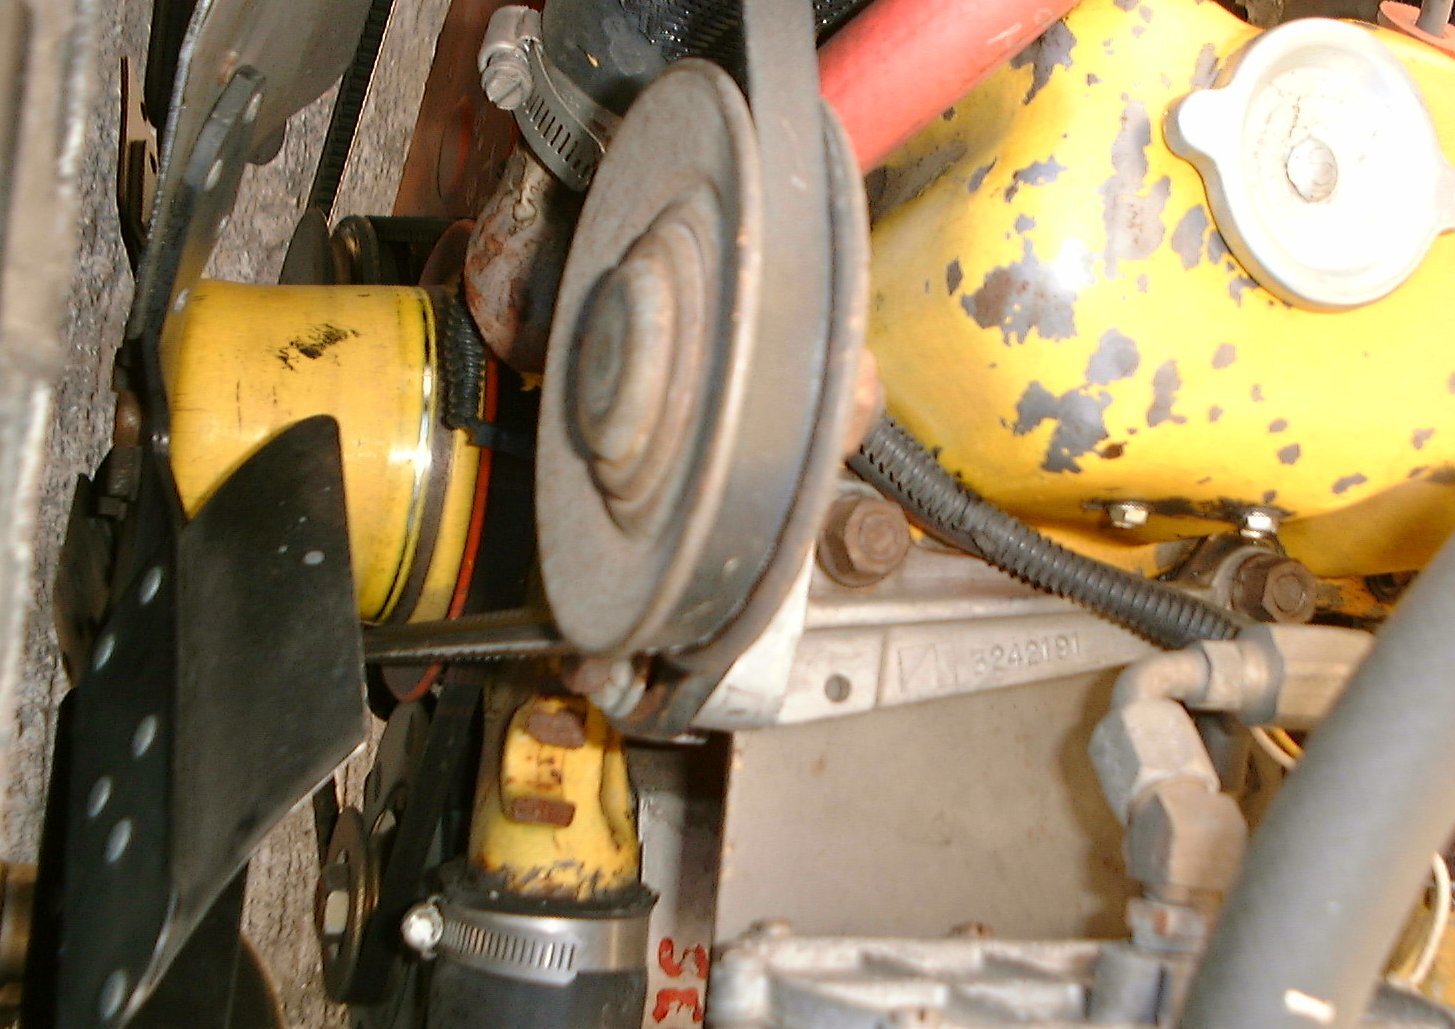
Figuring out how to put the drive V-belt on was a pain, but easy to reproduce. There’s a belt idler/tensioner that you get from an 80’s car that bolts onto the front two head bolts. Sigh, you gotta pull the front head bolt out to install one with a stud end. Get that from the donor. See photos.
The crank pulley will probably have only one groove. There are simple bolt-on accessory pulleys that attach to the harmonic
balancer with three 5/16-18 bolts intended for pulling. You can find them on many late-model AMC or Jeep donors. An appropriate sized pulley can also be drilled, just make sure the holes are drilled so that the pulley is centered.
The belt doesn’t clear the upper radiator hose. So I found a new hose that looks like a ? and clears fine. It’s worked great for several years now. I think I used Gates/NAPA 7717. You may need to chop one end shorter. You may have to rig something that works for you.
The under dash unit was quite easy to mount, comes with instructions, and is no big deal.
Hoses
A/C hoses are a Real Big Deal. Pressures are very high, and if you want the freon to stay INSIDE, you need zero (0) leaks. The hose is somewhat pricey, but not too terrible, and the fittings are cheap enough. The crimp tool is very expensive, like $450. Half way through this job I found my father had one and borrowed it, but here’s how to do it without owning one. You can now find them on Amazon for $100 and up.
Mount the big items, then route the hose. Factories take the shortest straight-line path because they are penny-pinching. Save yourself future grief by routing hoses around things, around the fenders and firewall. Though they could pick up some heat along the way (1) you can very cheaply buy hose insulation and (2) that is offset by the ability to be able to actually work on your car after it’s installed.
The fittings are barbed, so once you press them on it’s a pain to get them out! So initially just press them in 1/4″ or so. When every hose is in place and cut to length, press them in all the way, and rotate the fittings properly. Once crimped, you CANNOT twist A/C hose; it’s reinforced, and when pressure is applied they will stress and leak. If you can screw/unscrew the fittings by hand it’s fine.
Then carefully take all the hoses out, use a paint pen to mark the hose and fitting position, and take them all to a hose shop for crimping.

Sources
Vintage Air is one of the best known aftermarket A/C names, but not the only one. Other companies have similar units, some totally different. One of the pioneering companies that seldom gets mentioned is Southern Air in Duncan, SC (near Greenville). They have several under dash units similar to Tom’s as well as several different built-in unit options, plus all the parts needed to install on just about anything. Old Air Products is another company with several under dash and built-in units. Their “Hurricane” built-in is unique, an almost square package. Alas, none of the above sells a kit with brackets for AMC engines! There is a company that specializes in Jeep CJ and Wrangler A/C systems that has A/C compressor brackets for AMC sixes (199/232/258) and V-8s (Gen 2 and 3) – Jeep Air (Vintage Air does have an AMC Gen 2 and 3 V-8 bracket, but not for sixes). You can order just the bracket, but their under dash kit looks like it would be a great fit for a Hornet or Gremlin, replacing the package tray. Looks like… I haven’t tried or measured it!
Deprecated: File Theme without comments.php is deprecated since version 3.0.0 with no alternative available. Please include a comments.php template in your theme. in /home3/amcmagc1/public_html/wp-includes/functions.php on line 6114
Leave a Reply