
Gas tank renovation
written by Tom Jennings, edited by Frank Swygert 02-02-2026
Gas tank renovation
My cars get older and older… and the problems get weirder and weirder until they all seem normal.
I ruined a newly rebuilt cylinder head by not draining and cleaning the gas tank before I started. A combination of plain old rust and what was probably the evaporated remains of a half a tank of gas (imagine how long that would take… with the gas cap on…) turned into a nasty goo much like roofing ‘hot mop’ tar, that dried into a crumbly cake. Unfortunately for me this took place inside a sealed gasoline tank.
To make a long story short, When I got the car it was out of gas, so I put two gallons of new gas in it, then drove to the gas station. As it turns out, this awoke the sleeping dragon; the whateveritwas started dissolving, and it was like roofing hot-mop asphalt, gooey but burned into a varnish that glued valve stems into the guides.
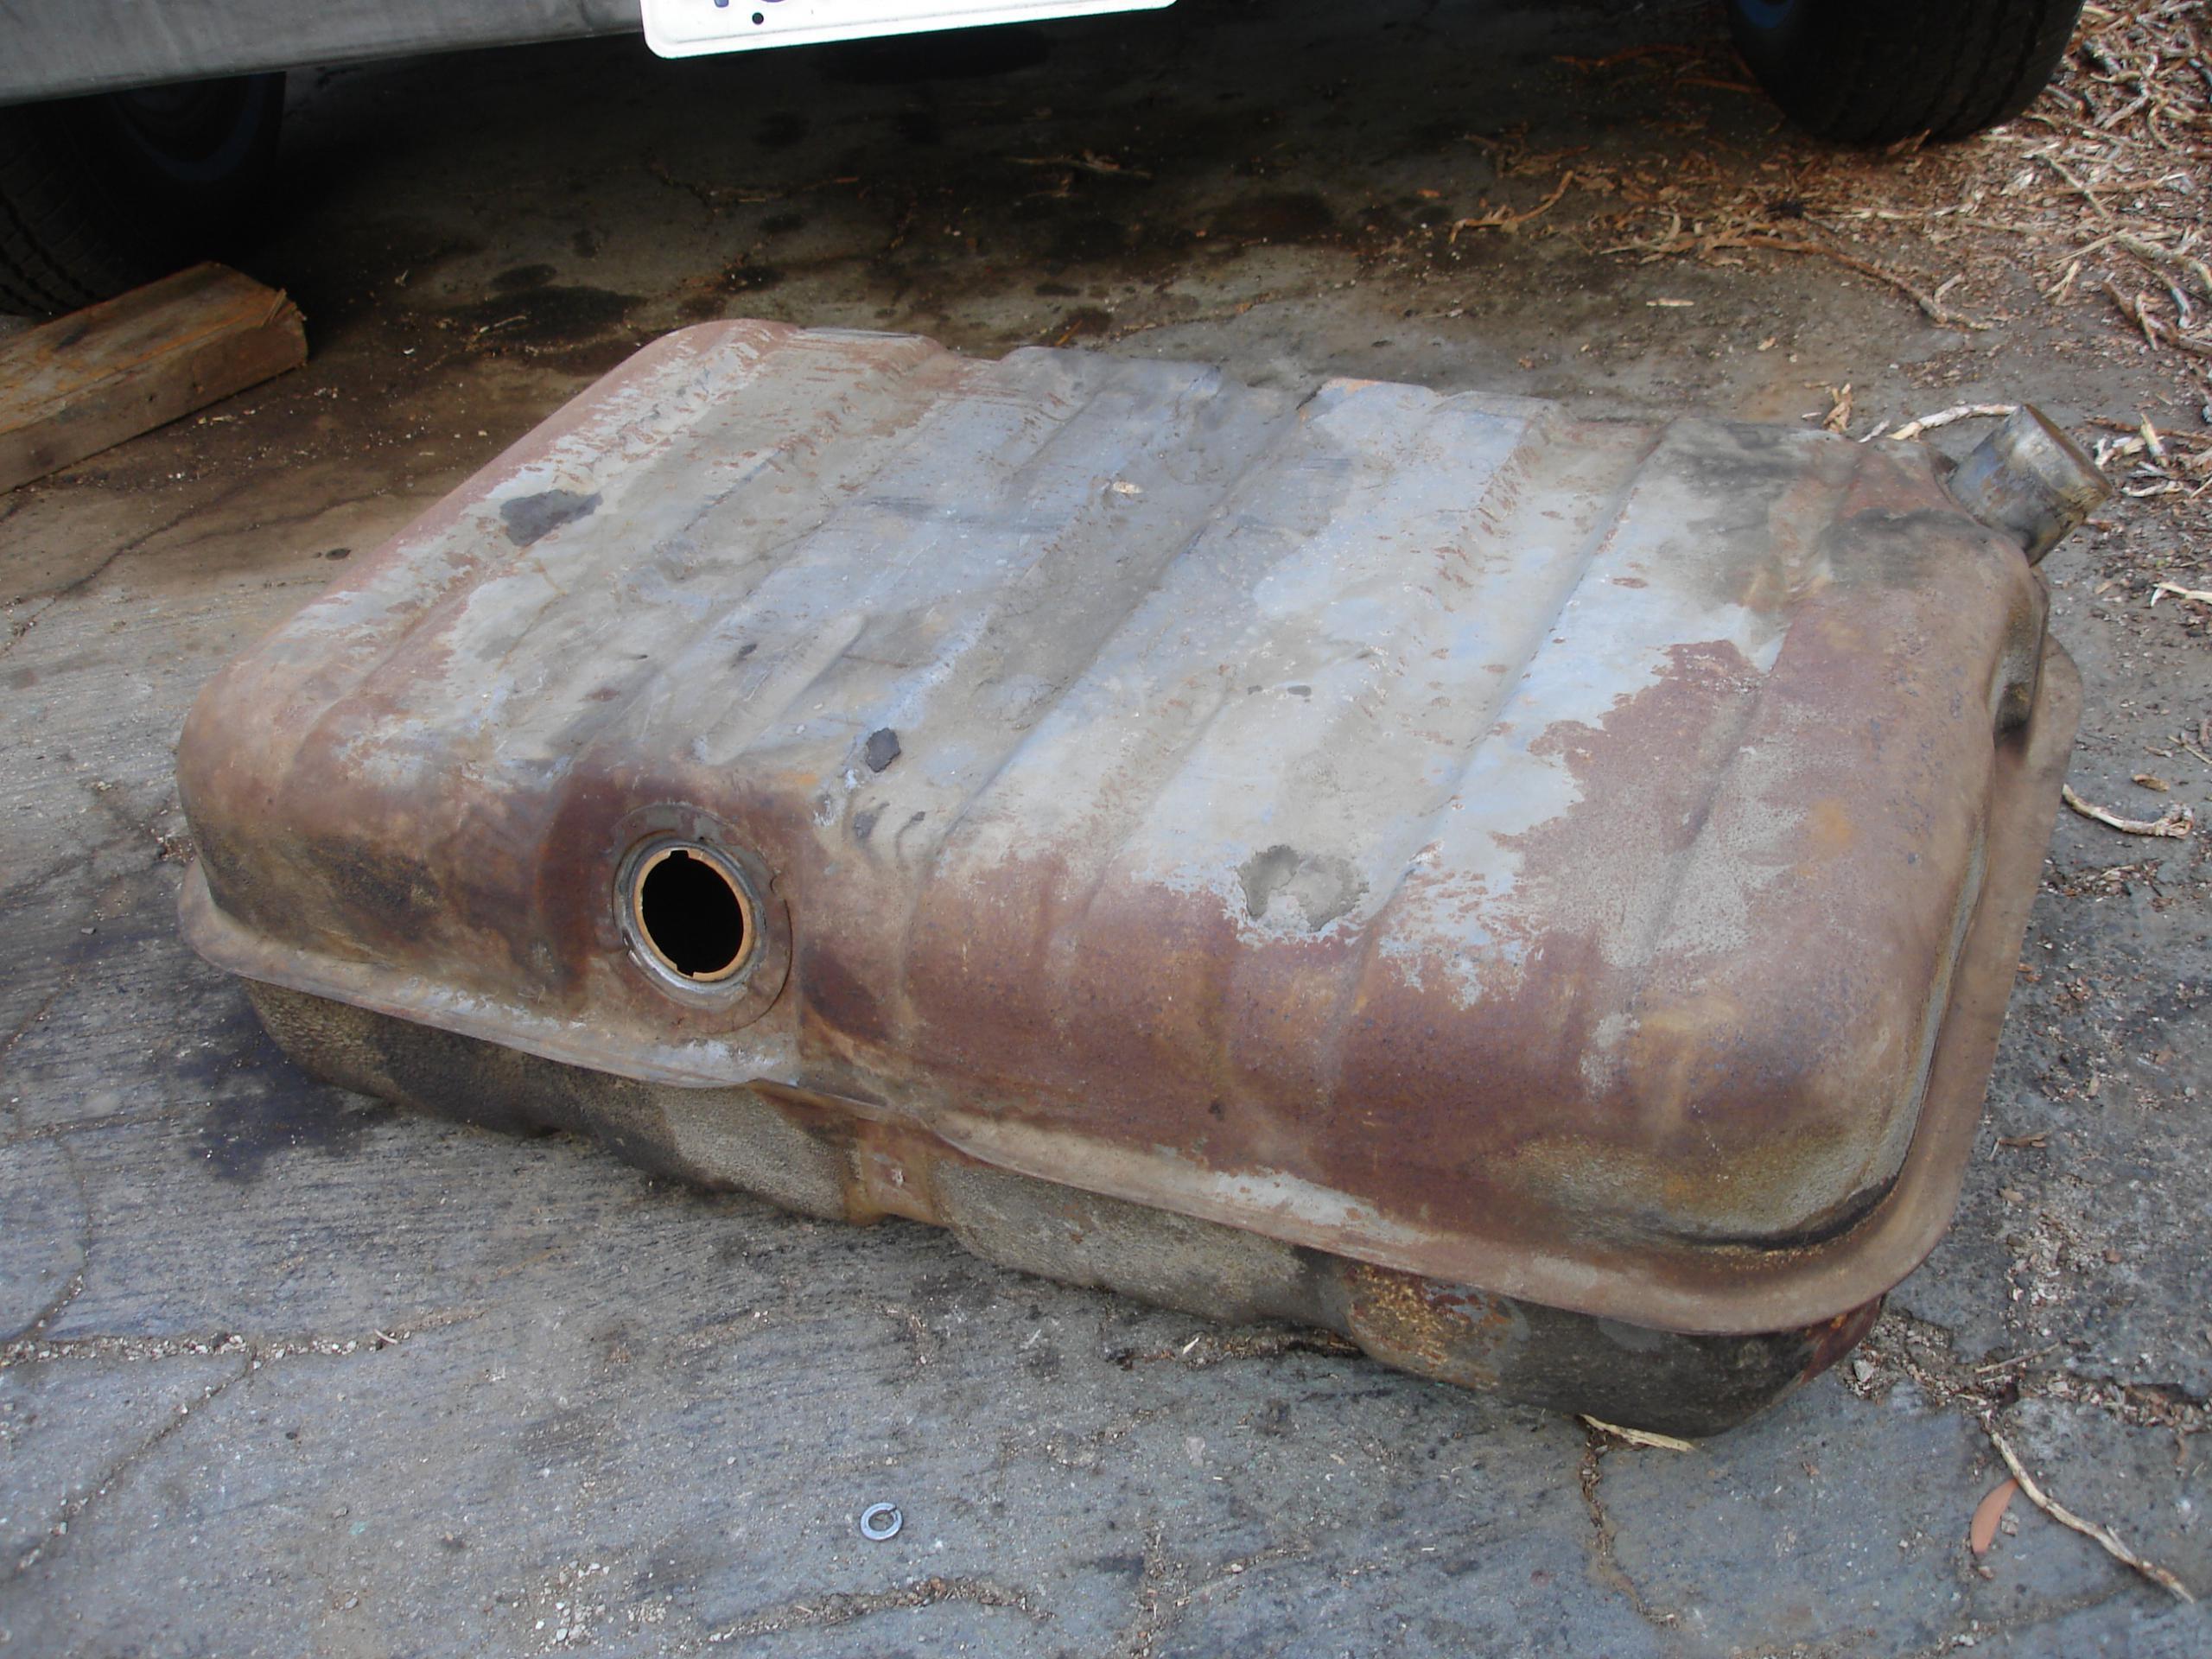
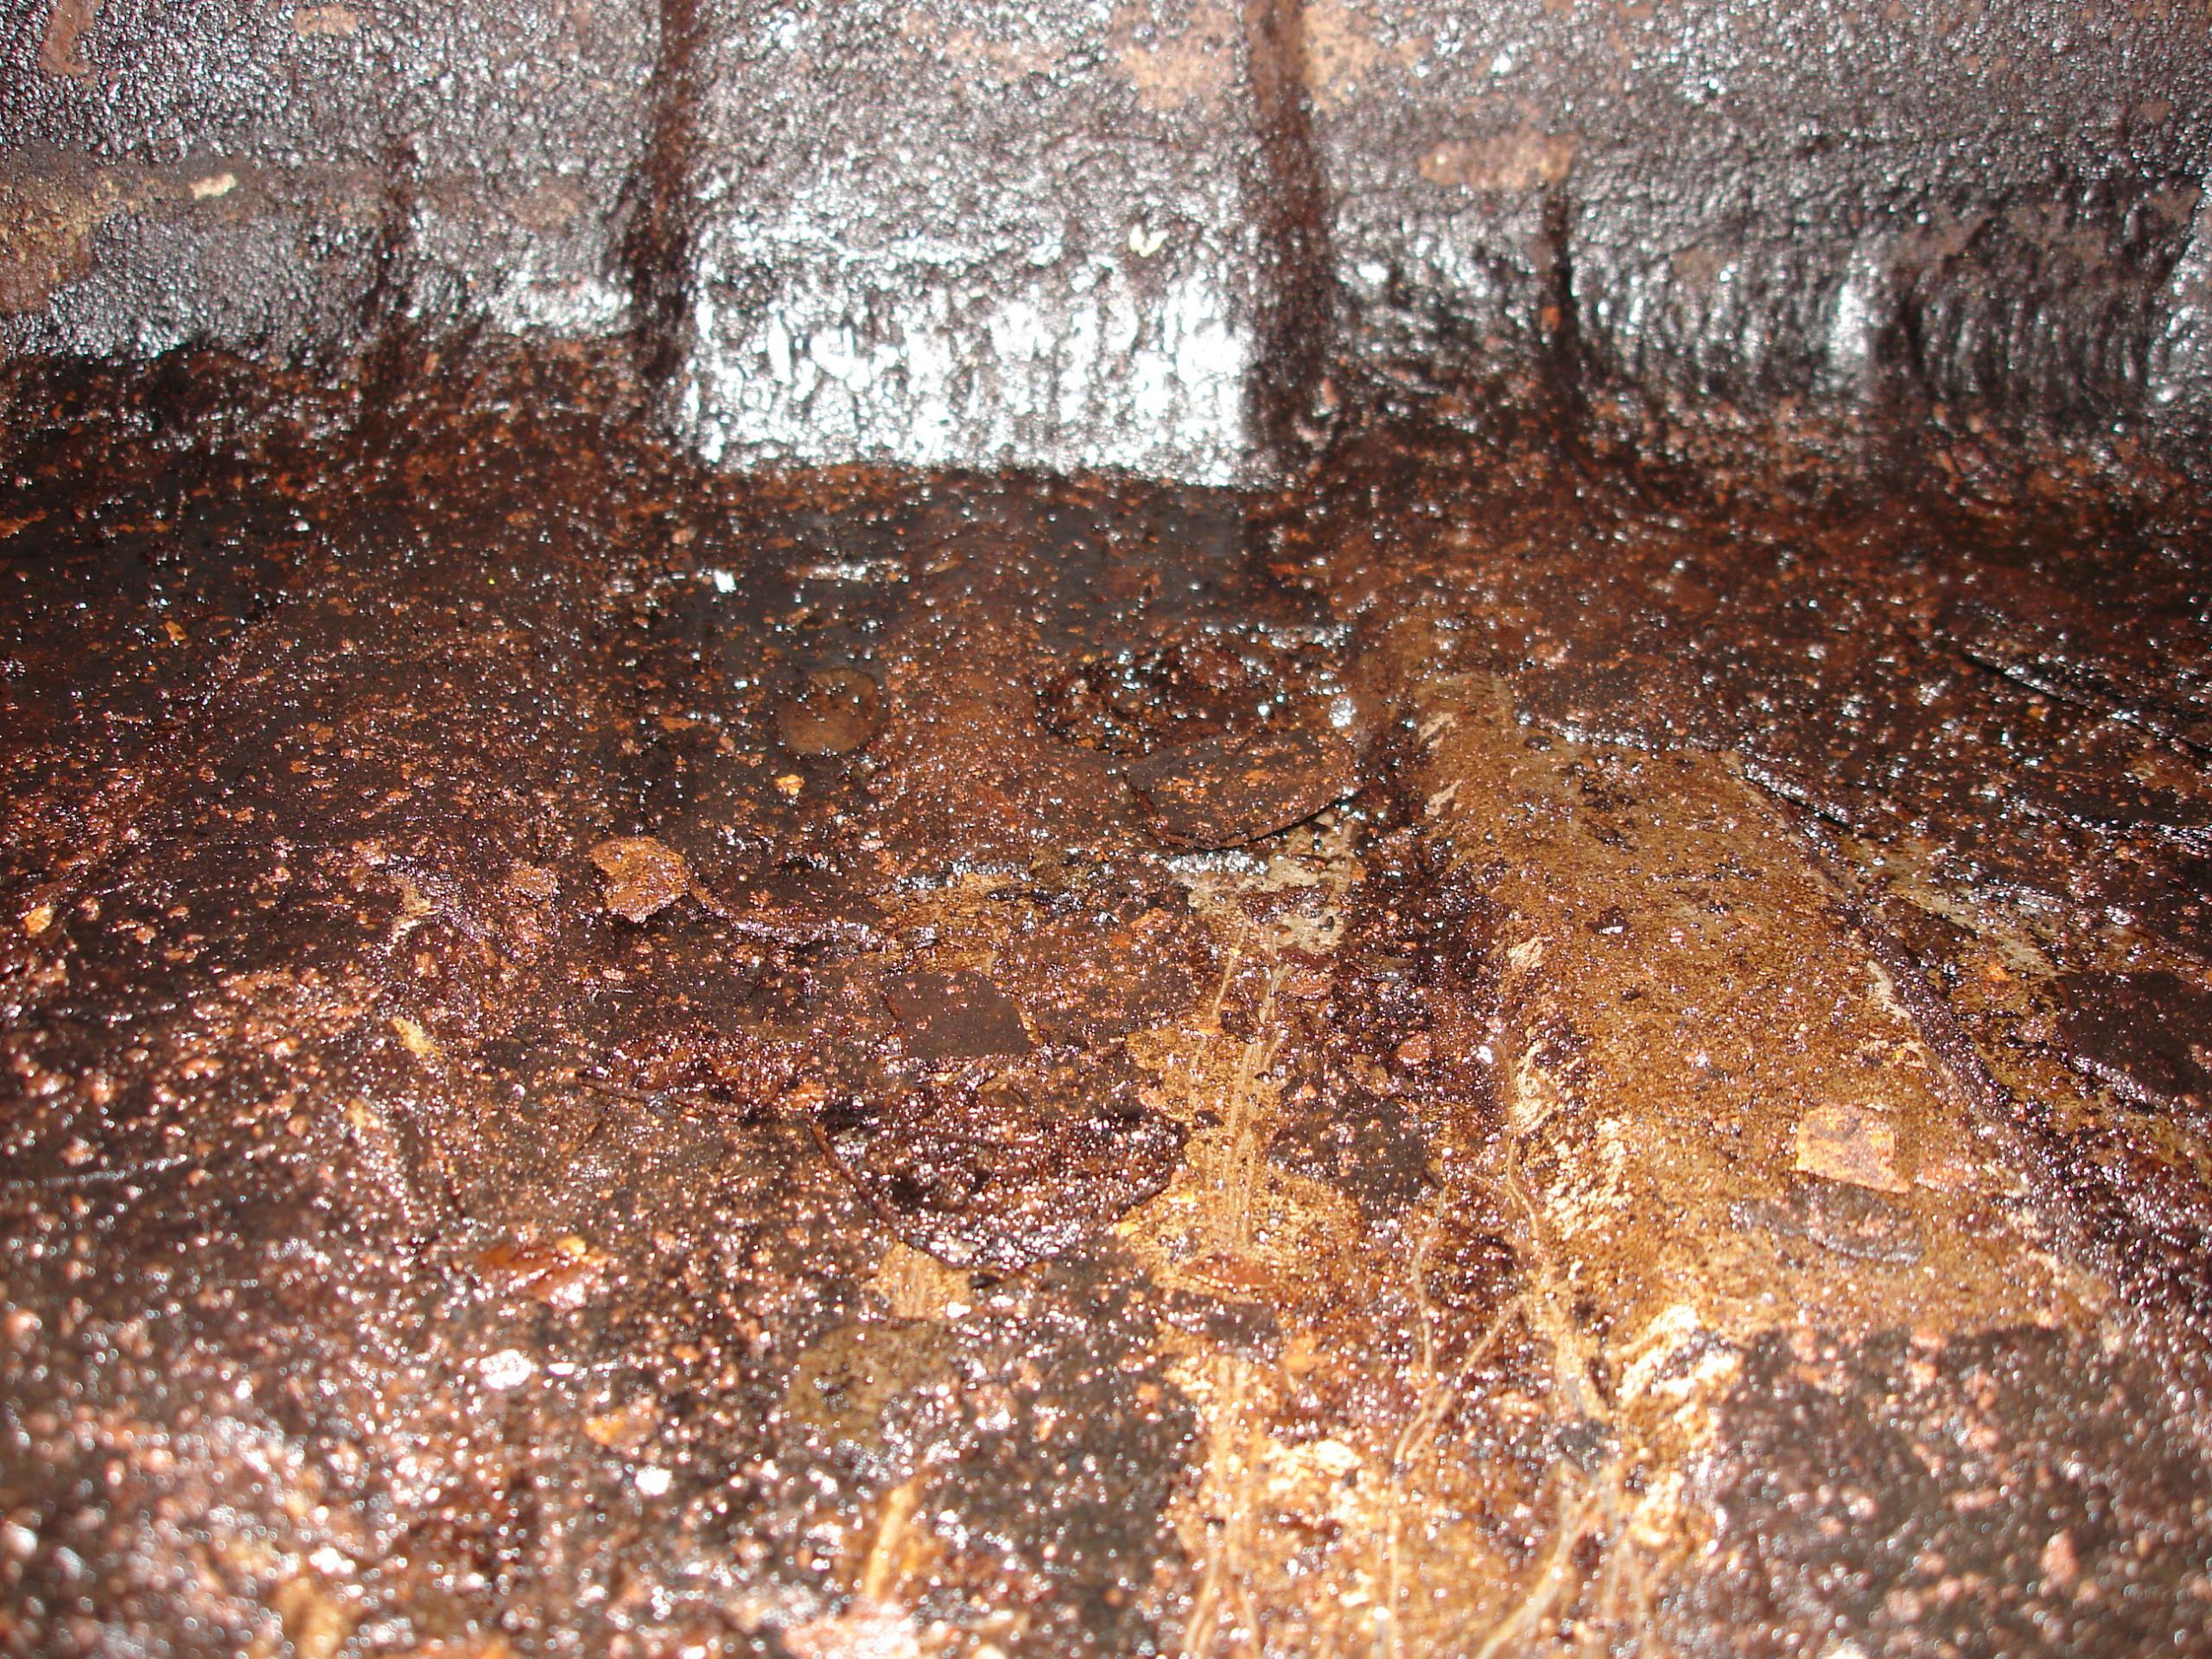
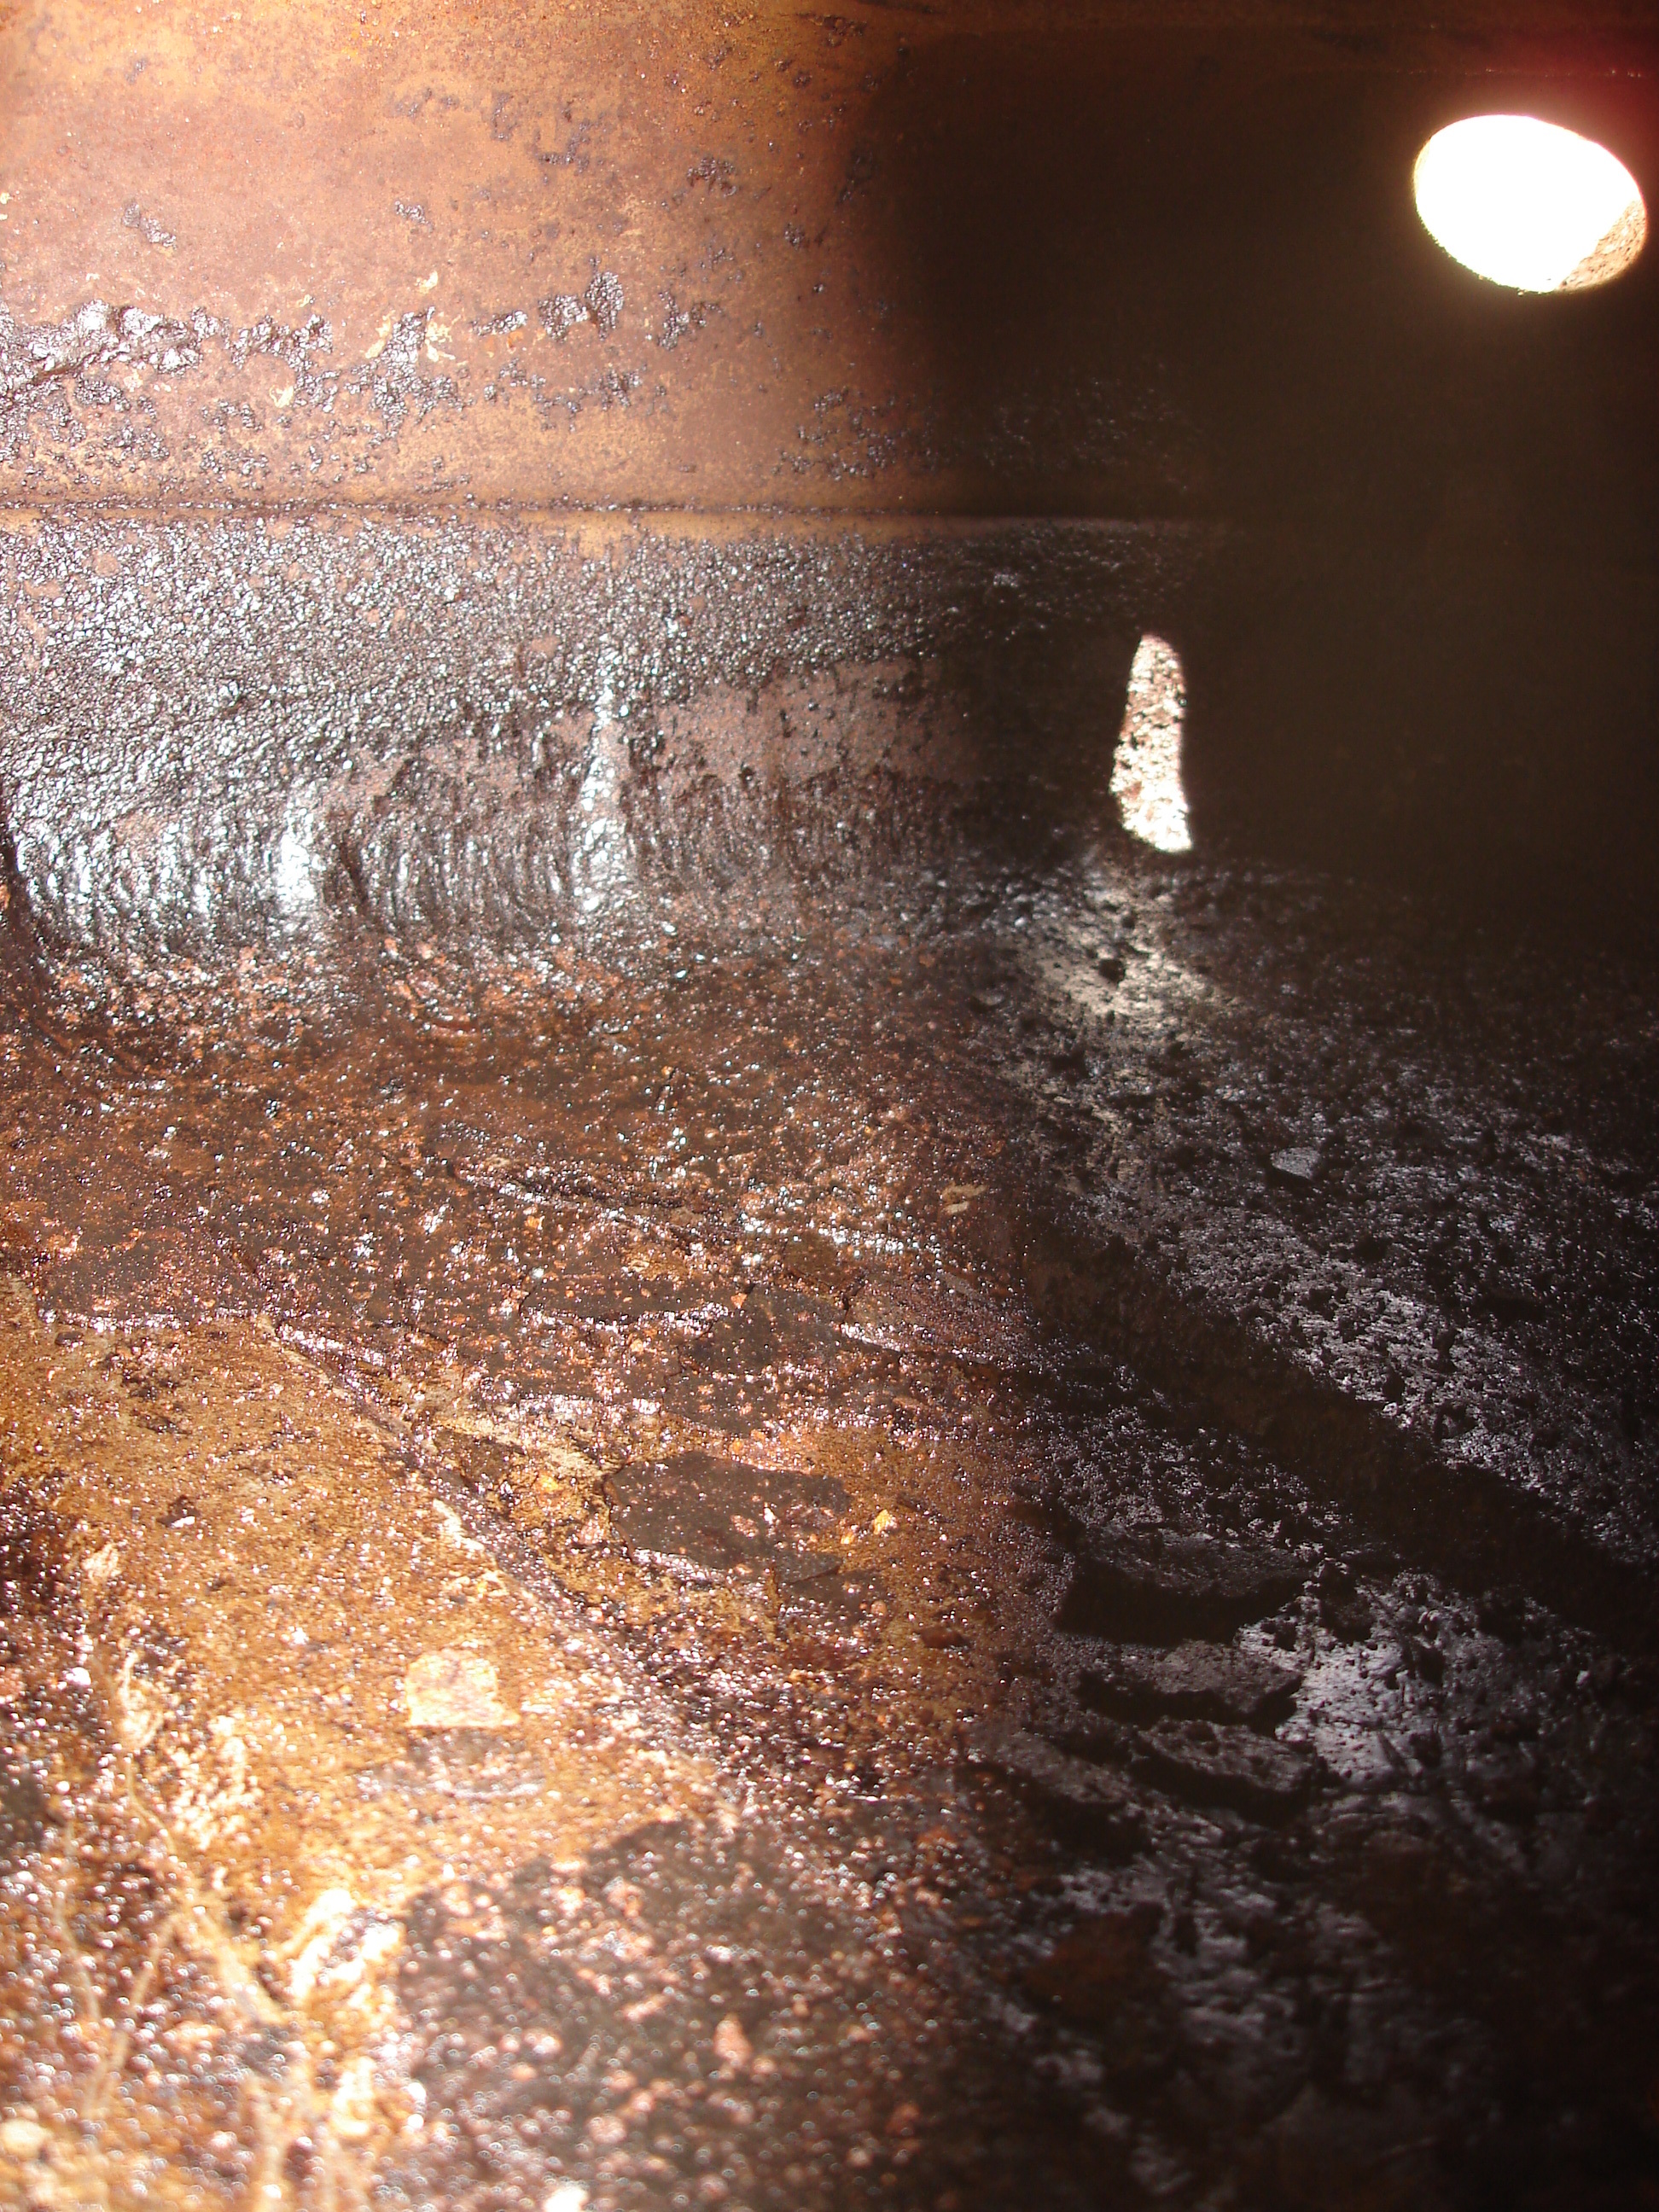
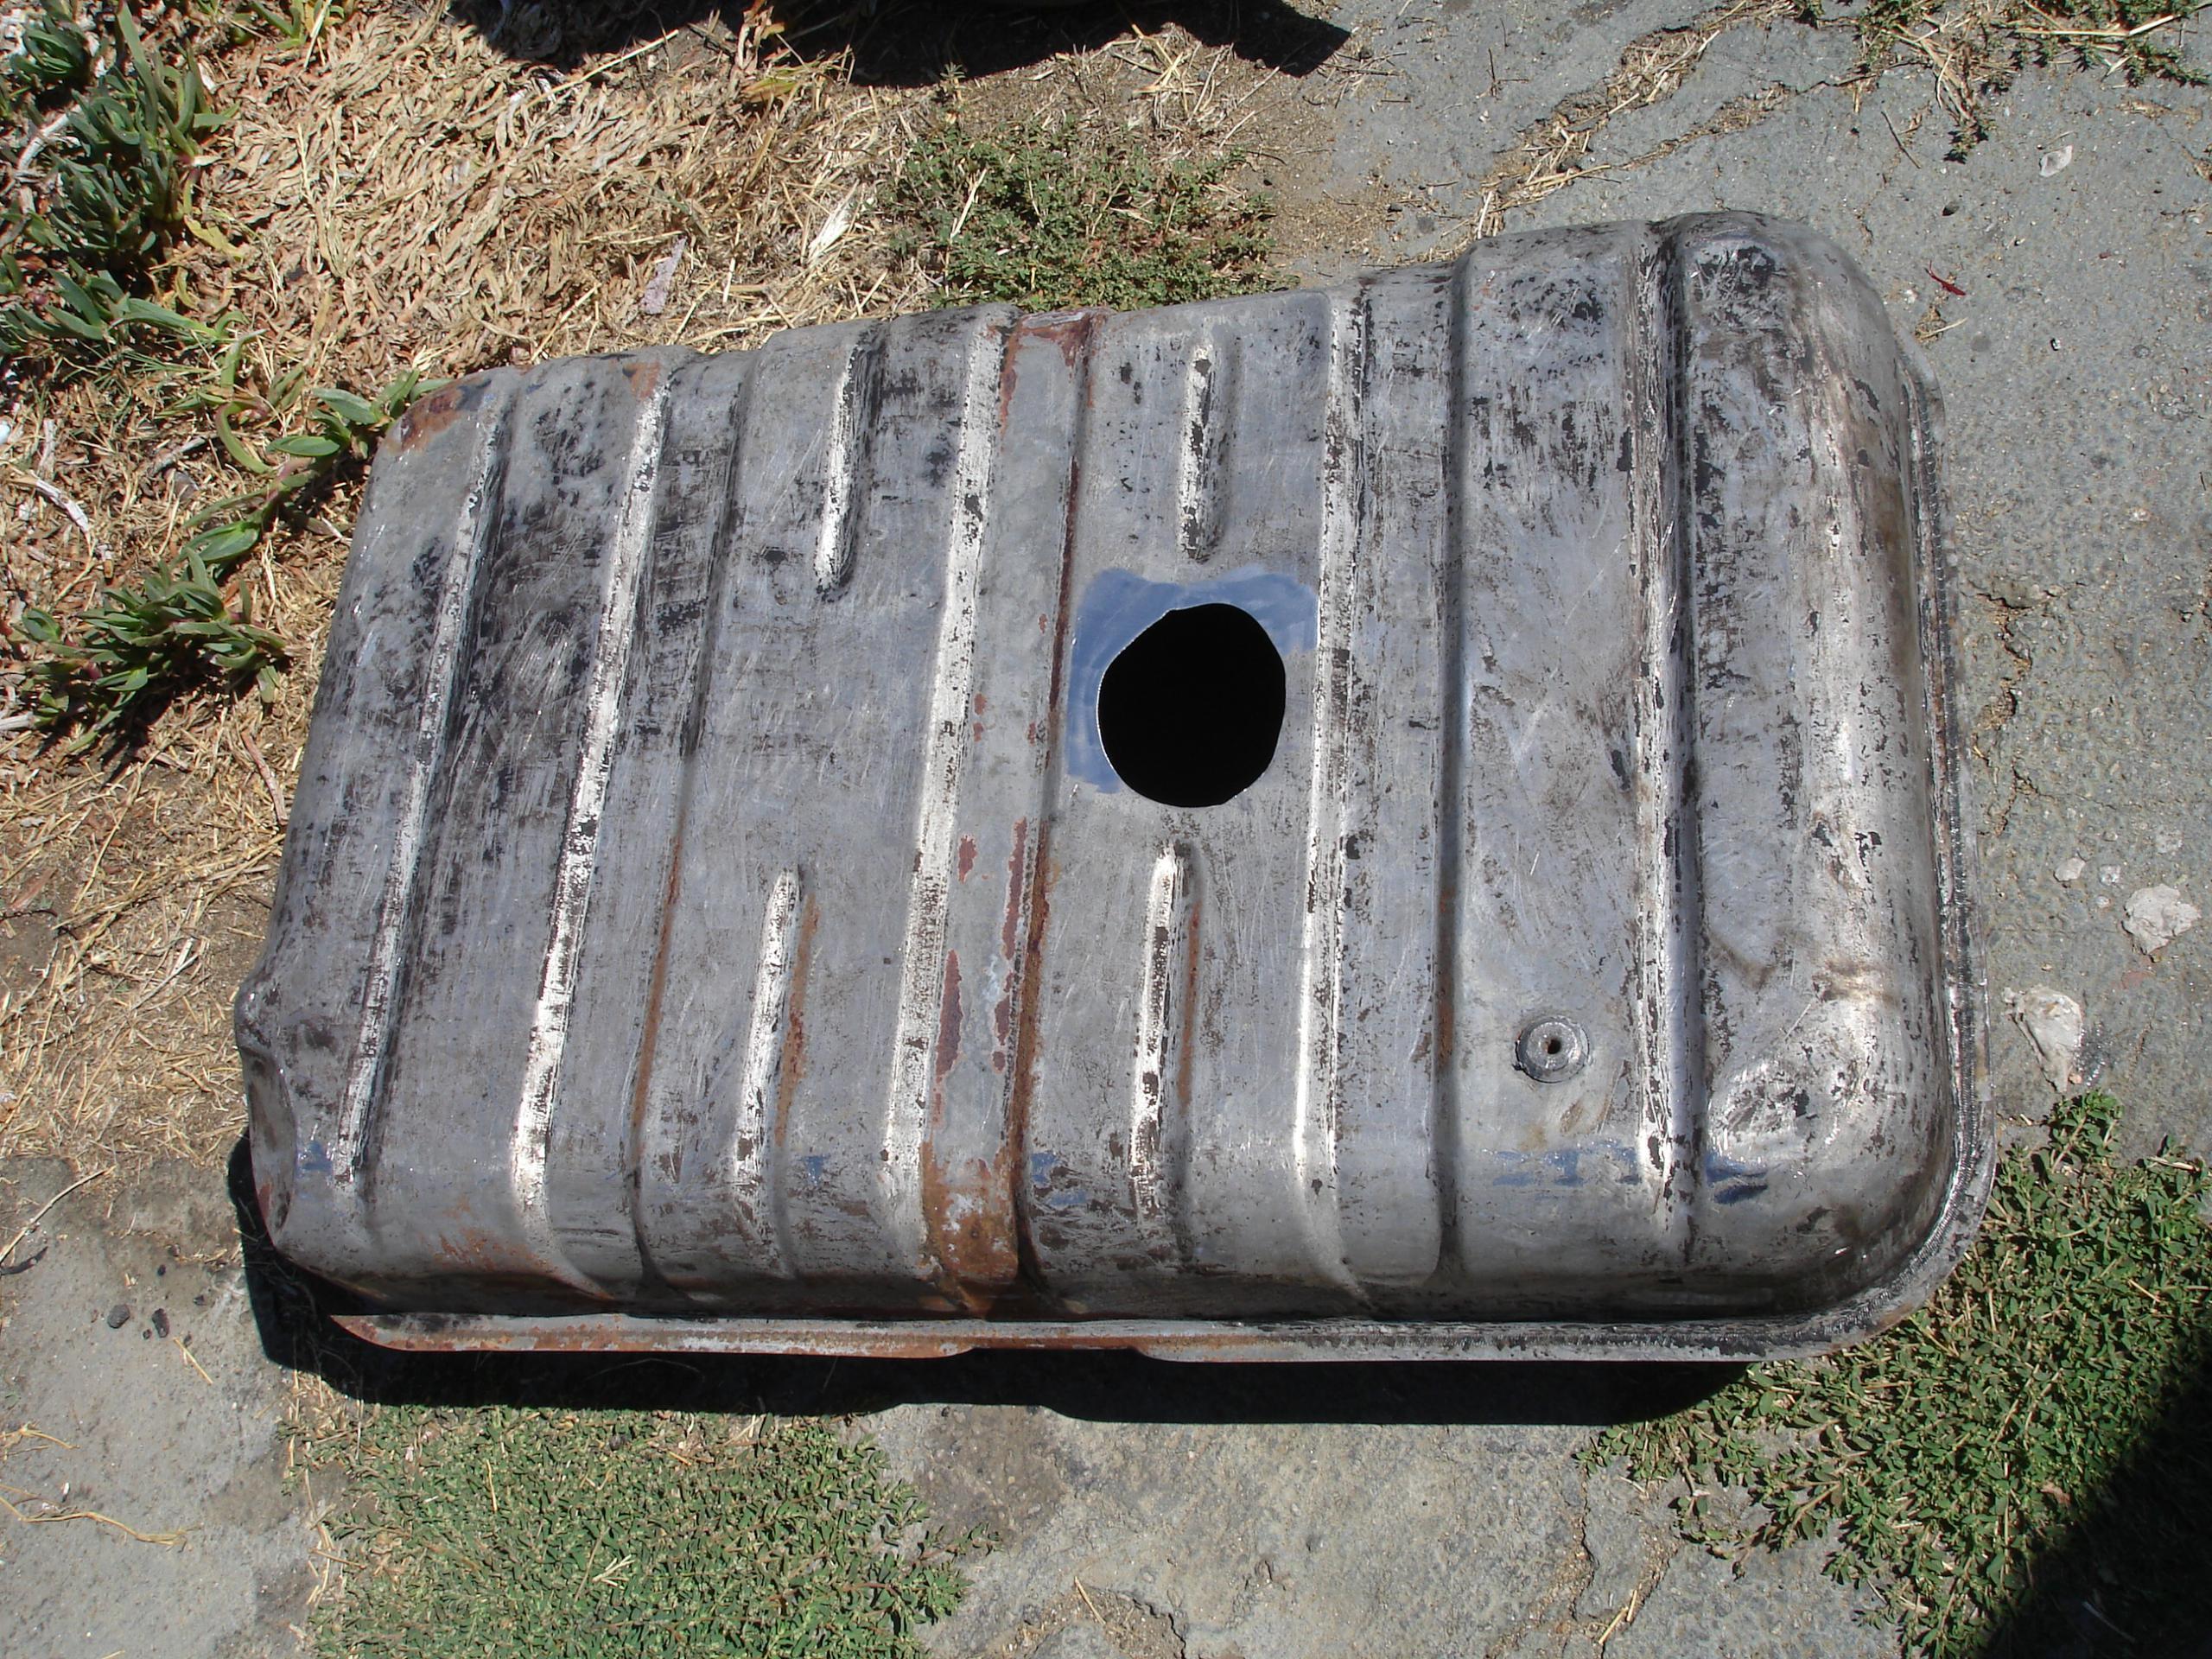
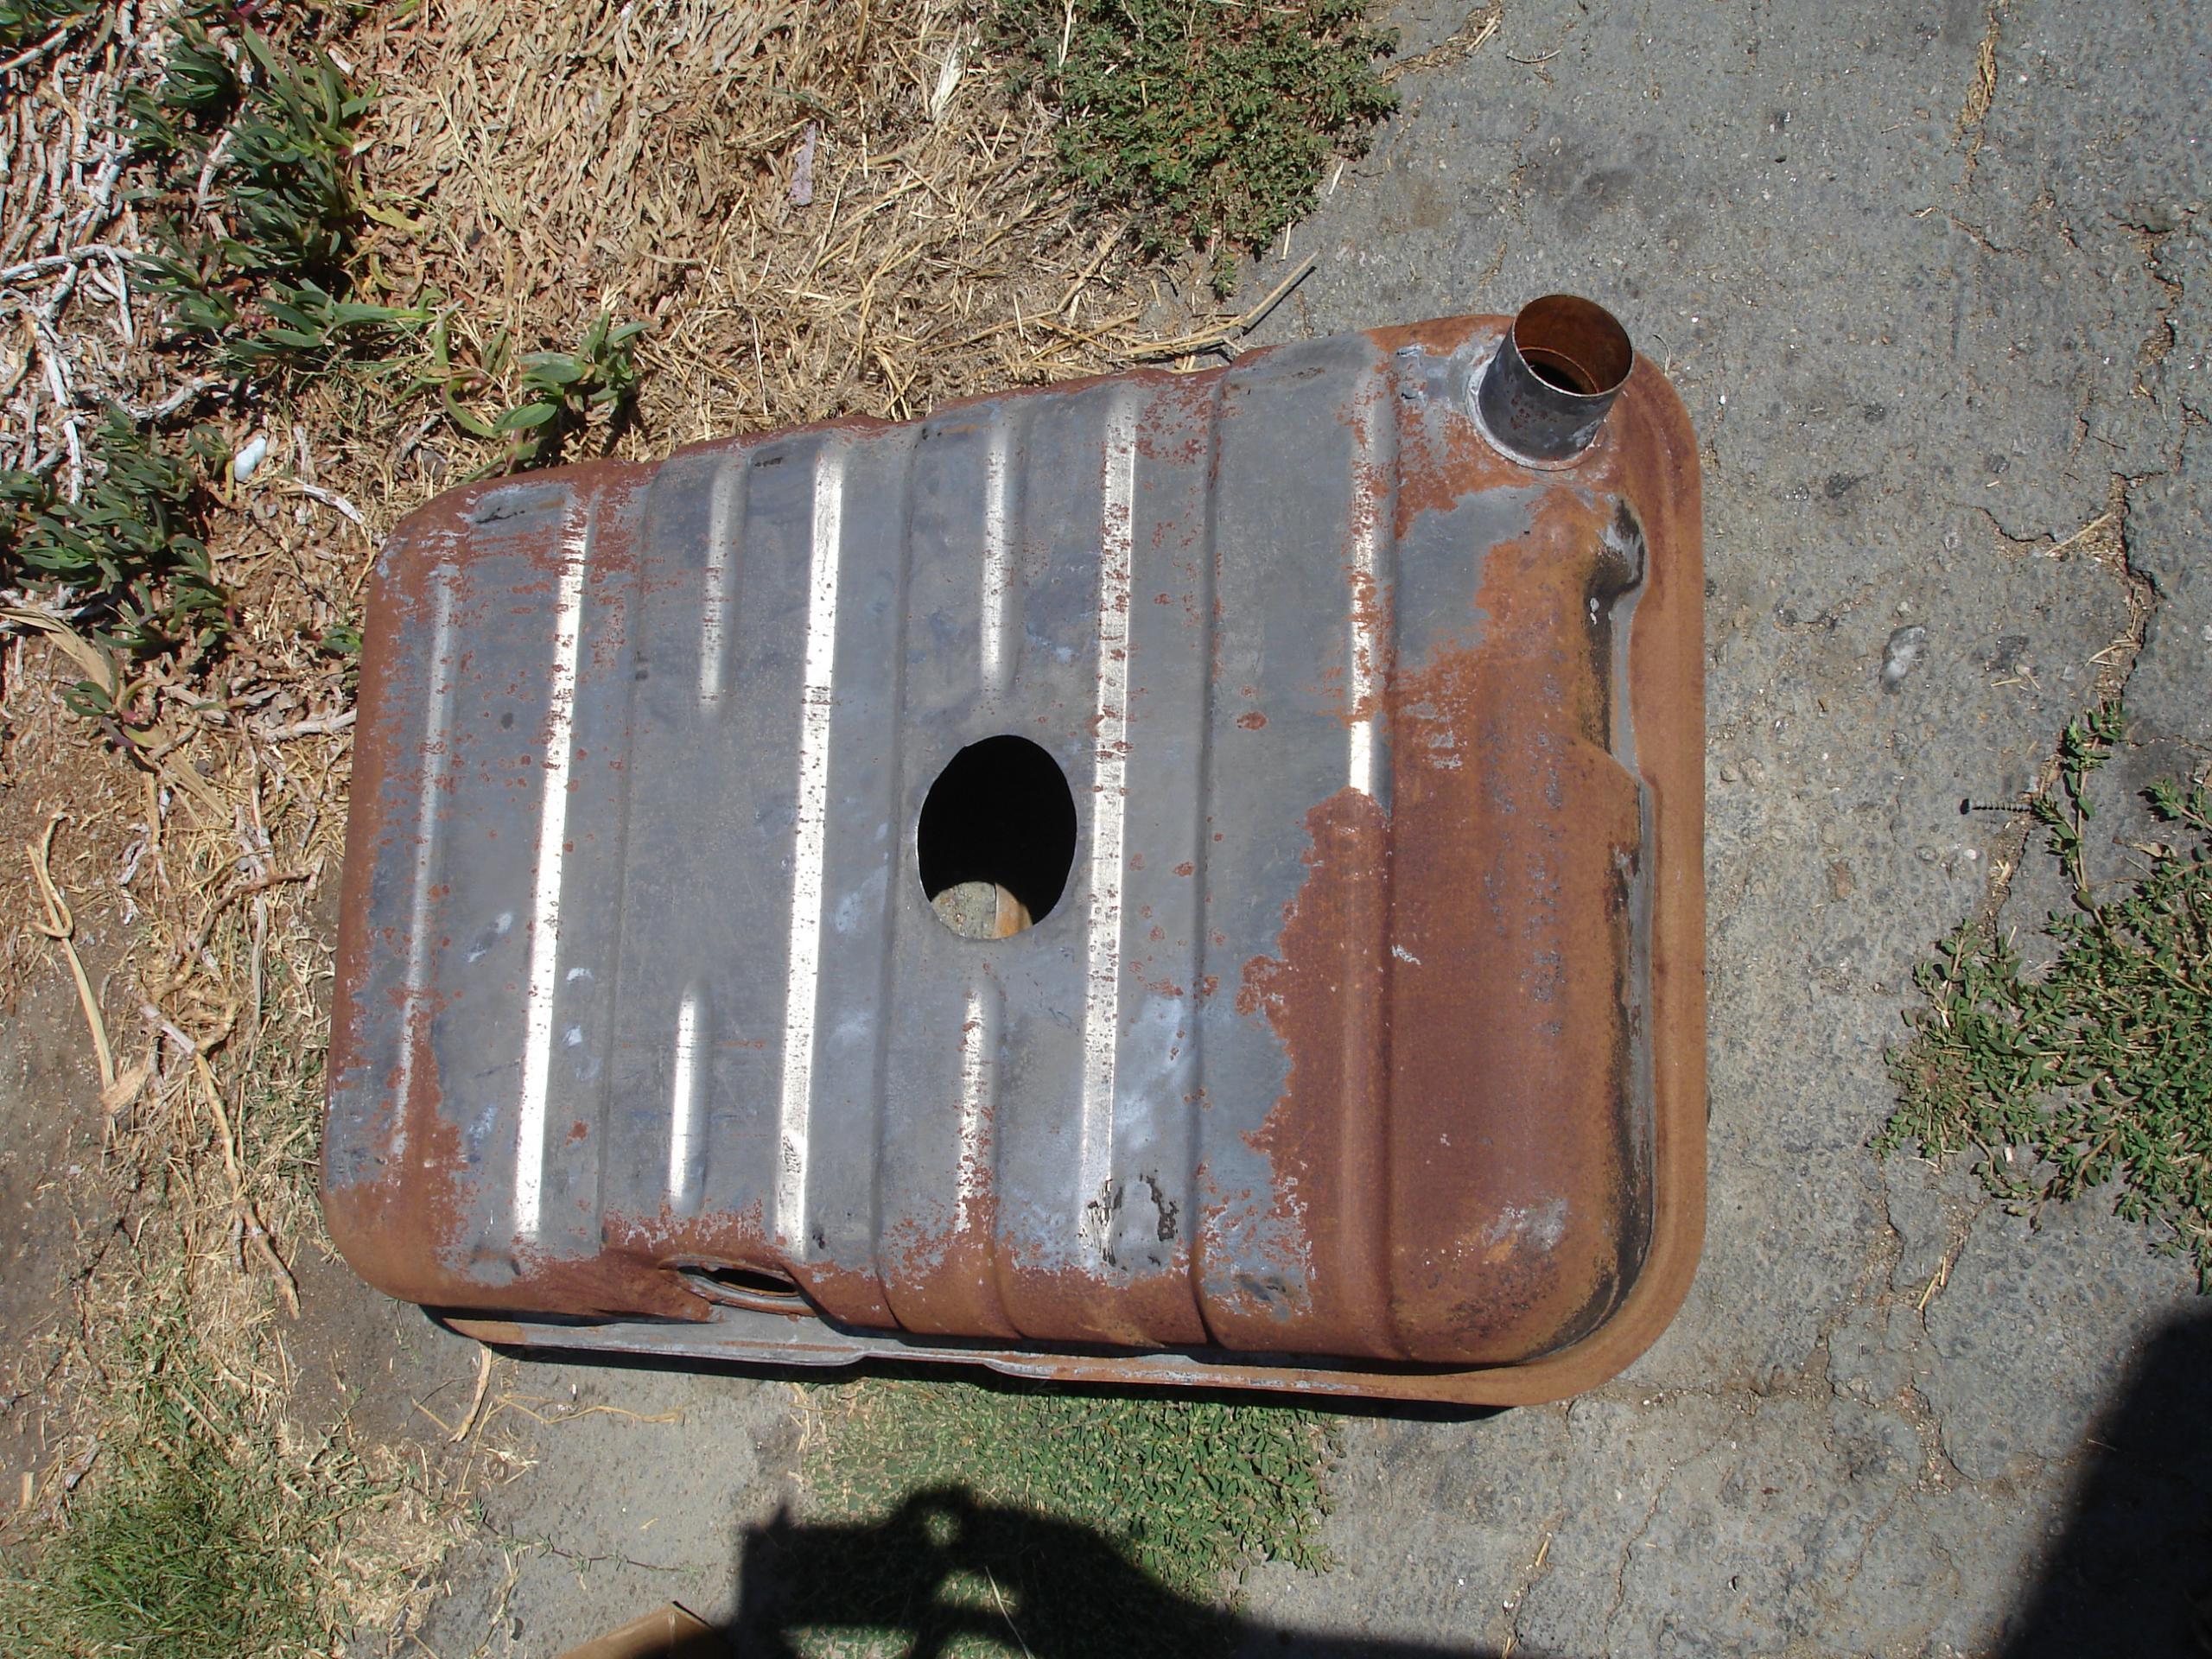
I figured there was rust in there, and there was lots of that, but this was something else, as you can see from the photos of the tank, and also the valve tulips in the set of photos in the cylinder head section.
Here’s a 100 mL of good gas in the first photo, from another car, and what came out of the American’s tank in the next photo:
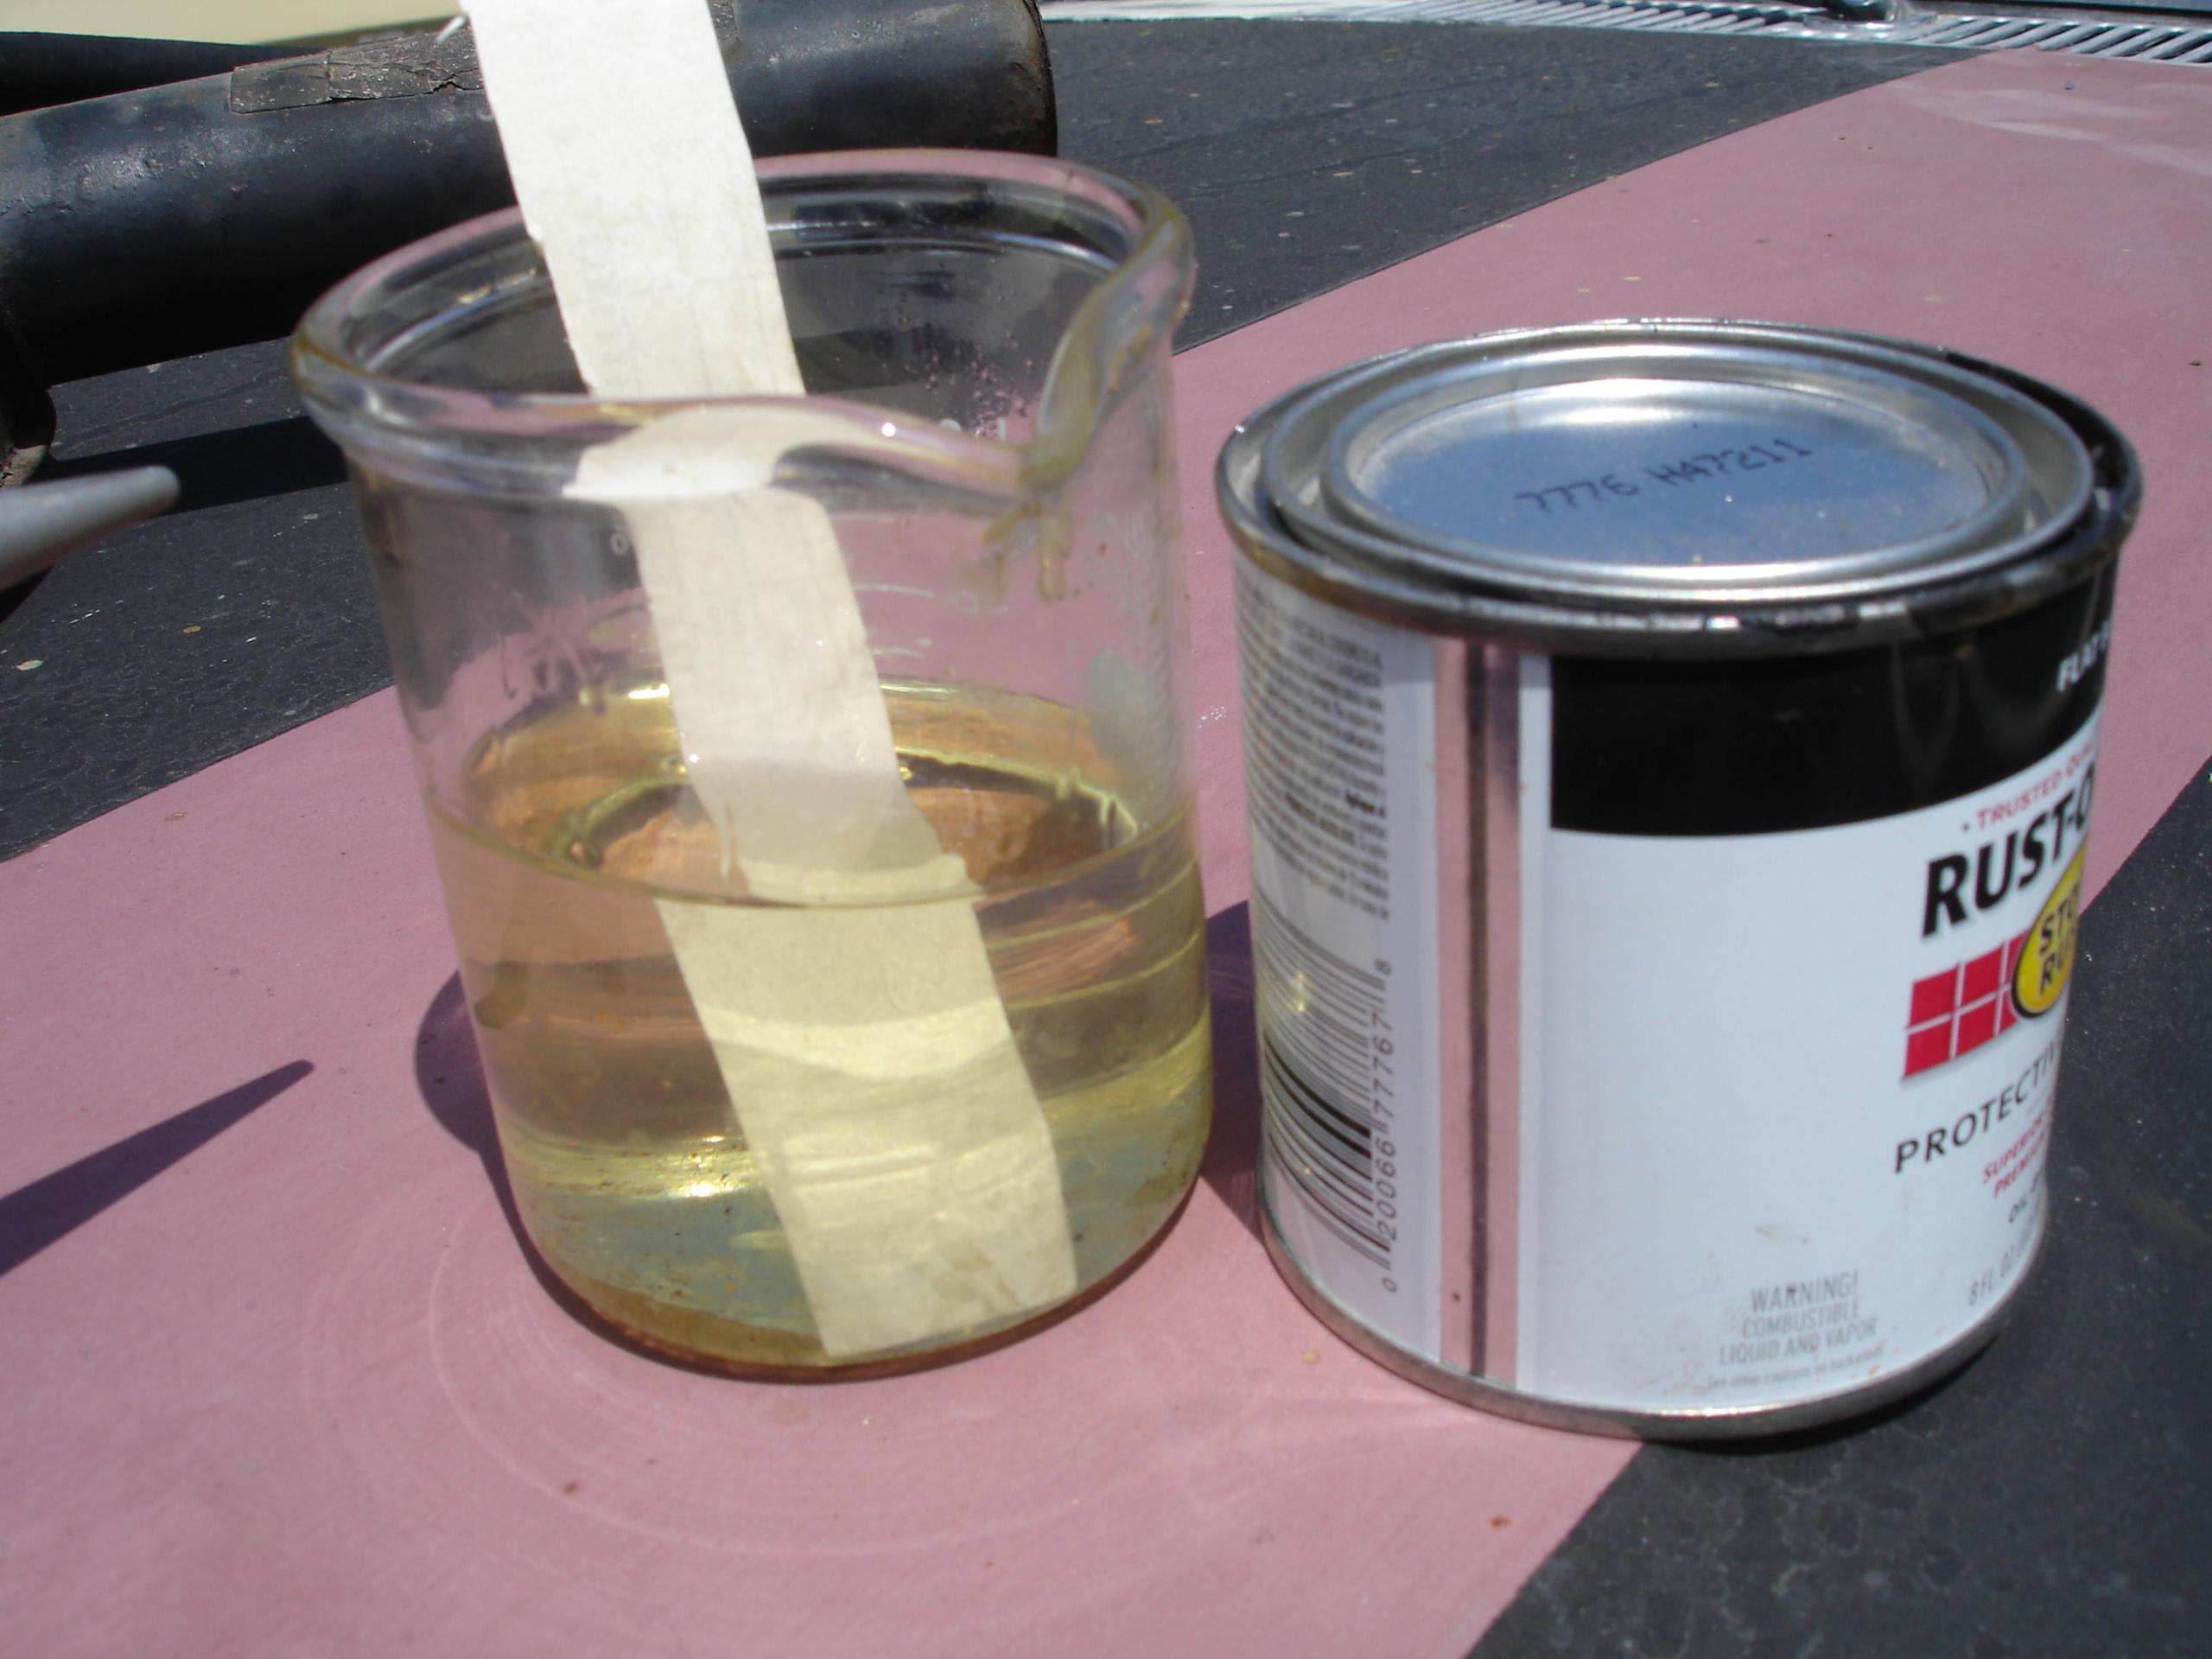
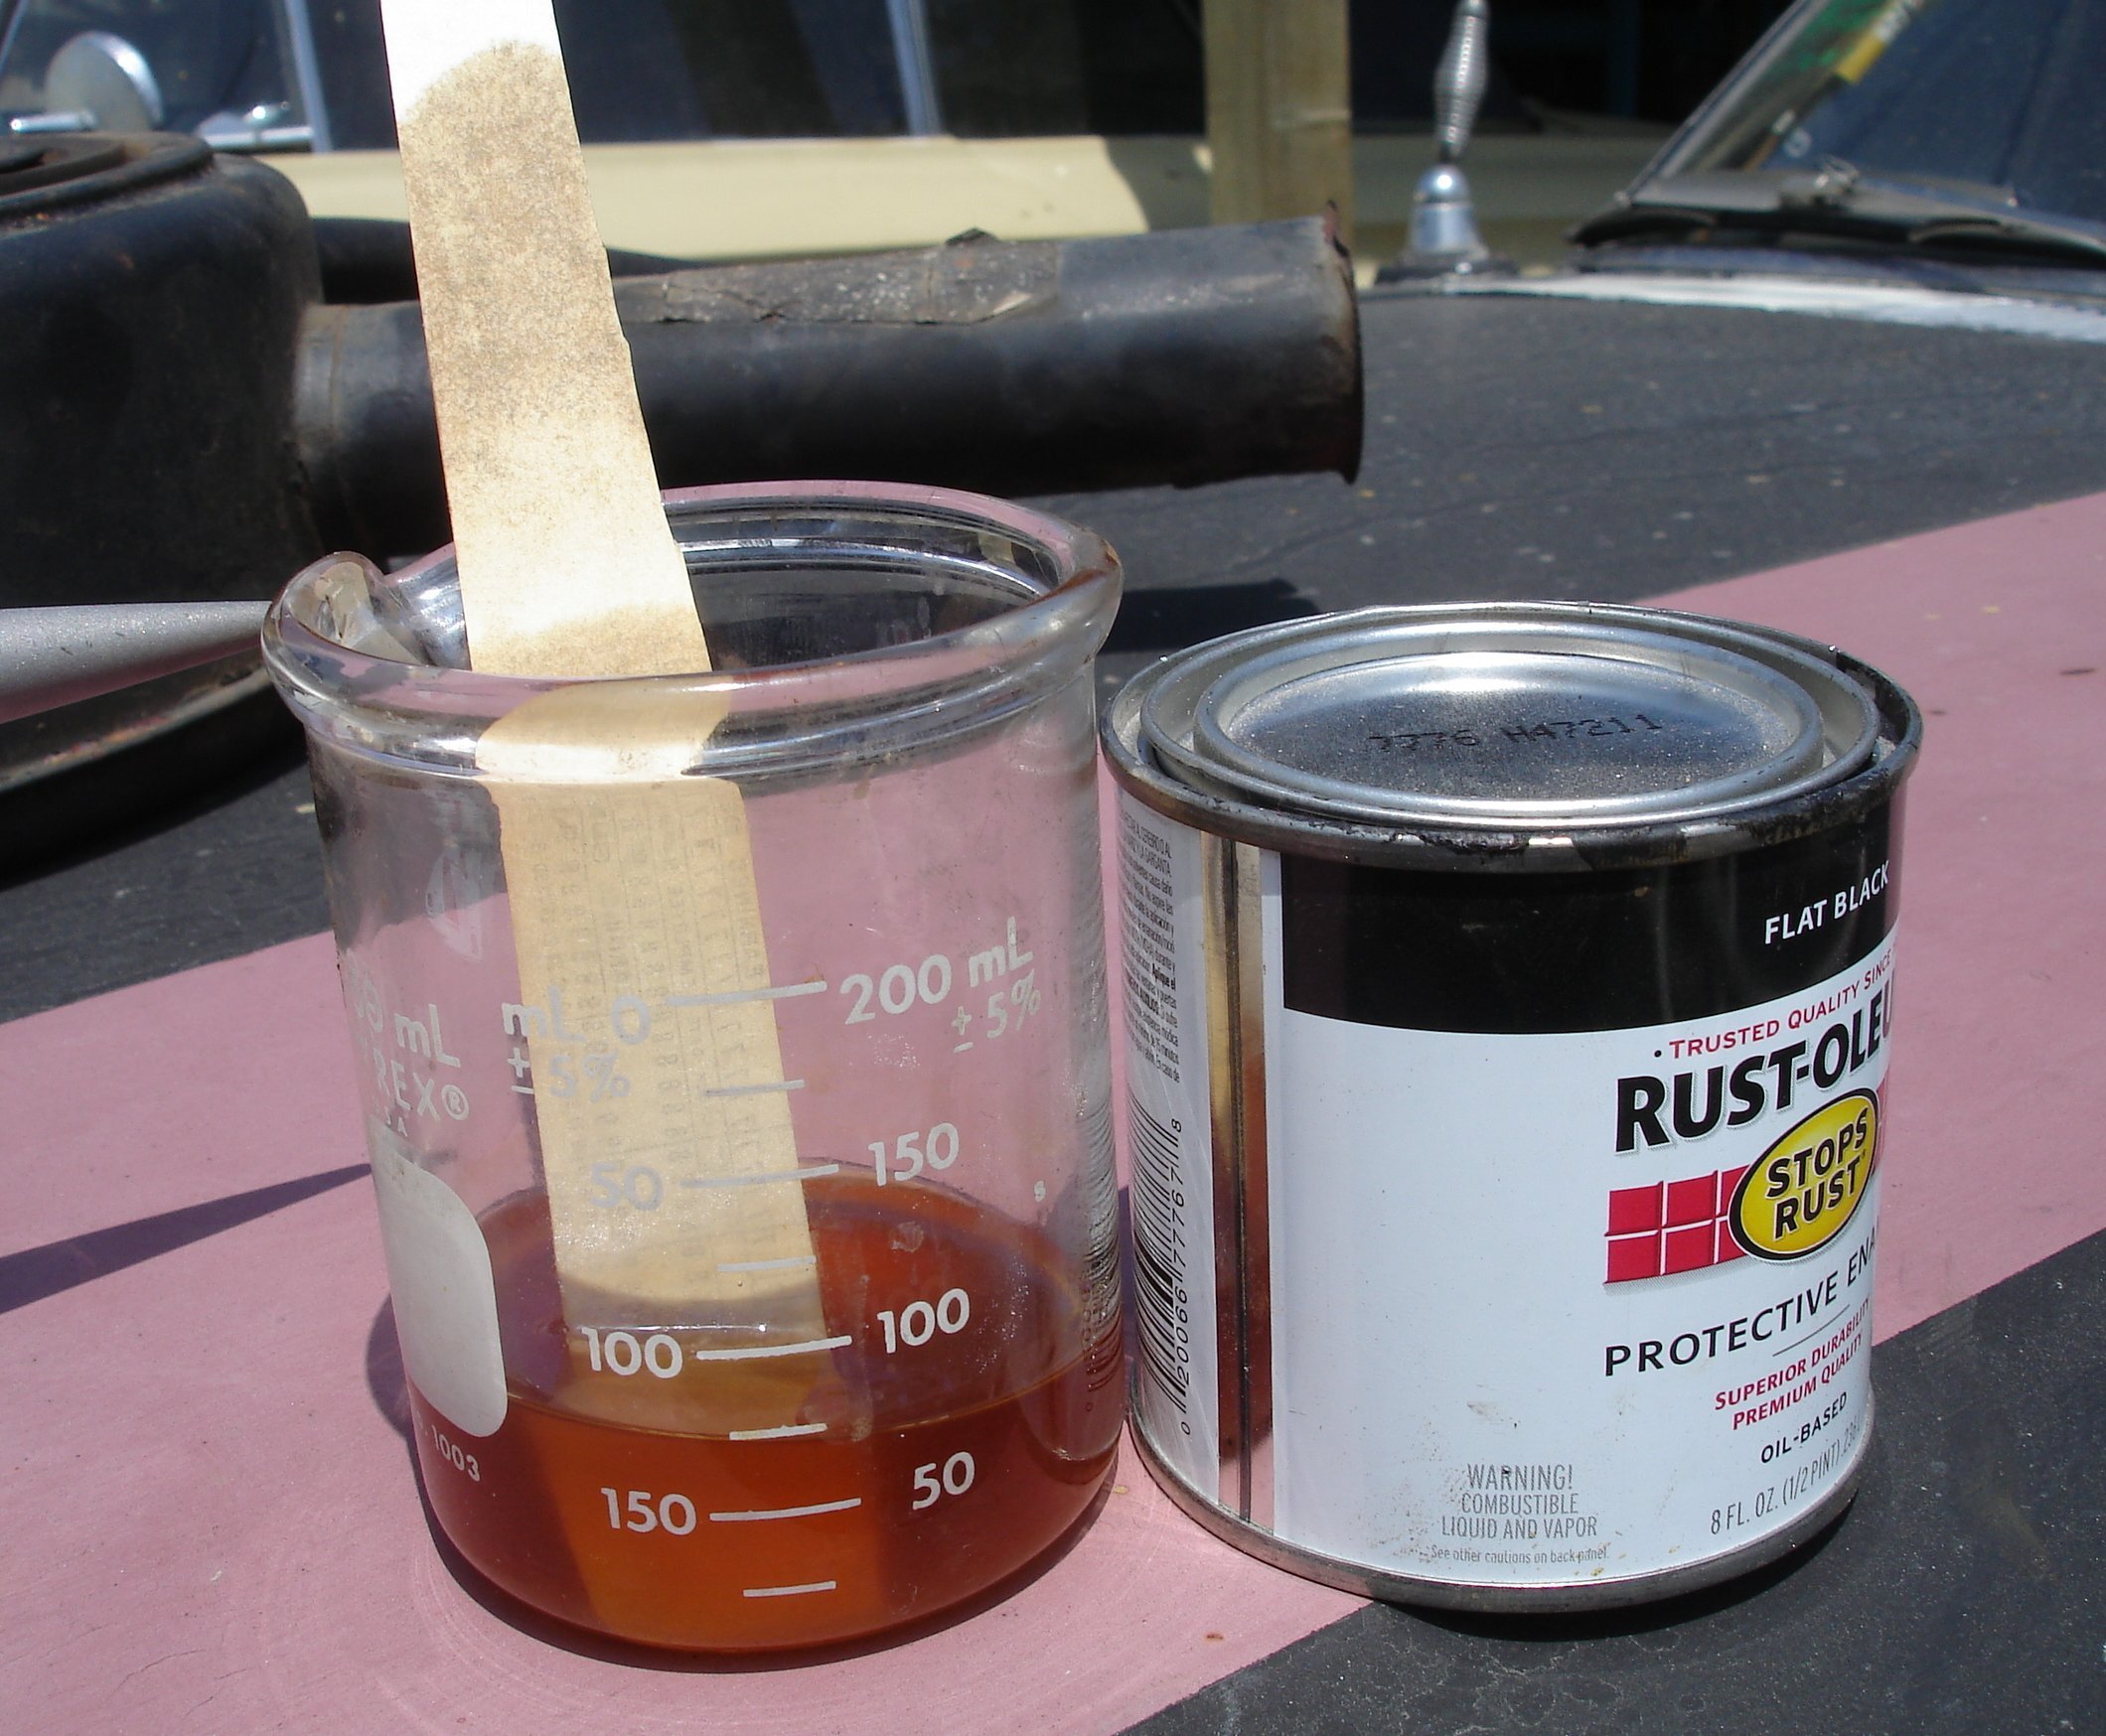
The paper strips in the beaker is my half-assed chromatography. It works! I let the strip of cardboard (new-old-stock IBM cards) stand on end in the beaker of gas “for some hours”, then let it dry for an hour. On the left (below) is good gas, which left only a mild translucent residue. On the right is the bad gas, note there’s two distinct bands of something quite dark. (The slight banding at the very bottom is where the strip poked out of the gas, it doesn’t count.)

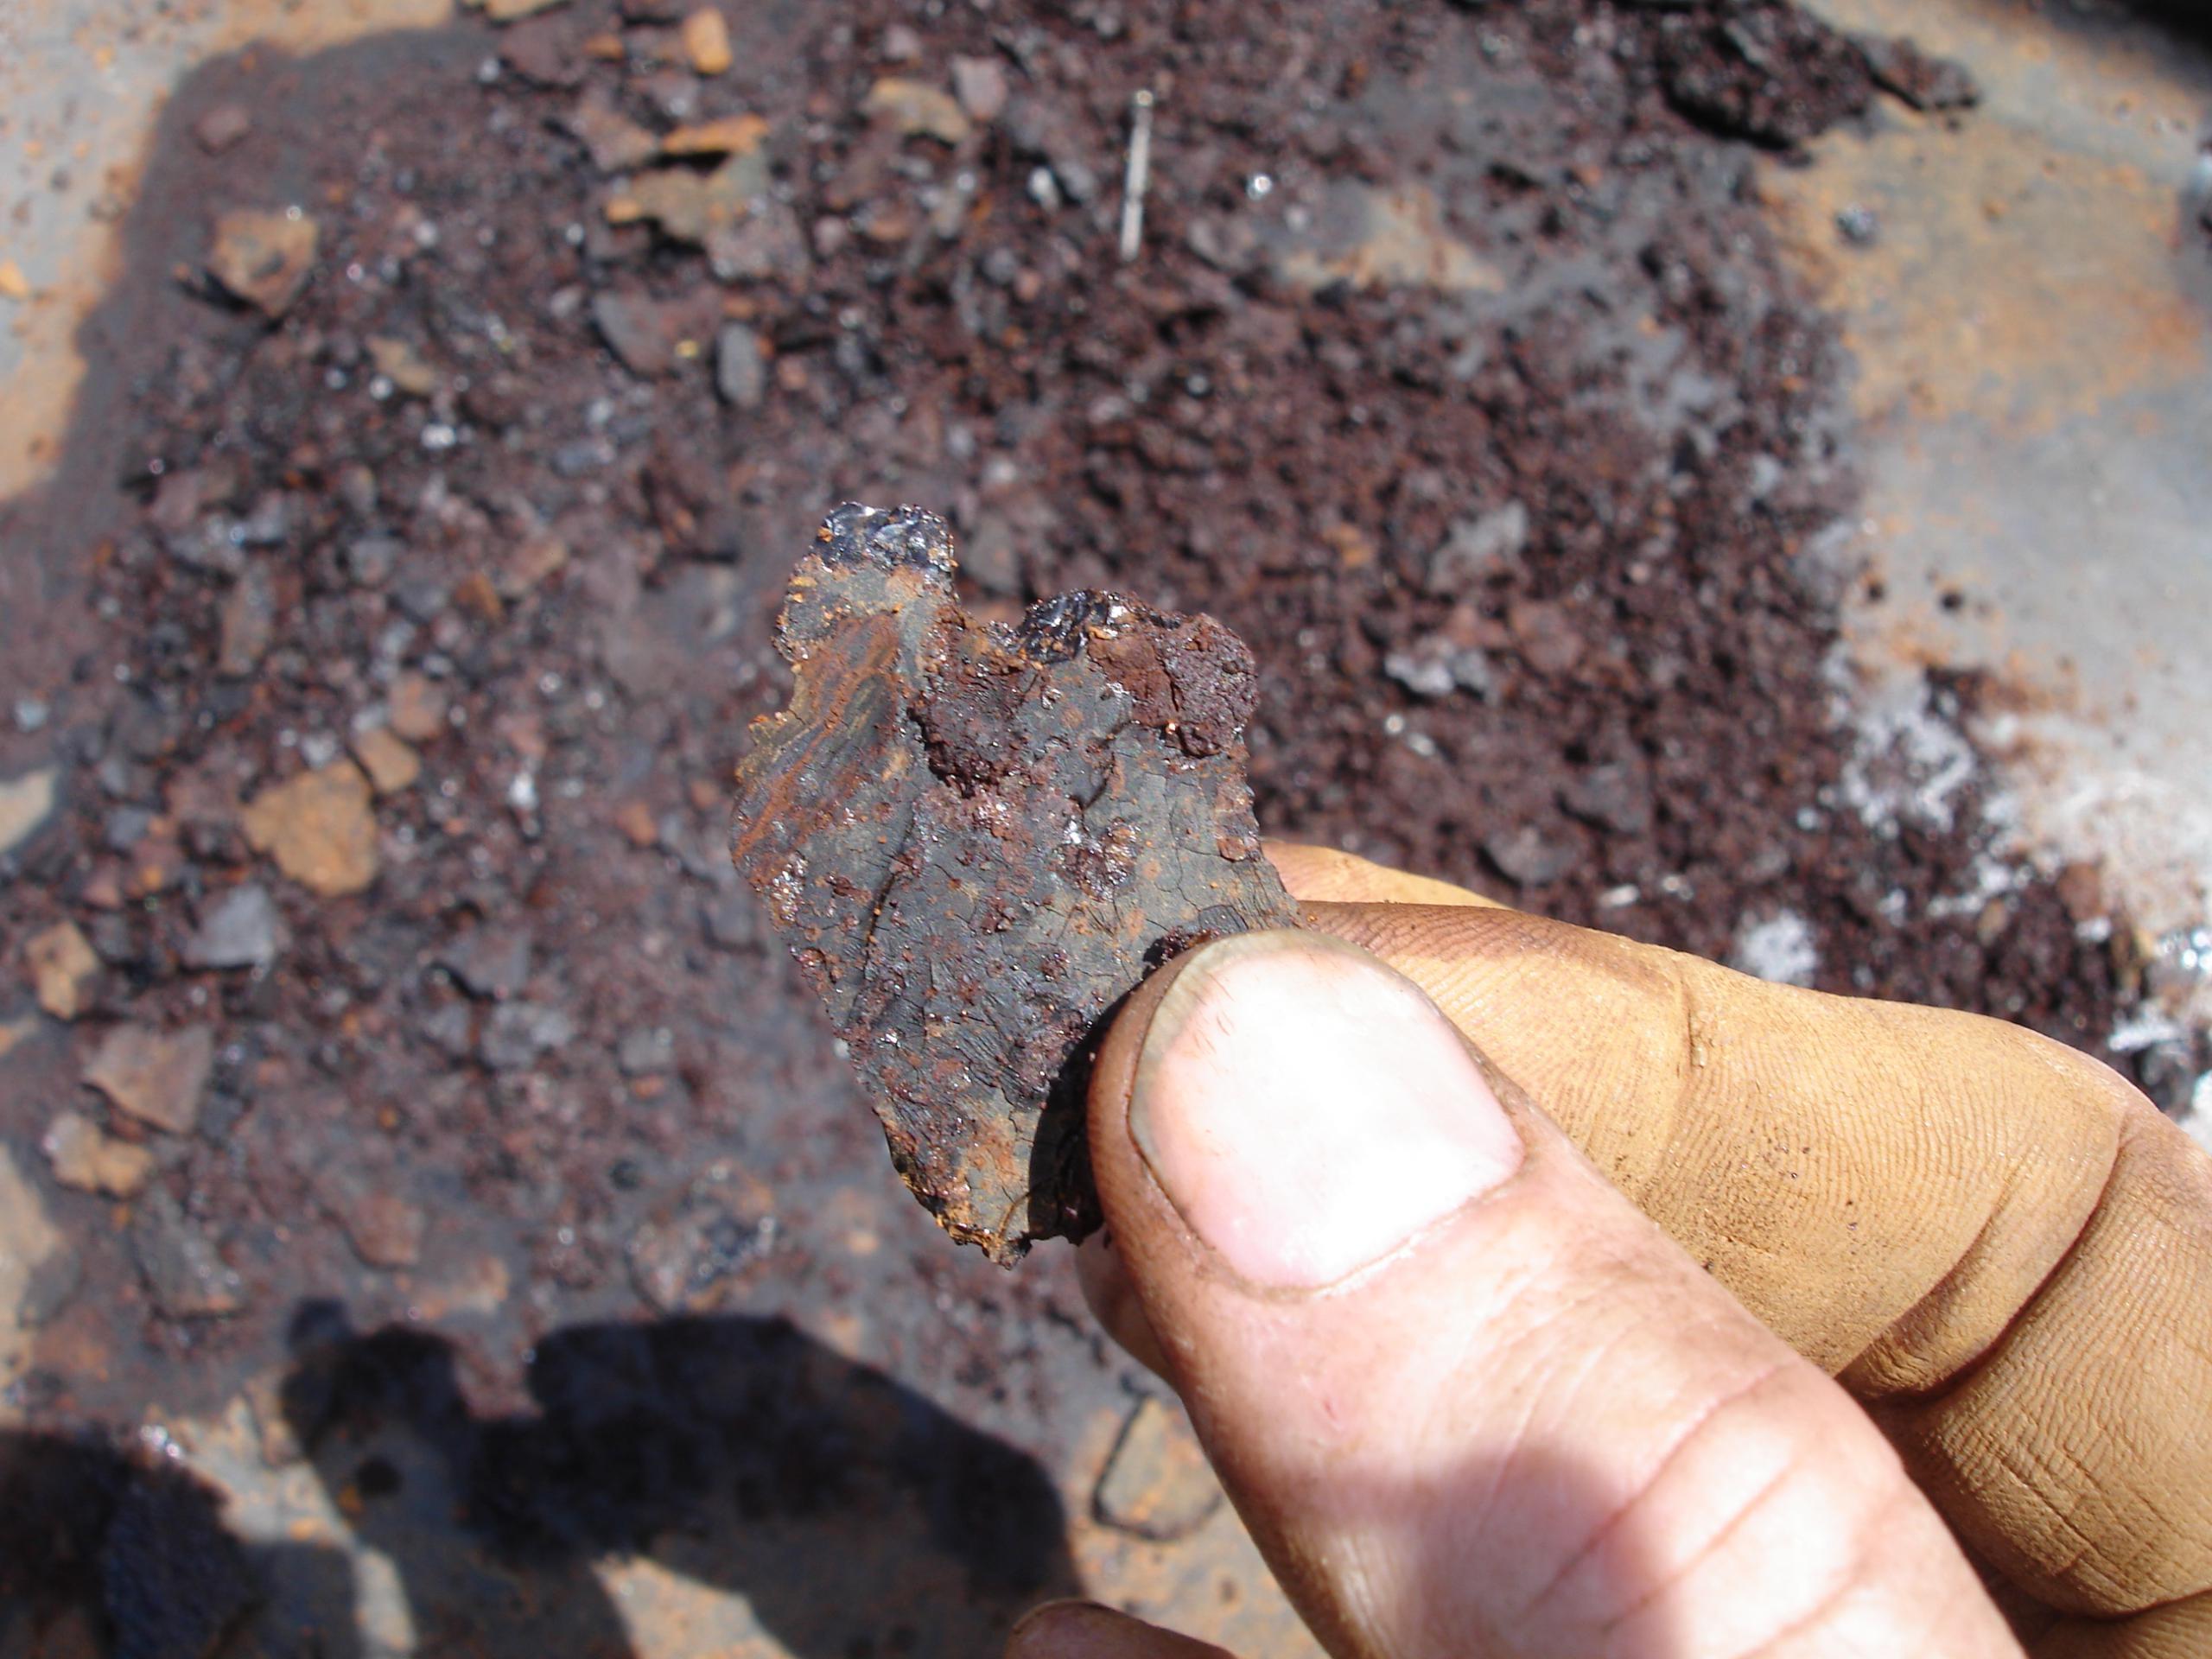
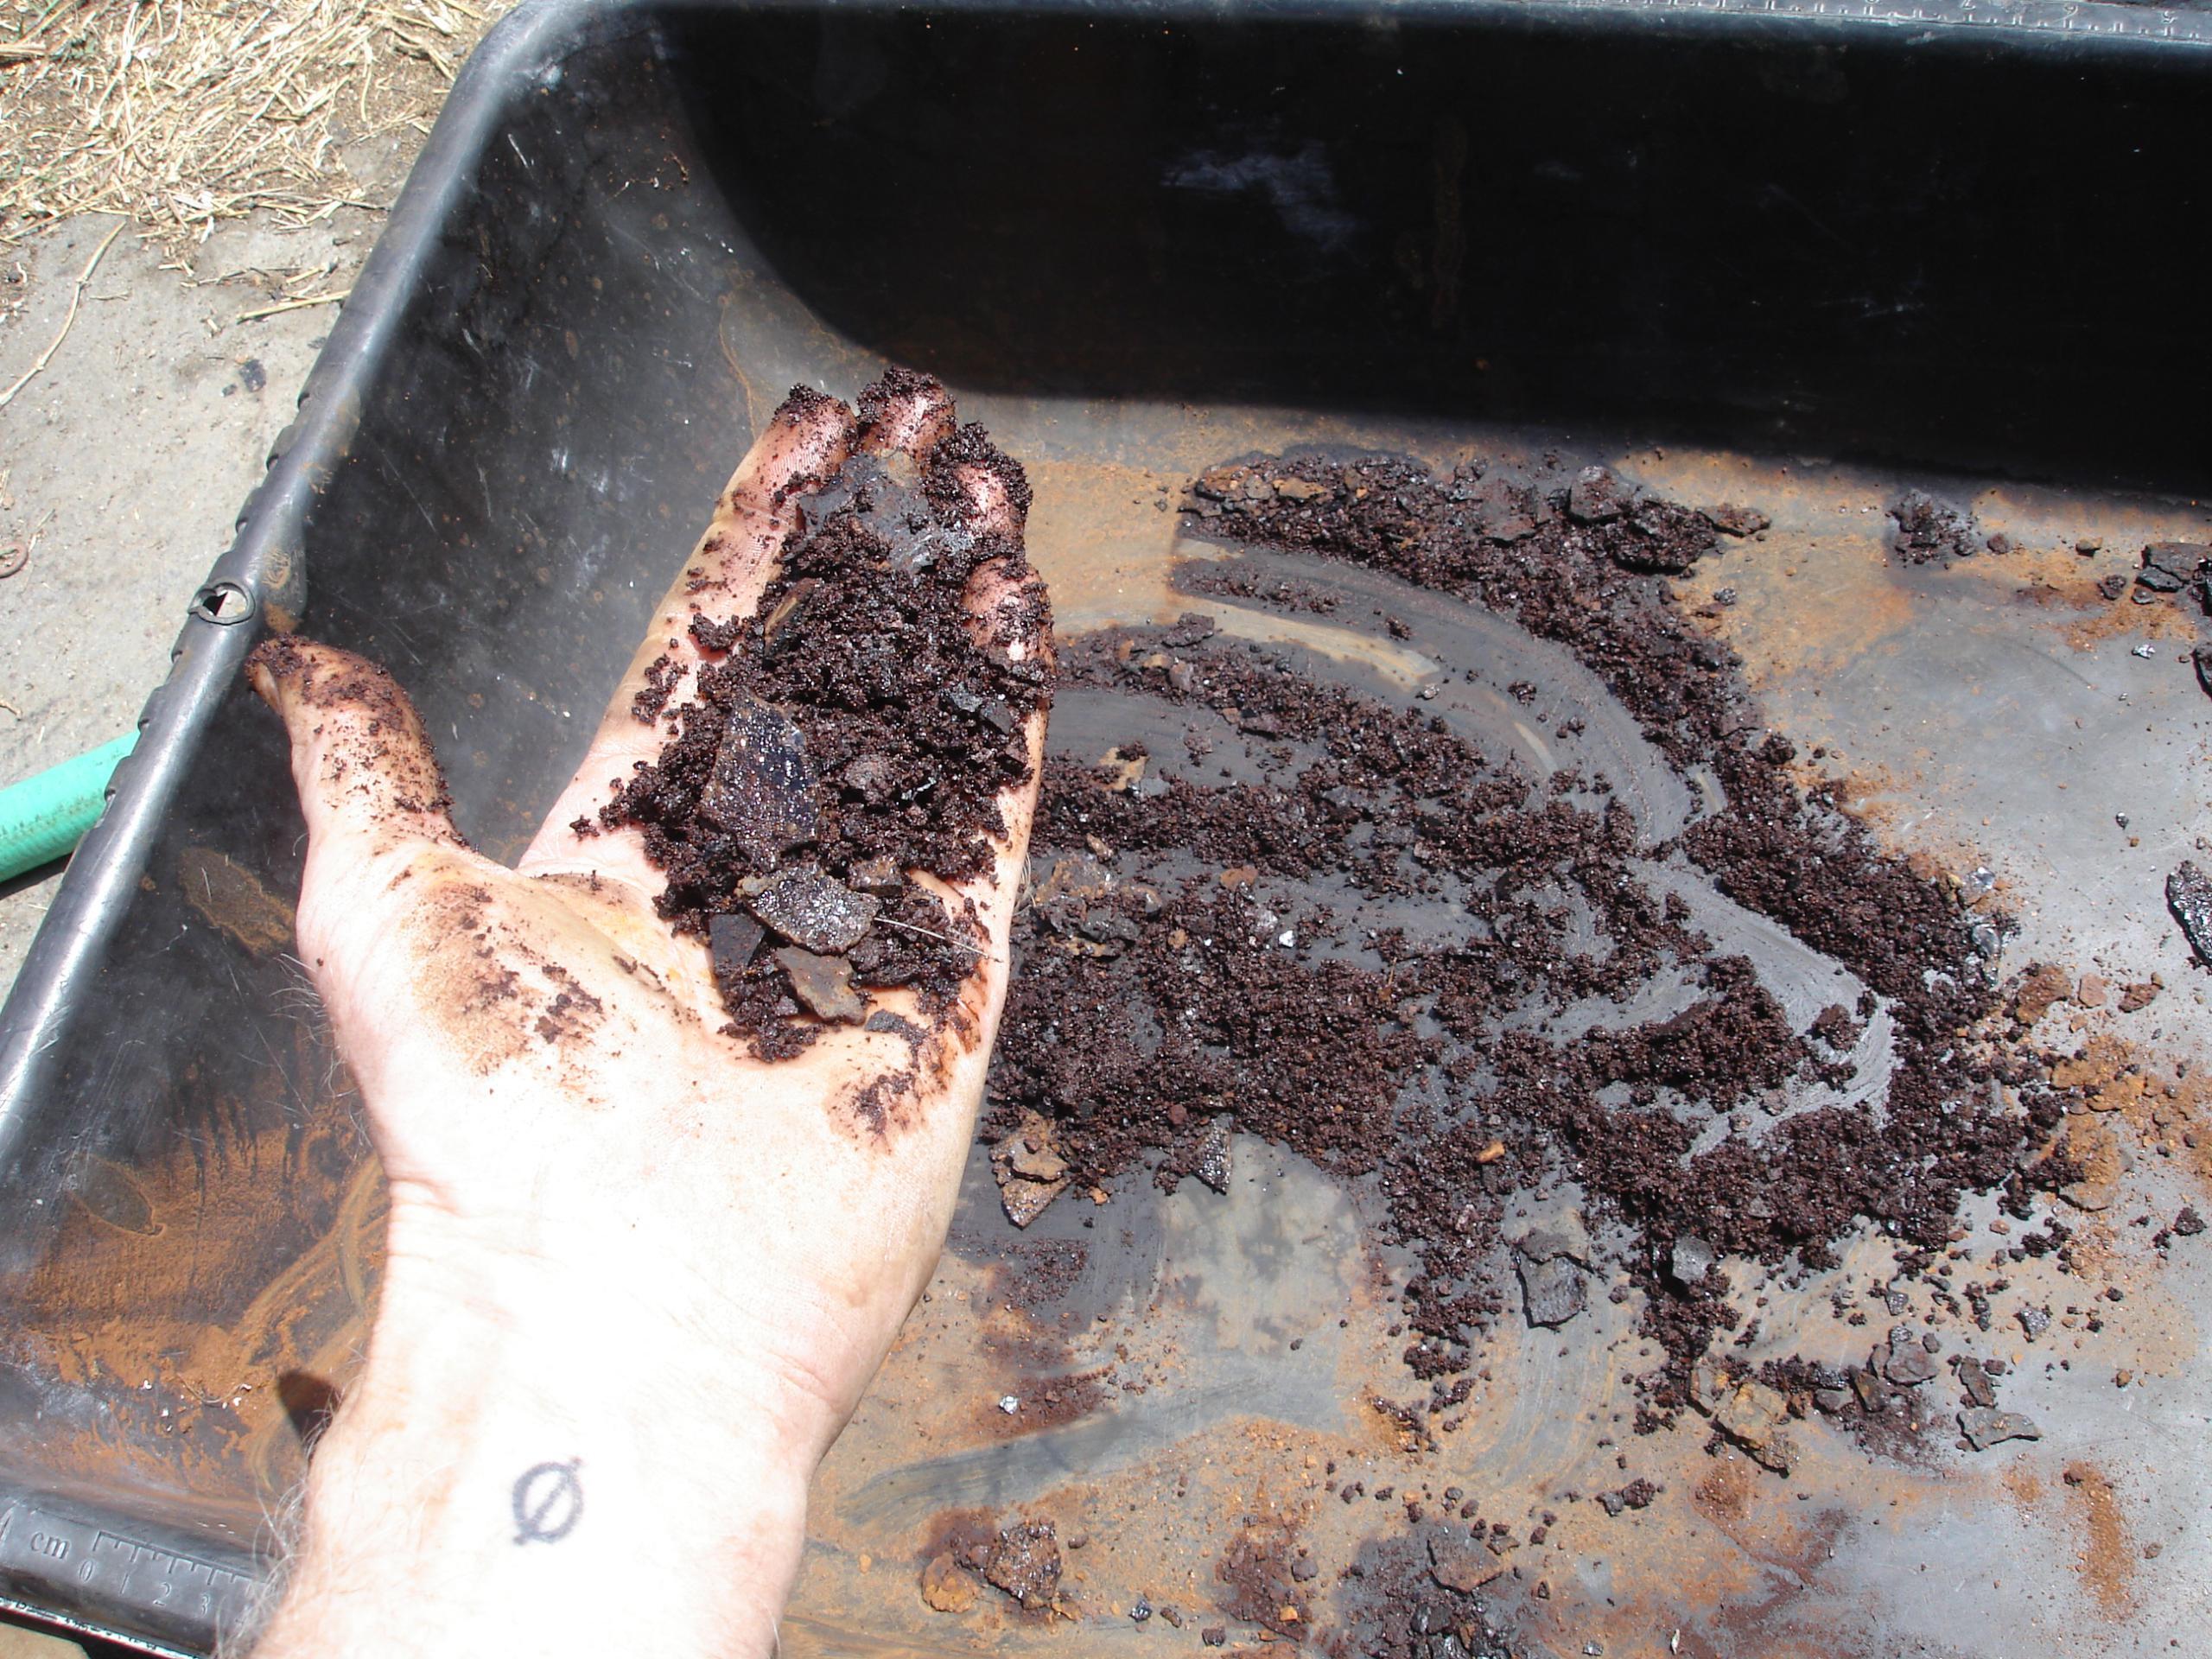
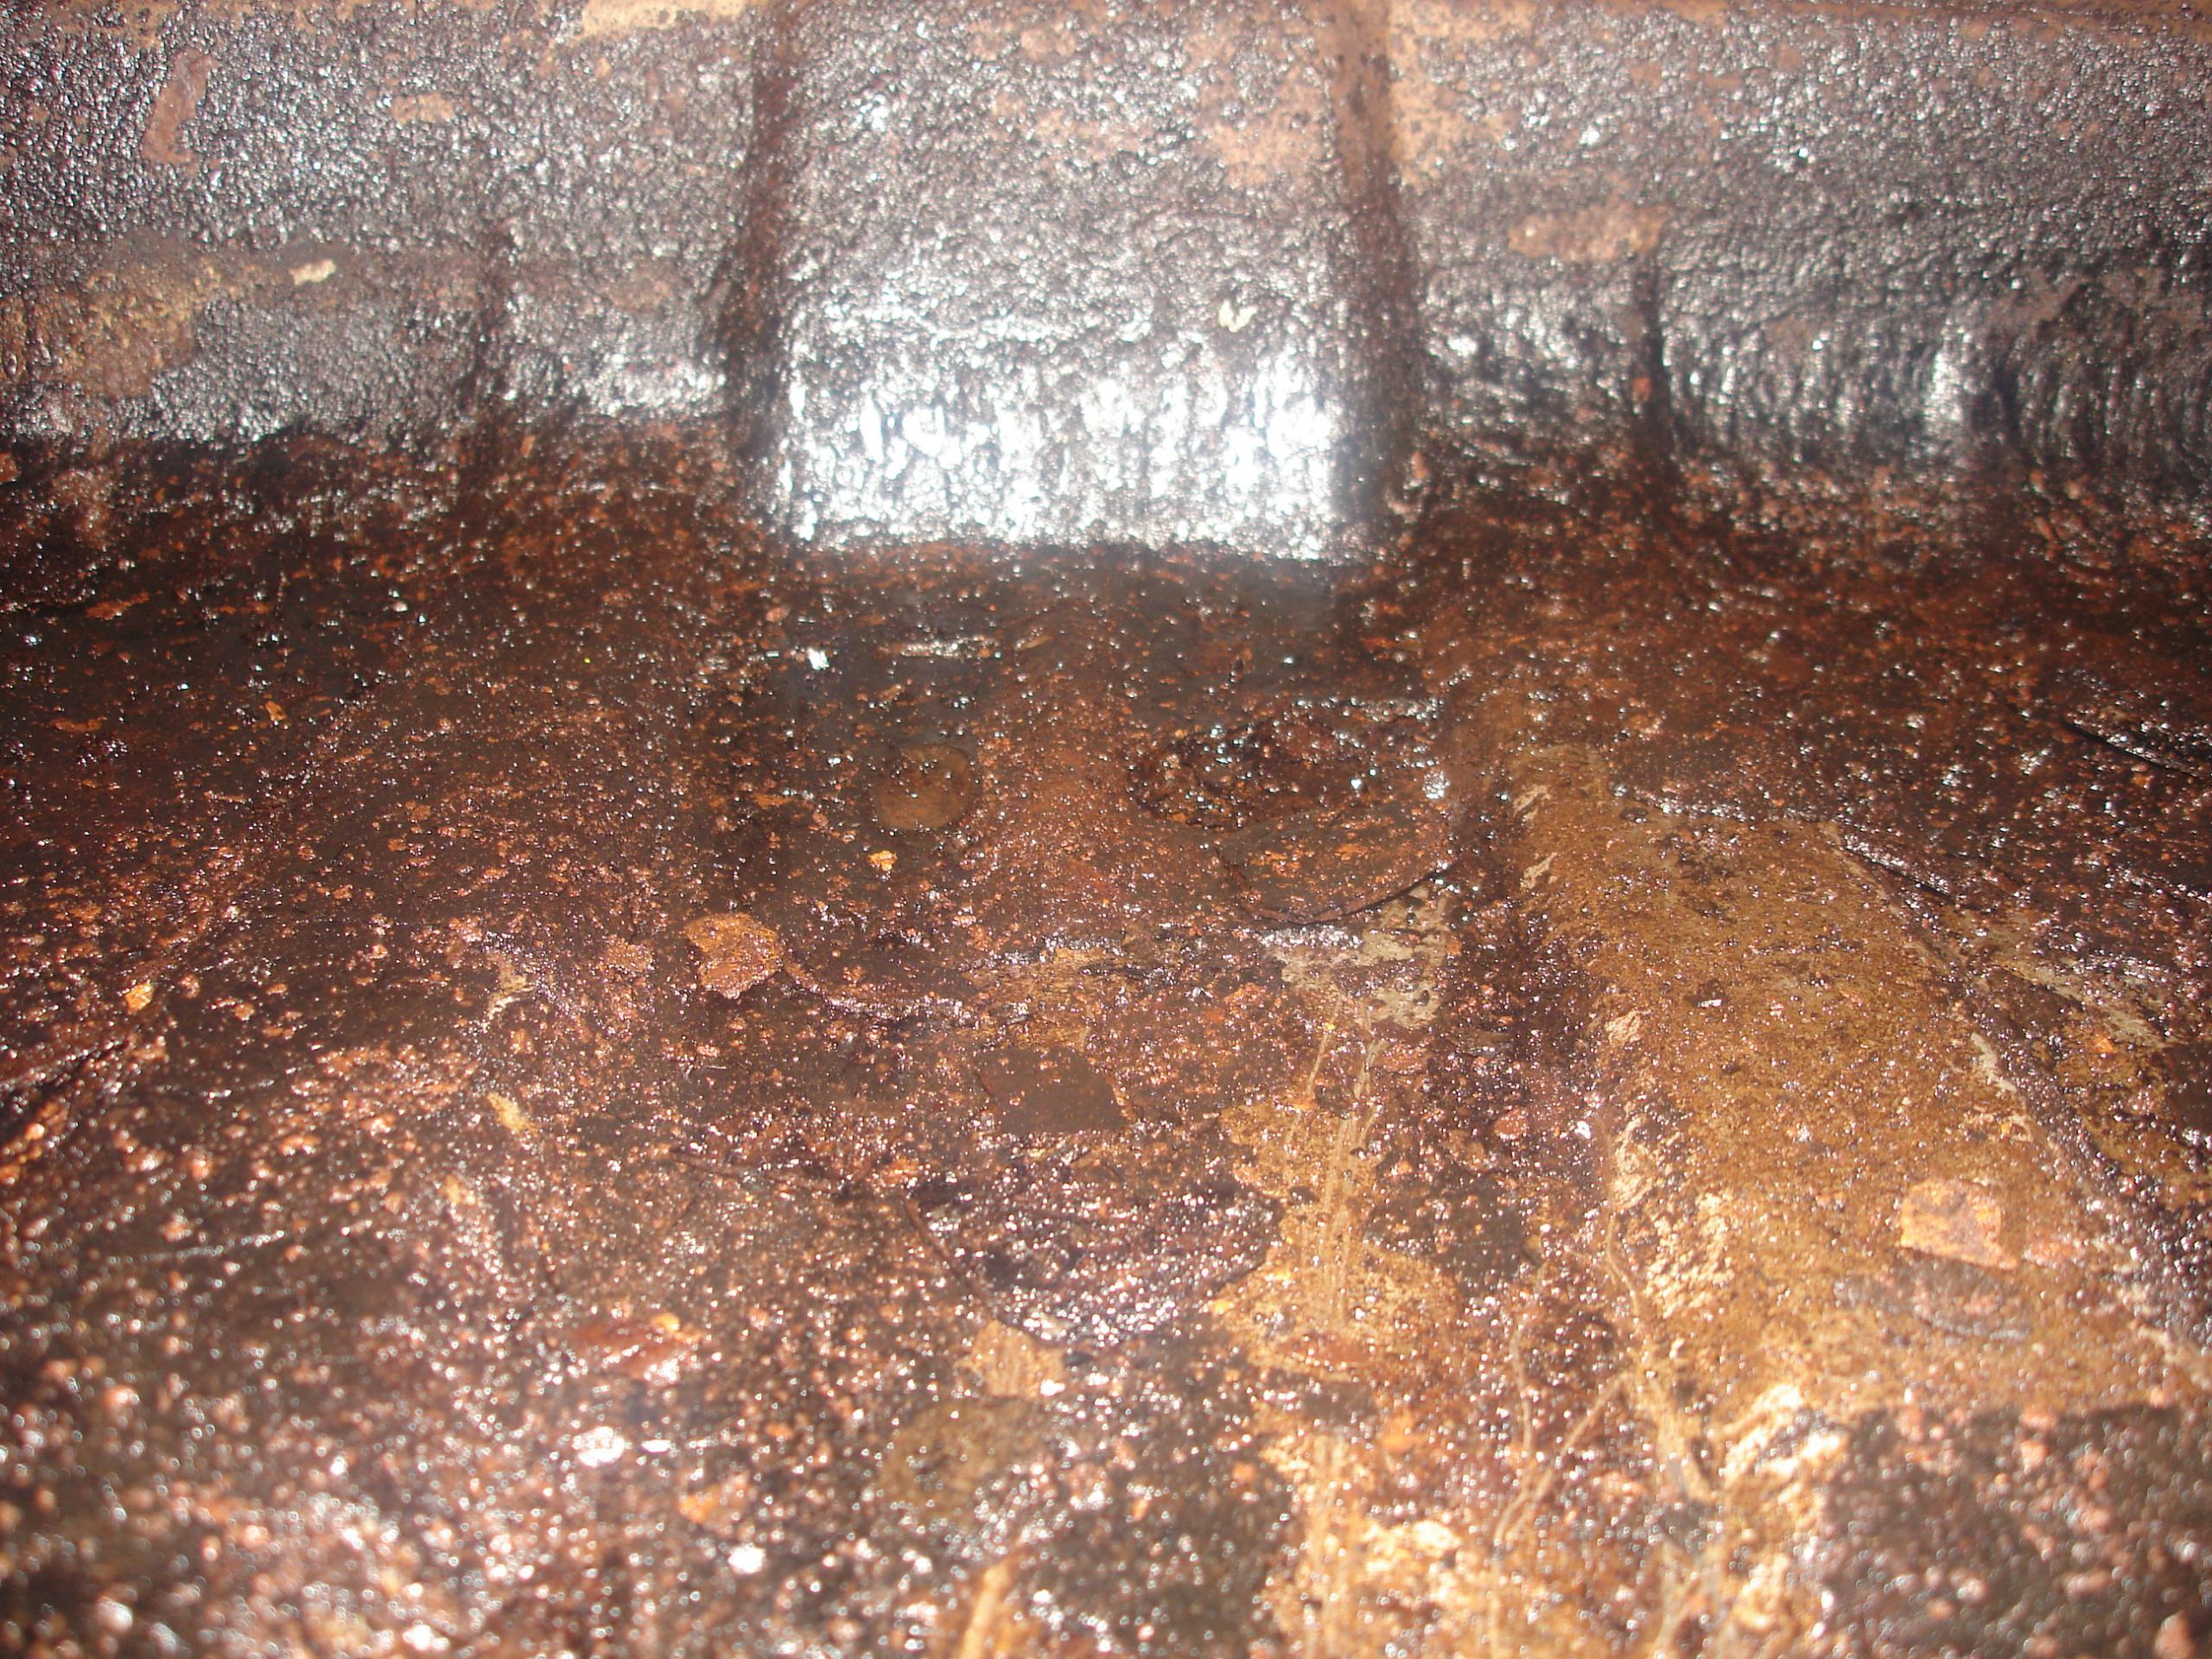
Here’s some of the crap that came out of the tank. There’s lots of rust, but it was glued into a matrix by this weird stuff, a residue left from old gas. It’s shiny and crumbly, but turns to rust when you crumble it.
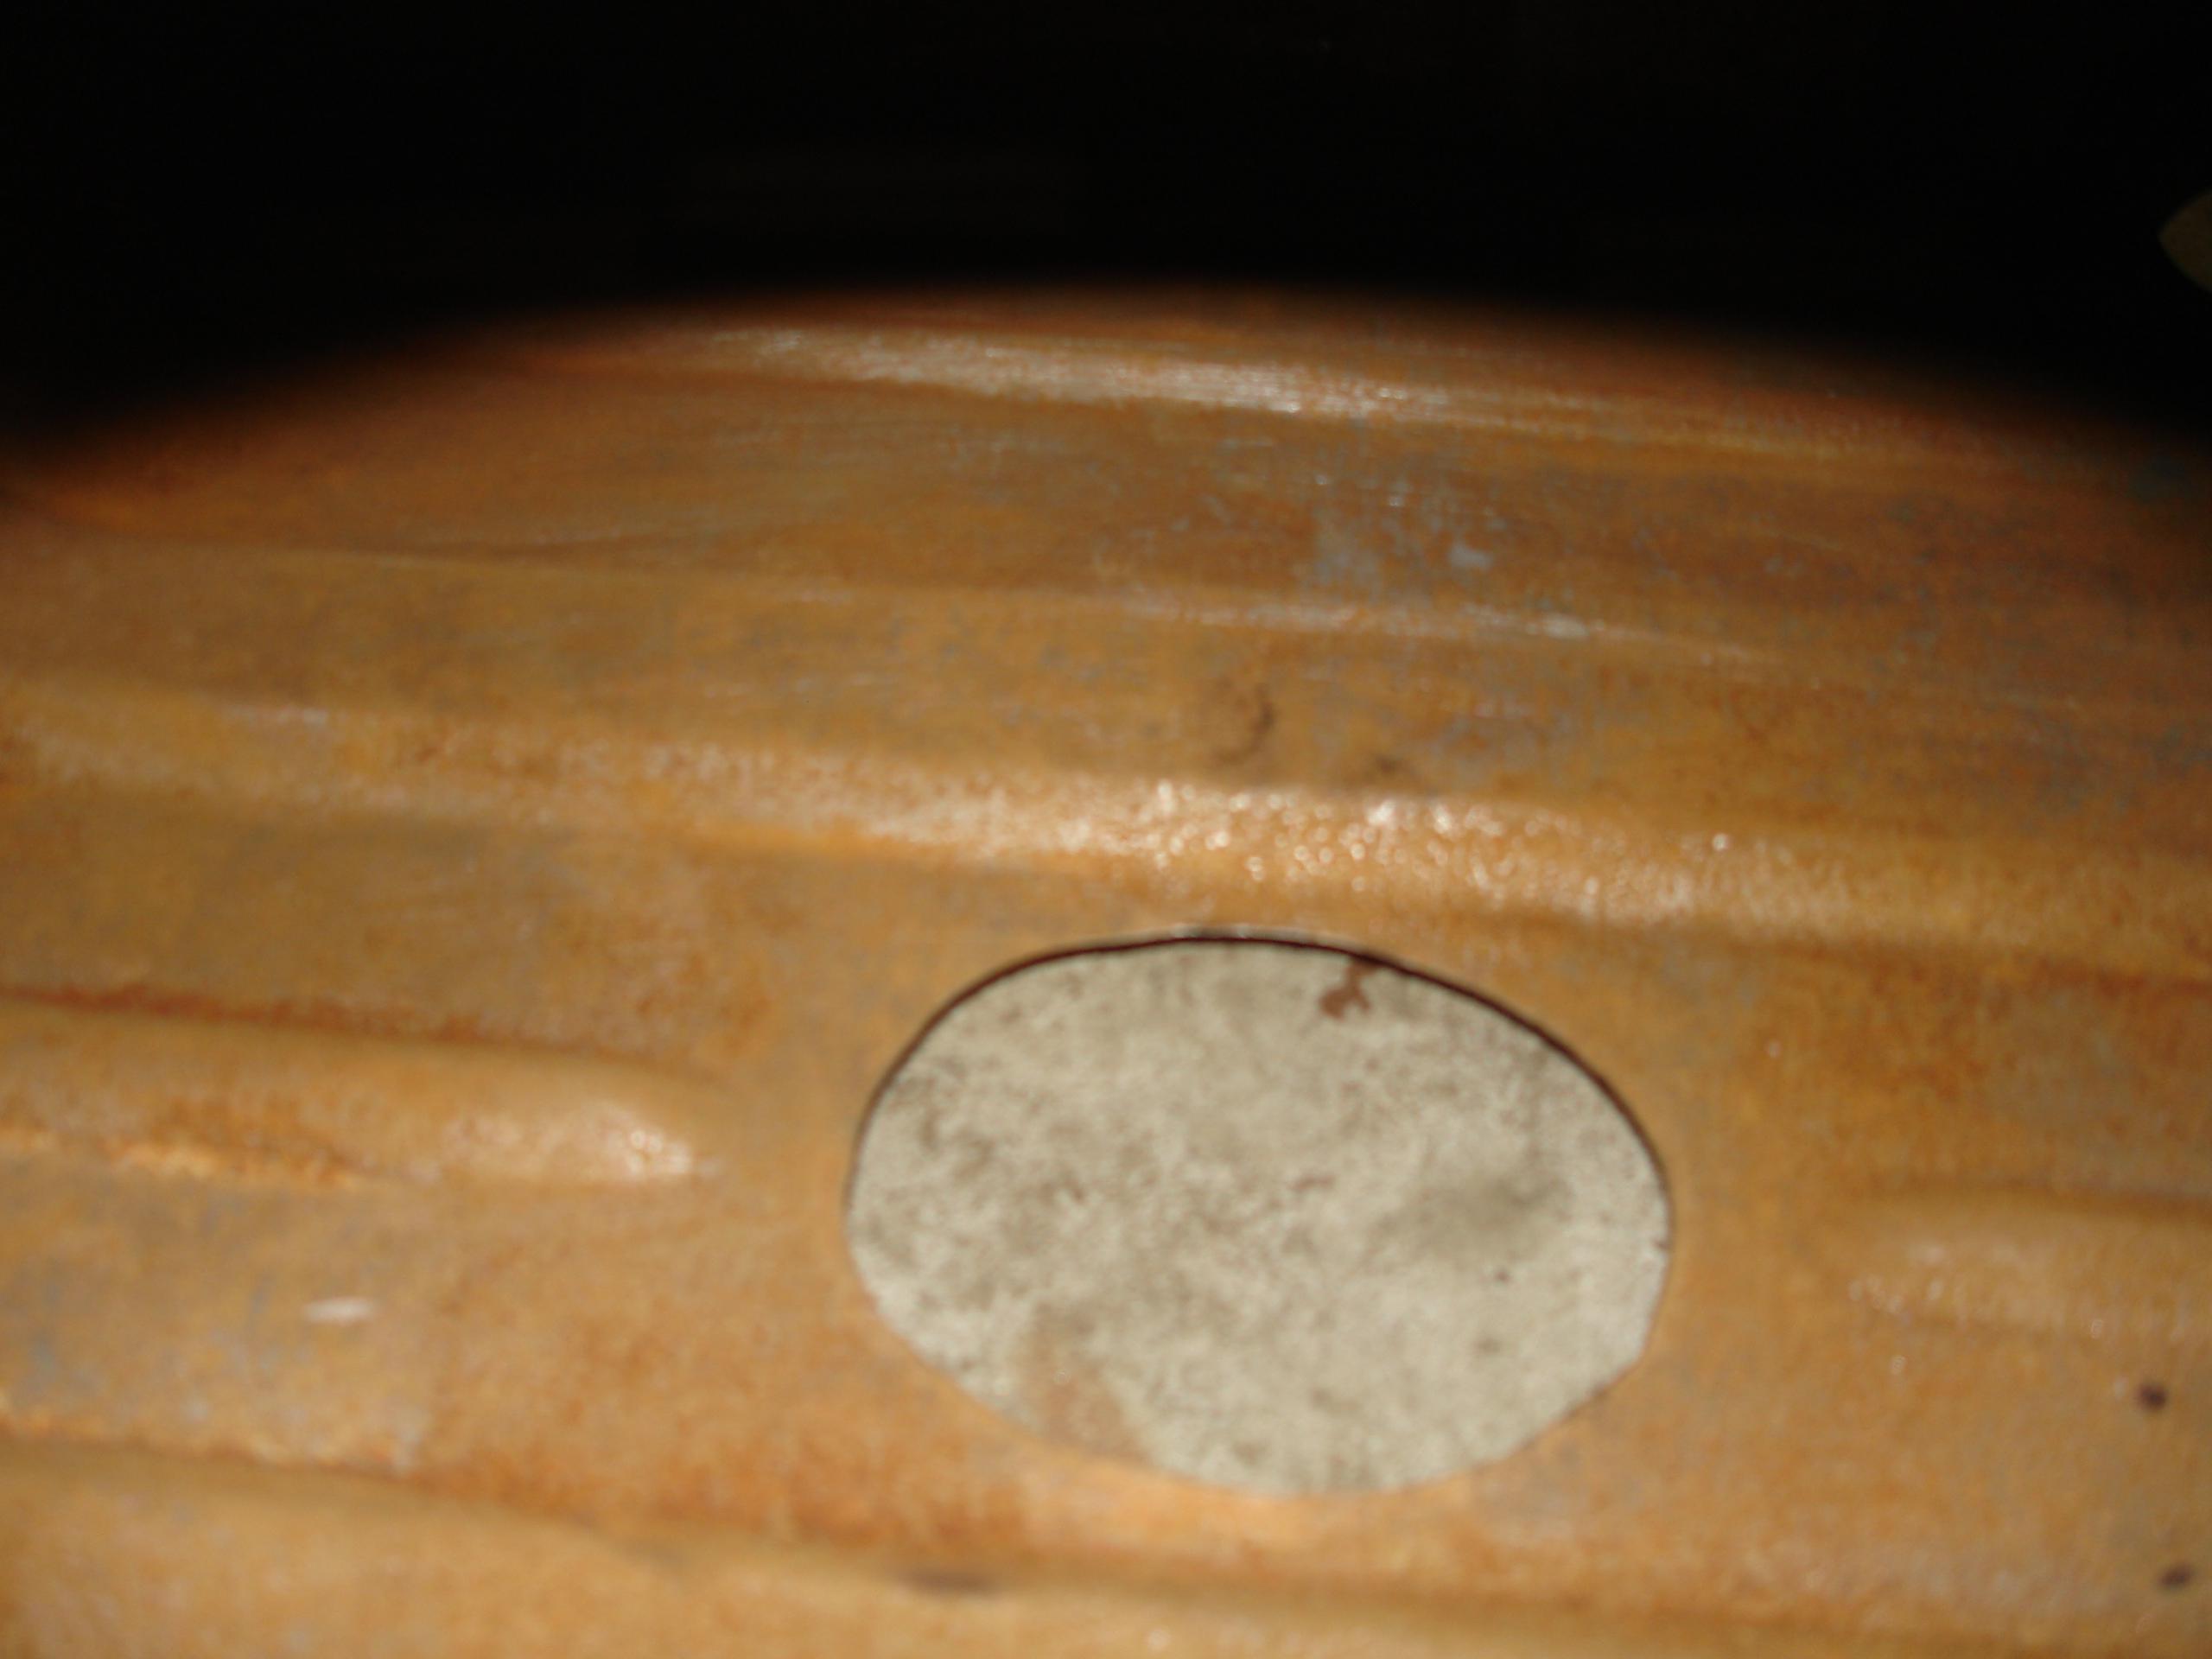
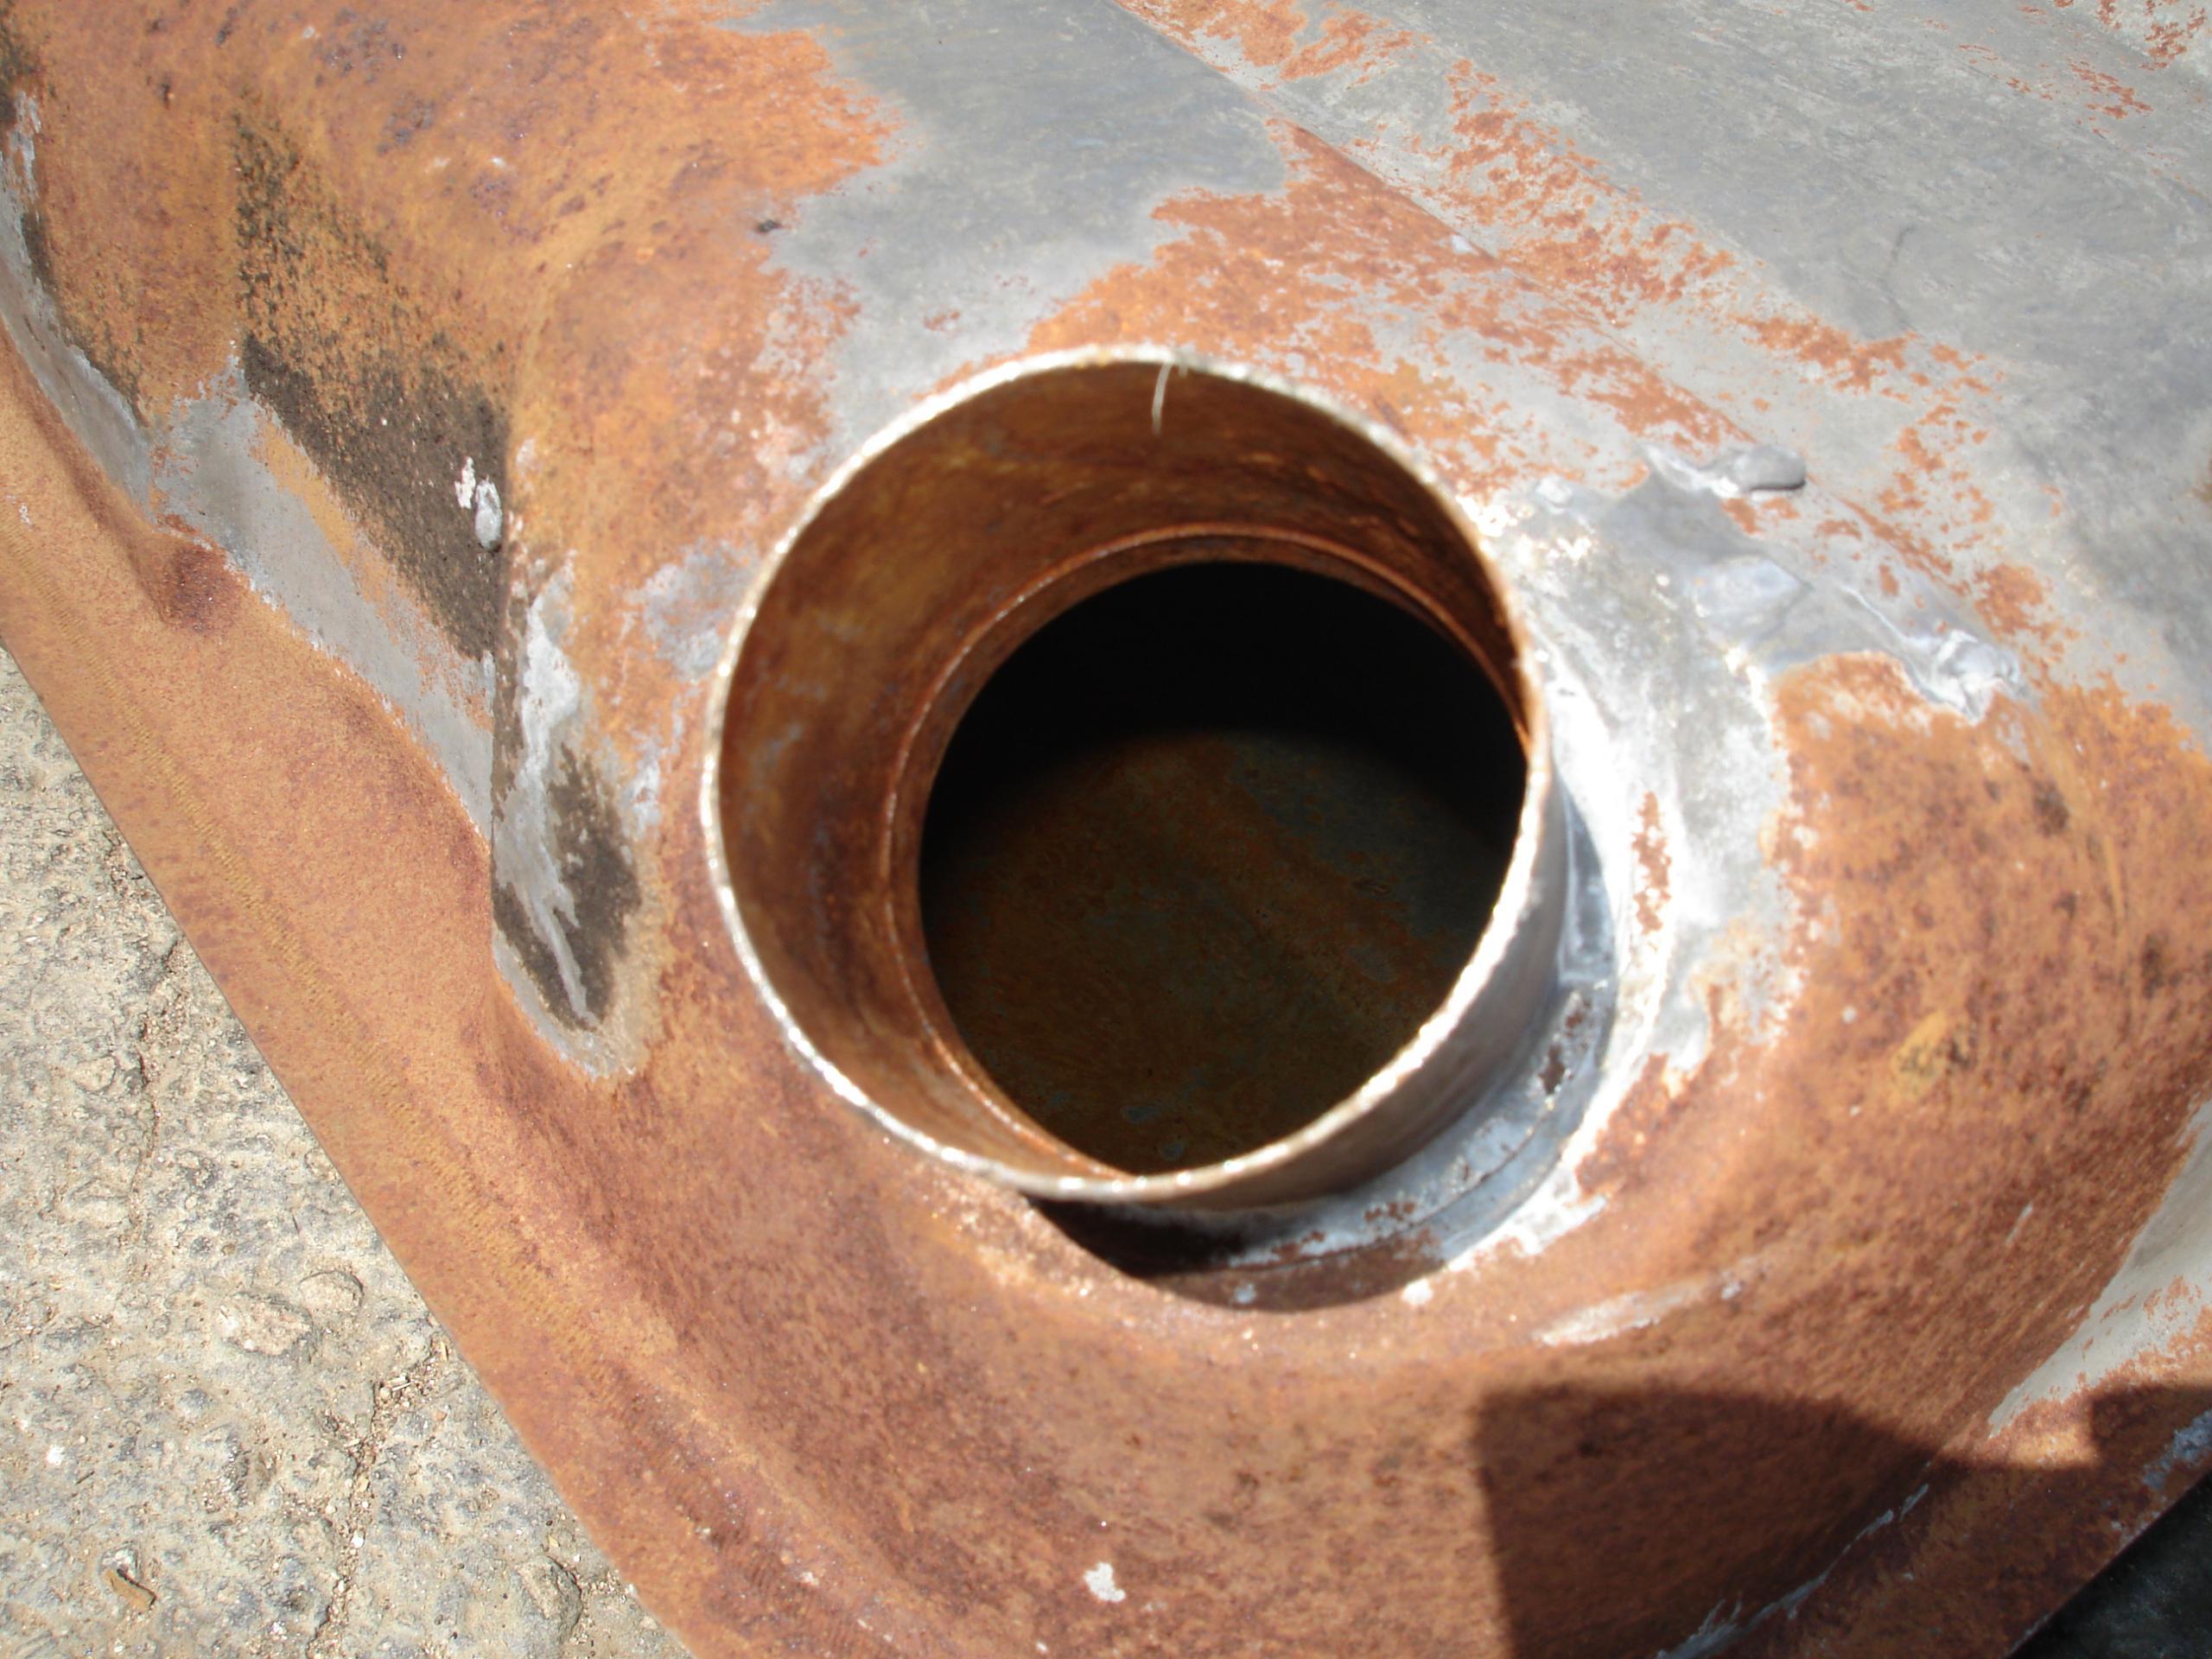
Digital cameras are great! I got to see inside the tank with it. The best way I found to look into a small hole is to stick the nose of a digital camera in and use flash. Very convenient! Might not work with a phone though.
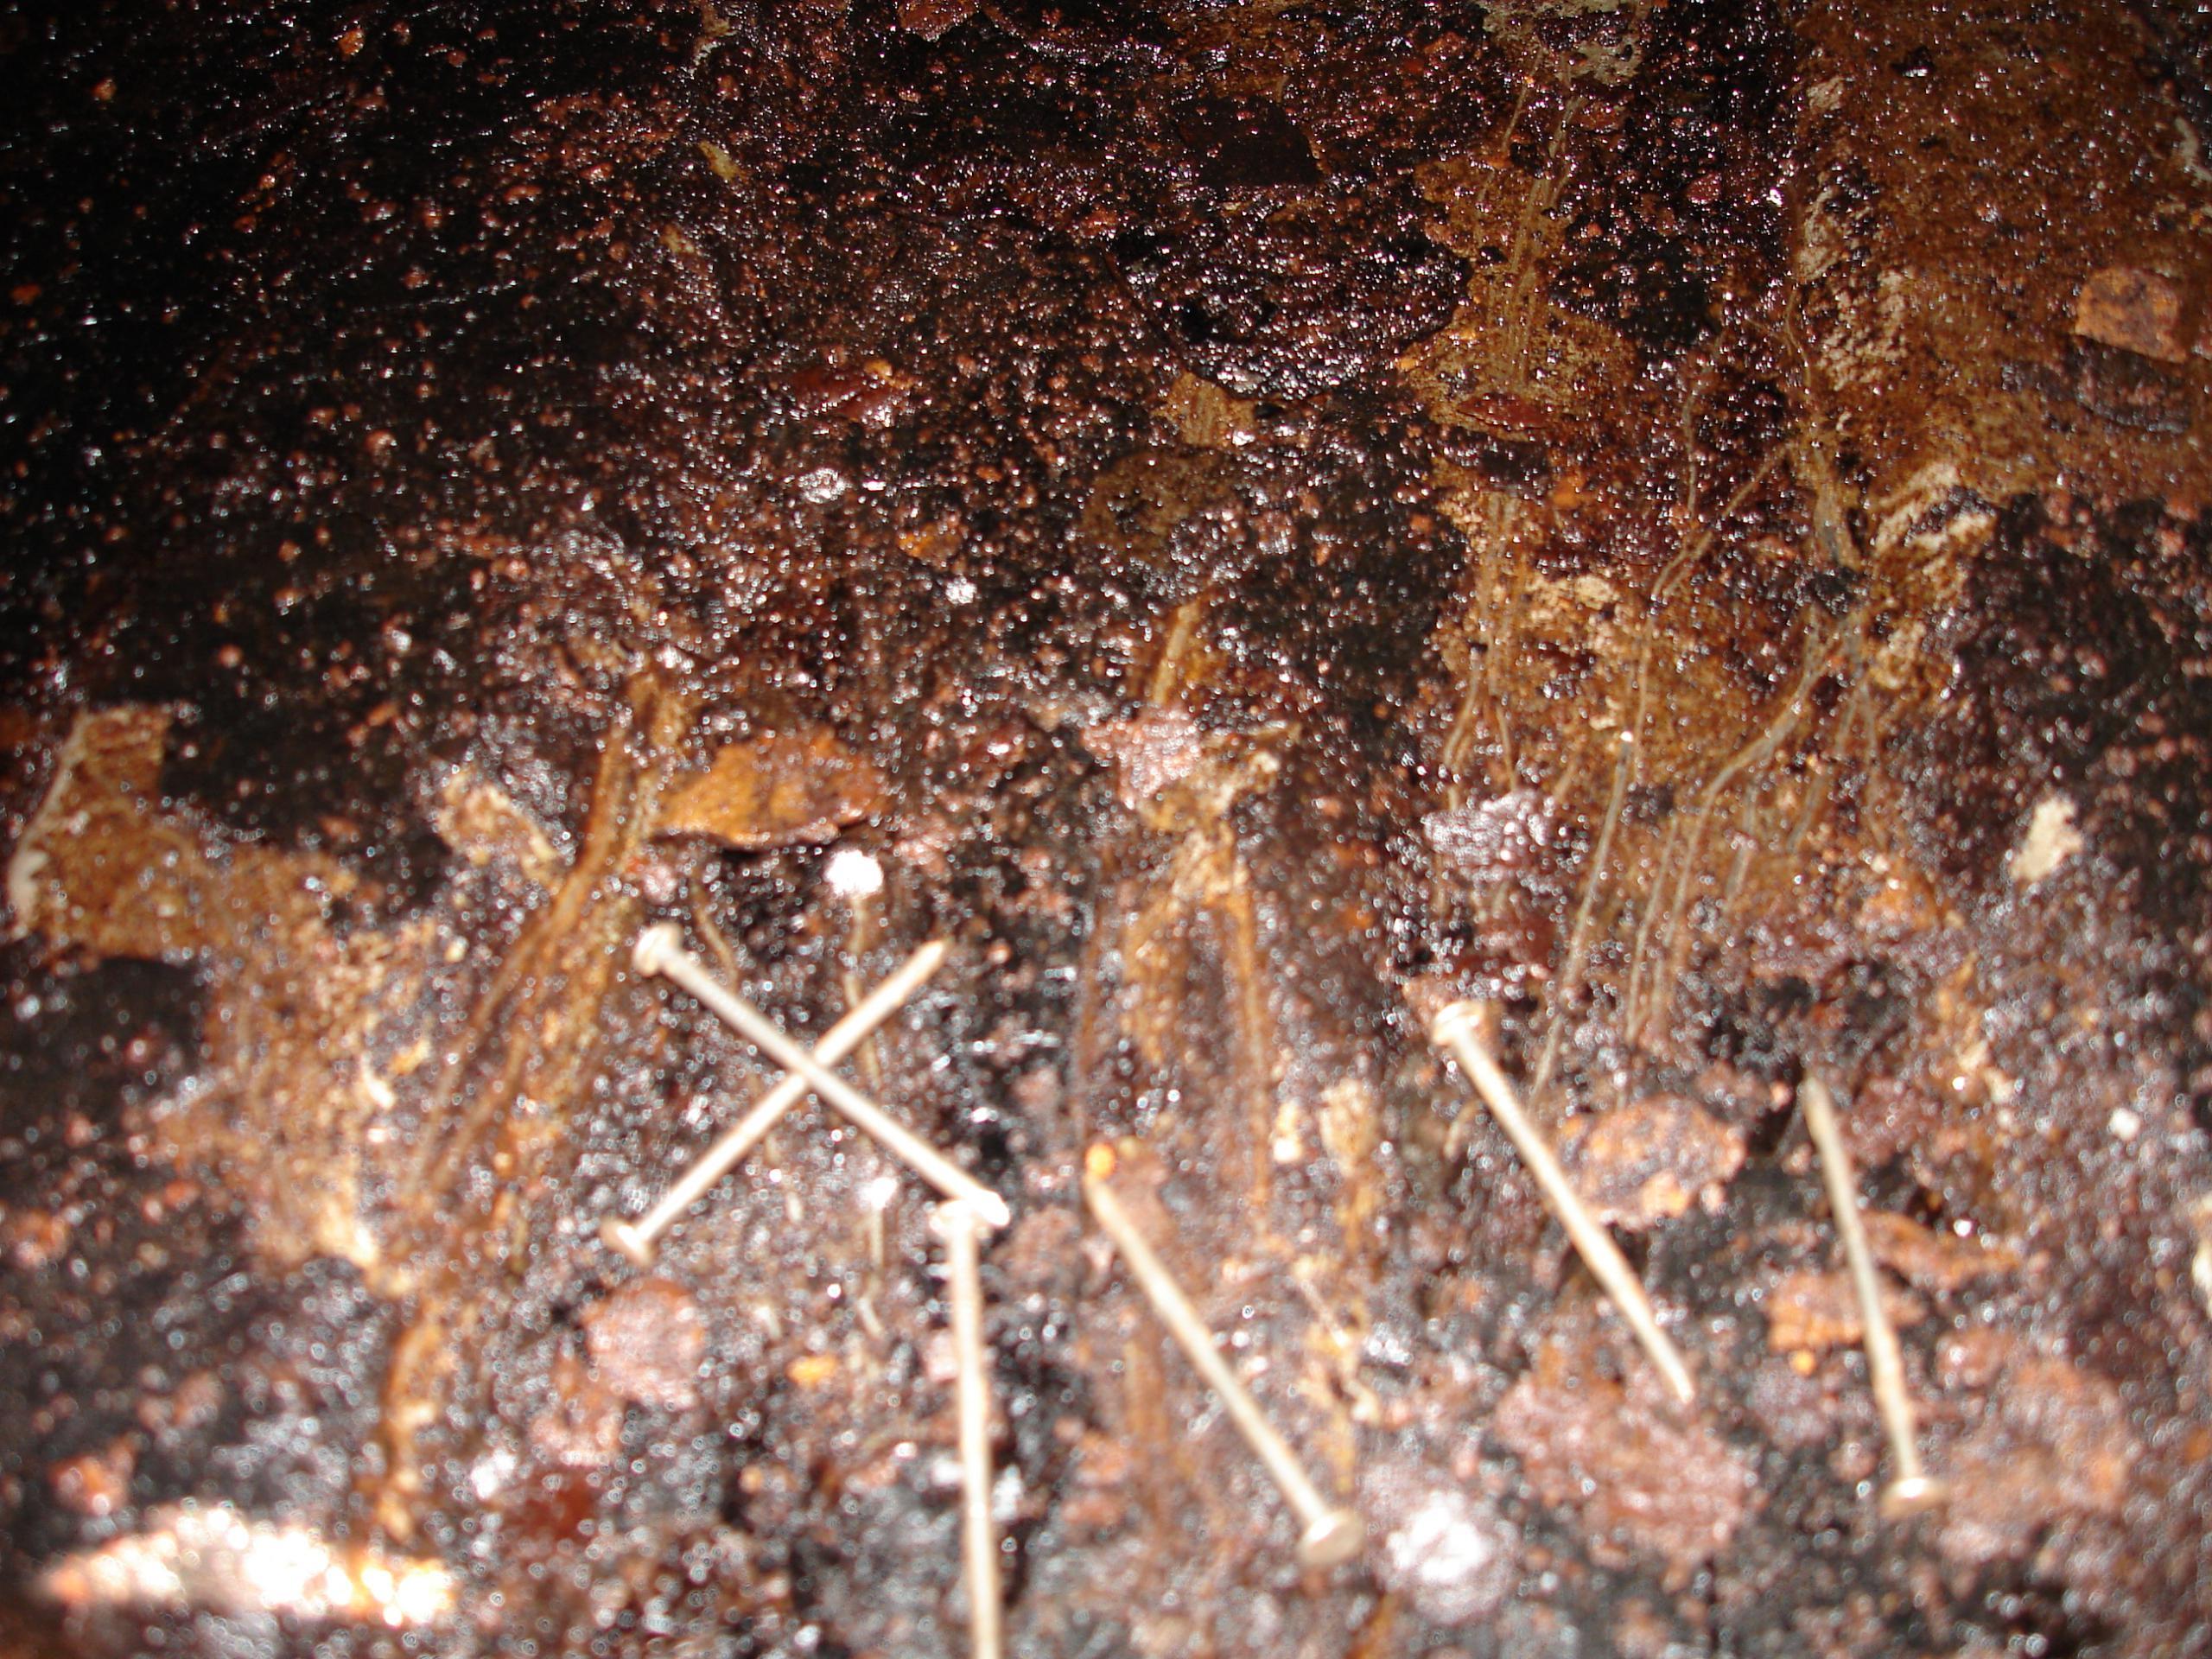
The nails in the photo are not a problem — I tossed in a box of nails and shook the tank to help get the crud out. It’s not that bad off, assuming I can get that soluble crap (old gas residue) out of there:
In the bad old days, you could get a tank boiled out for a few sawbucks. These days with responsible toxic disposal requirements, it’s $550. And I still had to dispose of the old gasoline. Ouch. Gotta find another way!
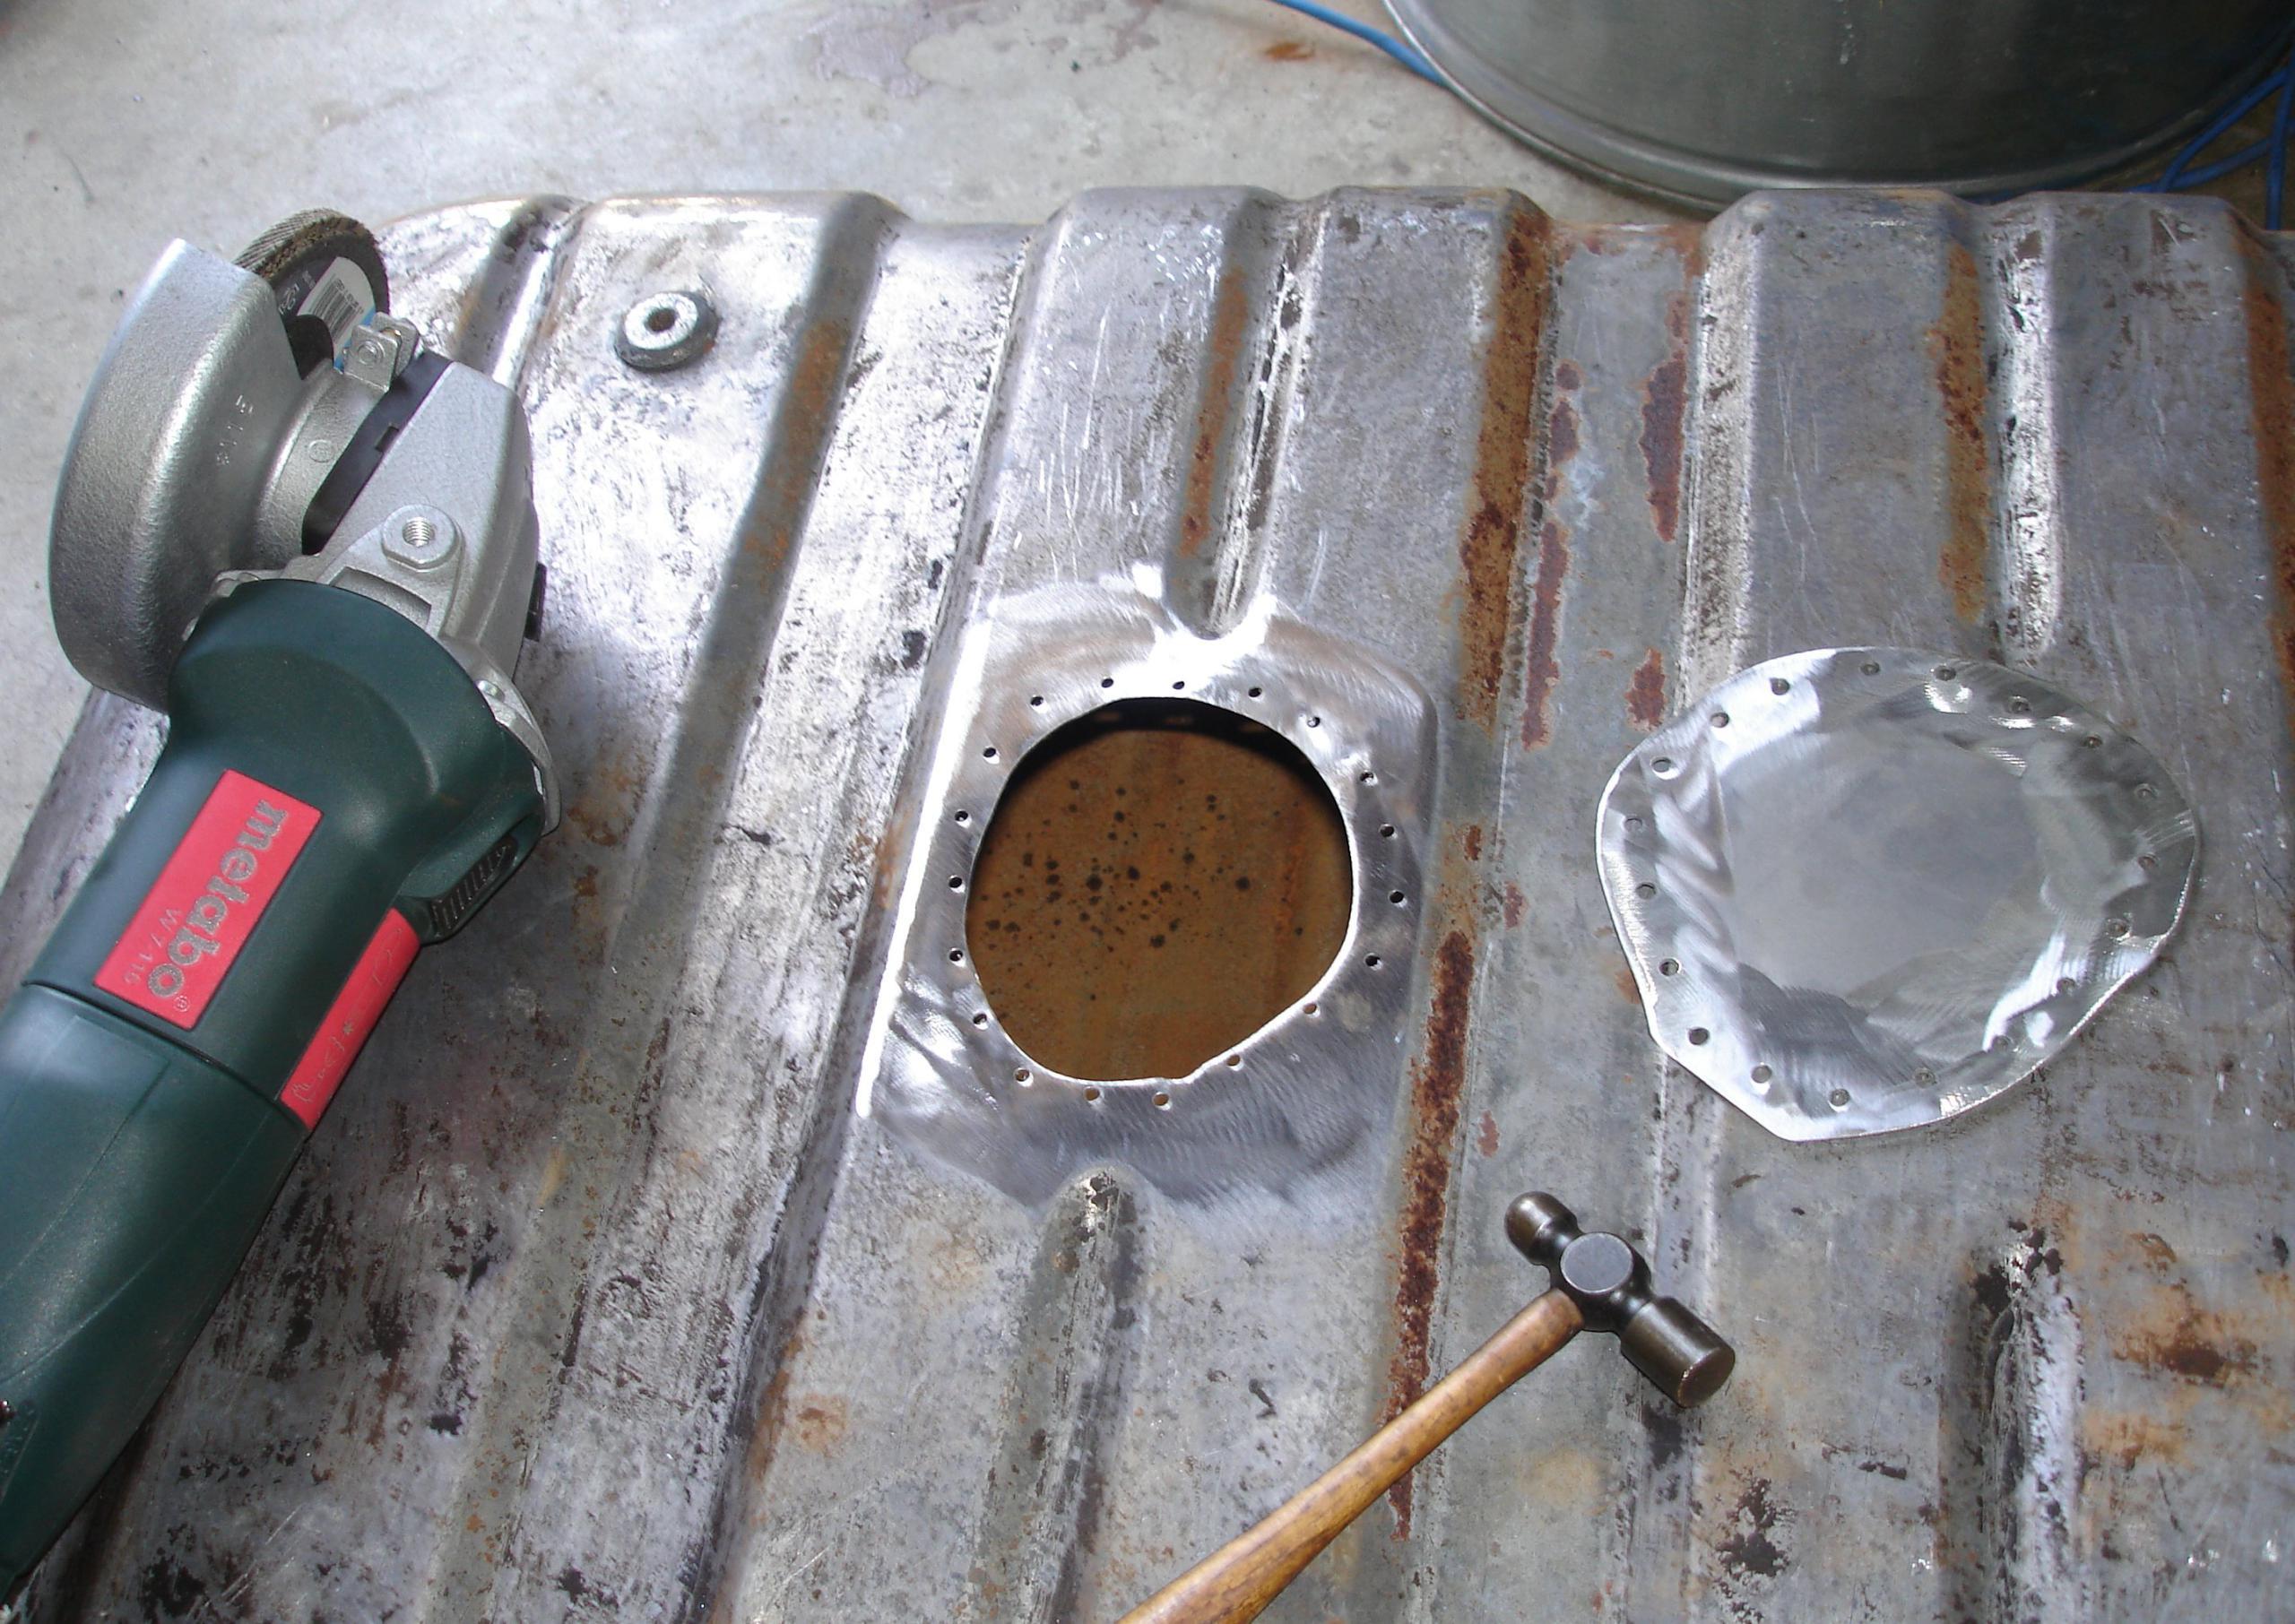
Well I just happen to have a steel drum with some old solvent in it (came with the property!) so I added my weirdly orange stinky gas to it. I let the tank dry in the sun for a week, put a heavy chain into the tank and rotated it to get the big chunks out, then washed the tank out with purple de-greaser. I then cut two large holes into the tank, about 4″ in diameter, top and bottom, so that I could reach inside to clean it. Since it’s now totally devoid of gasoline and solvents, and has nice big holes, my local machine shop could put it into the hot alkali parts-washing tank, but only after I removed all the old asphalt undercoating from it with a putty knife. This isn’t really necessary — any de-greaser (Purple Power, Mean Green, etc.) can be used to clean the tank at this point. A pressure washer would help also.
Some people use a handful of bolts, rocks, nails, or whatever they have on hand to help knock rust loose inside the tank. A length of chain works better as it’s easier to retrieve — leave one end hanging out of the filler or sending unit hole. It’s hard to get all the bolts/rocks/etc. out!
This process cleaned it up pretty well. Rust wasn’t serious. I then proceeded to sand out the interior with 100 grit paper.
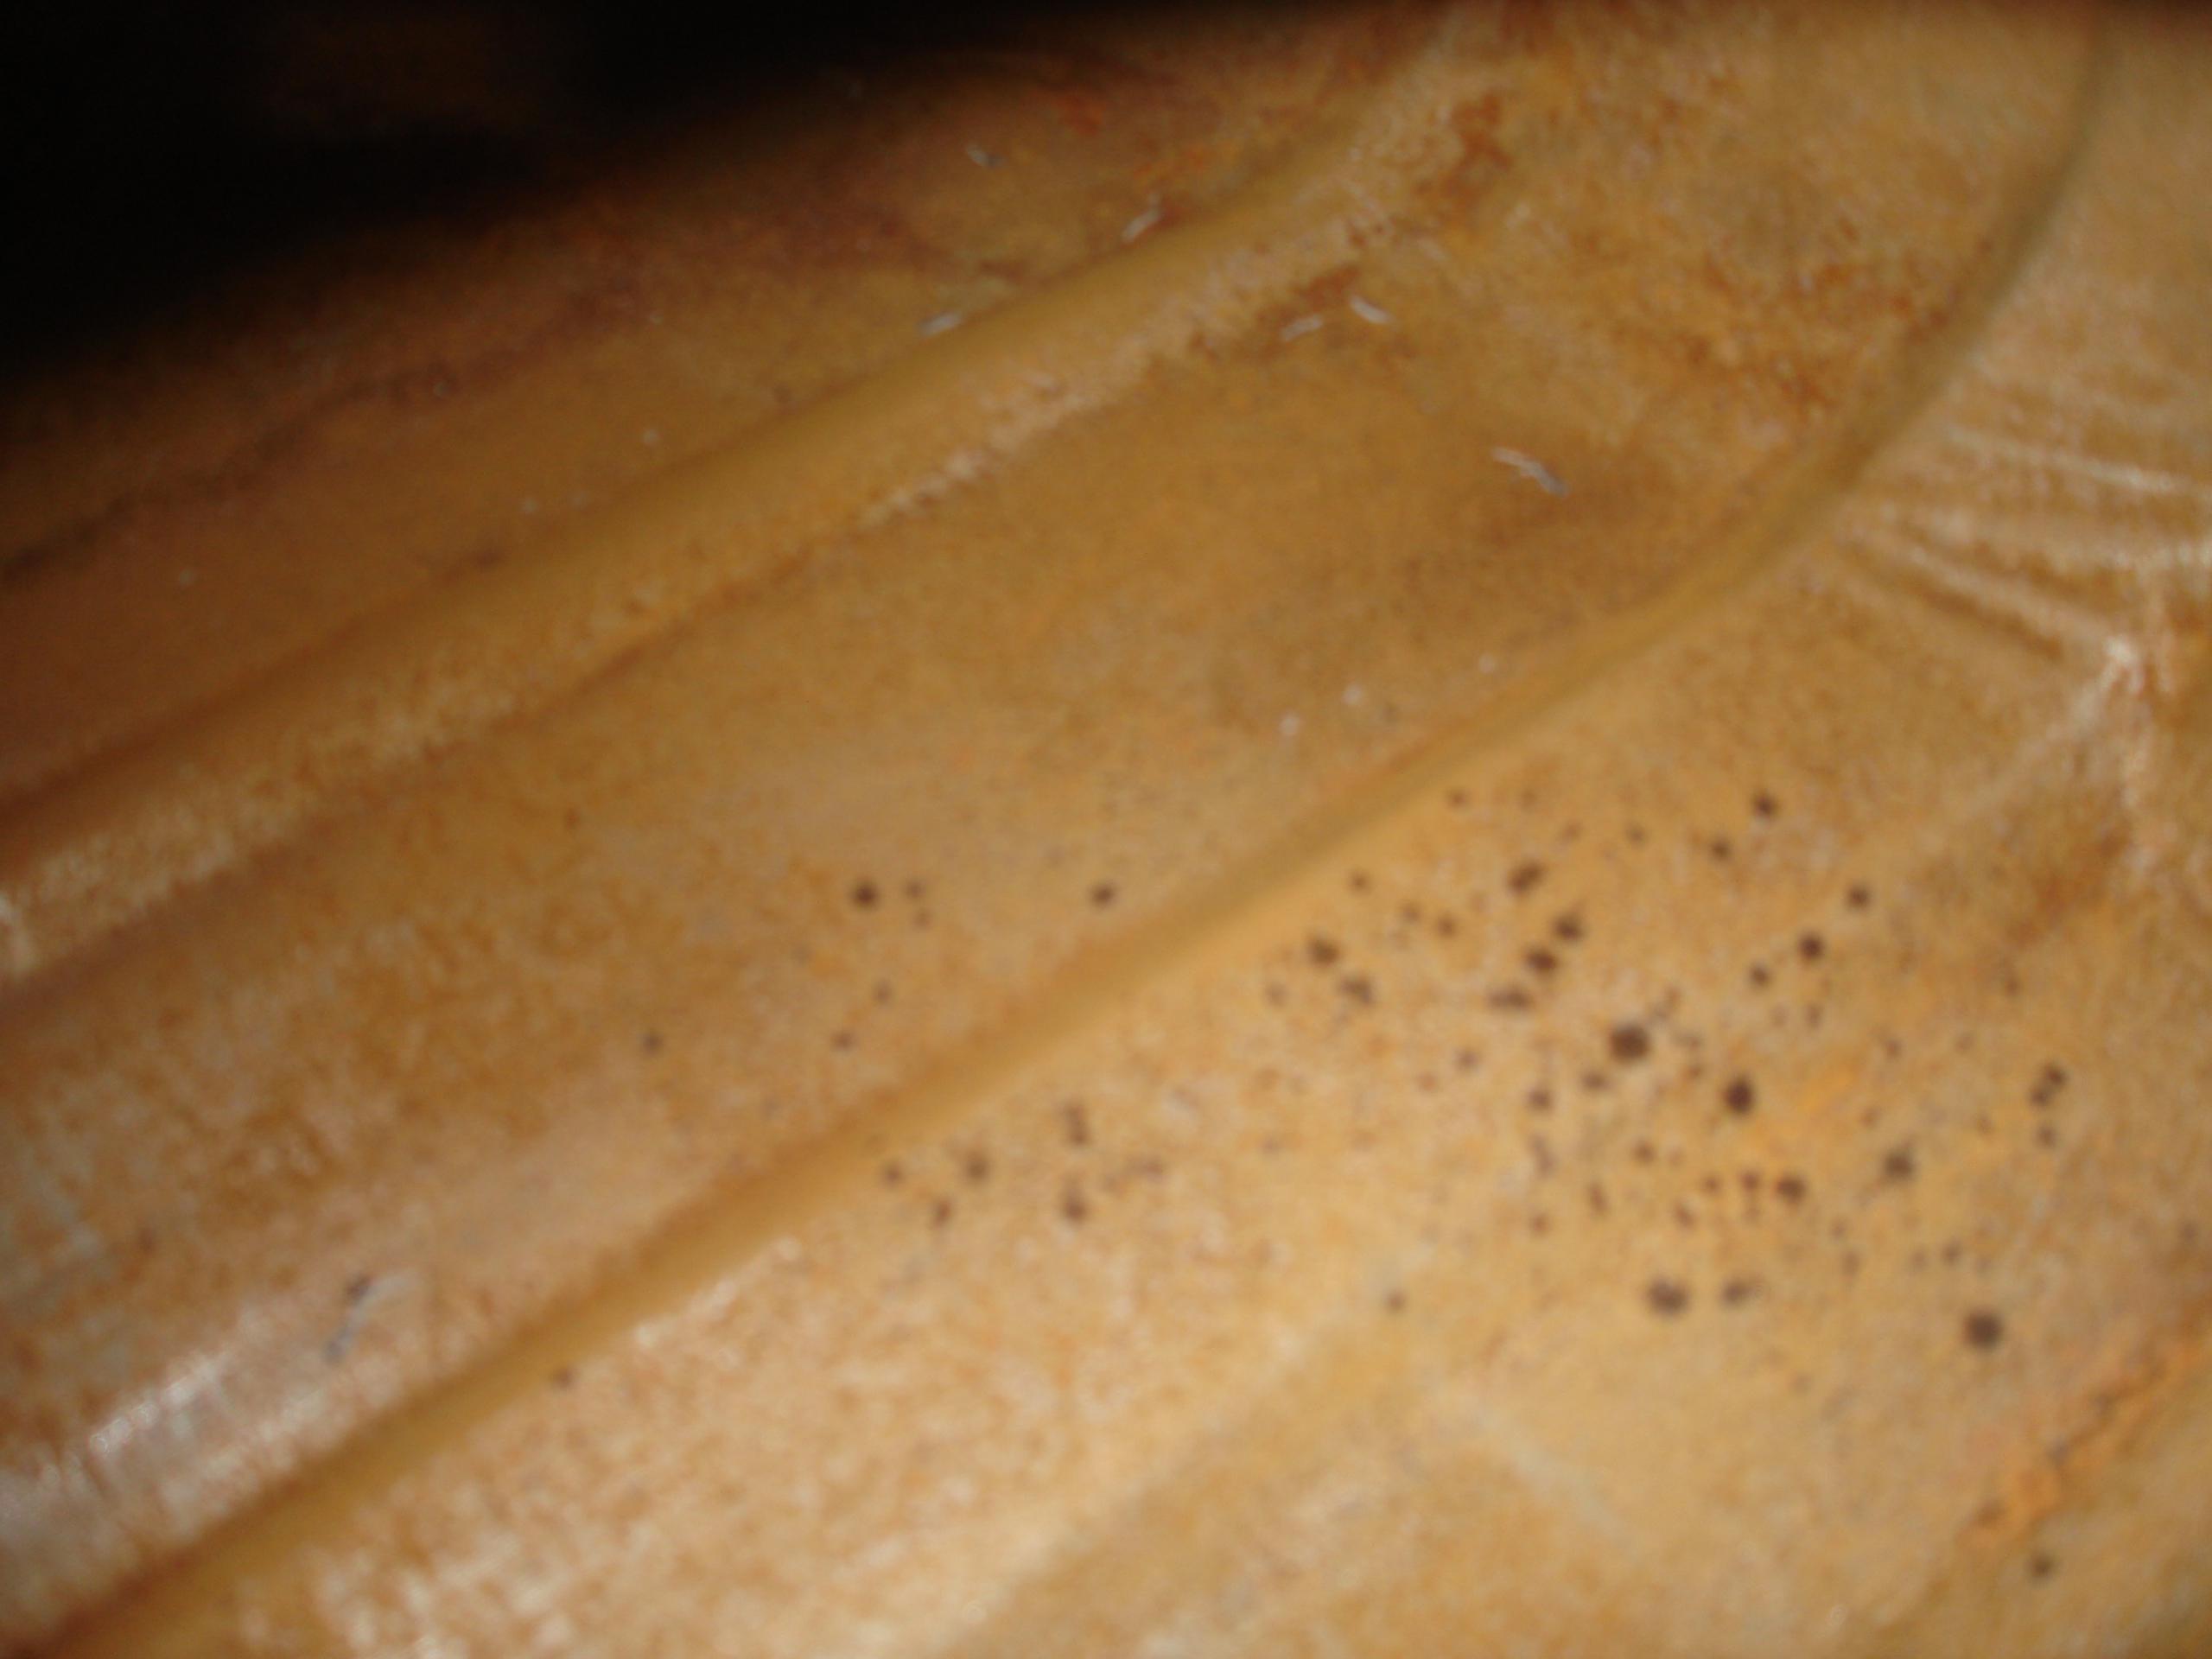
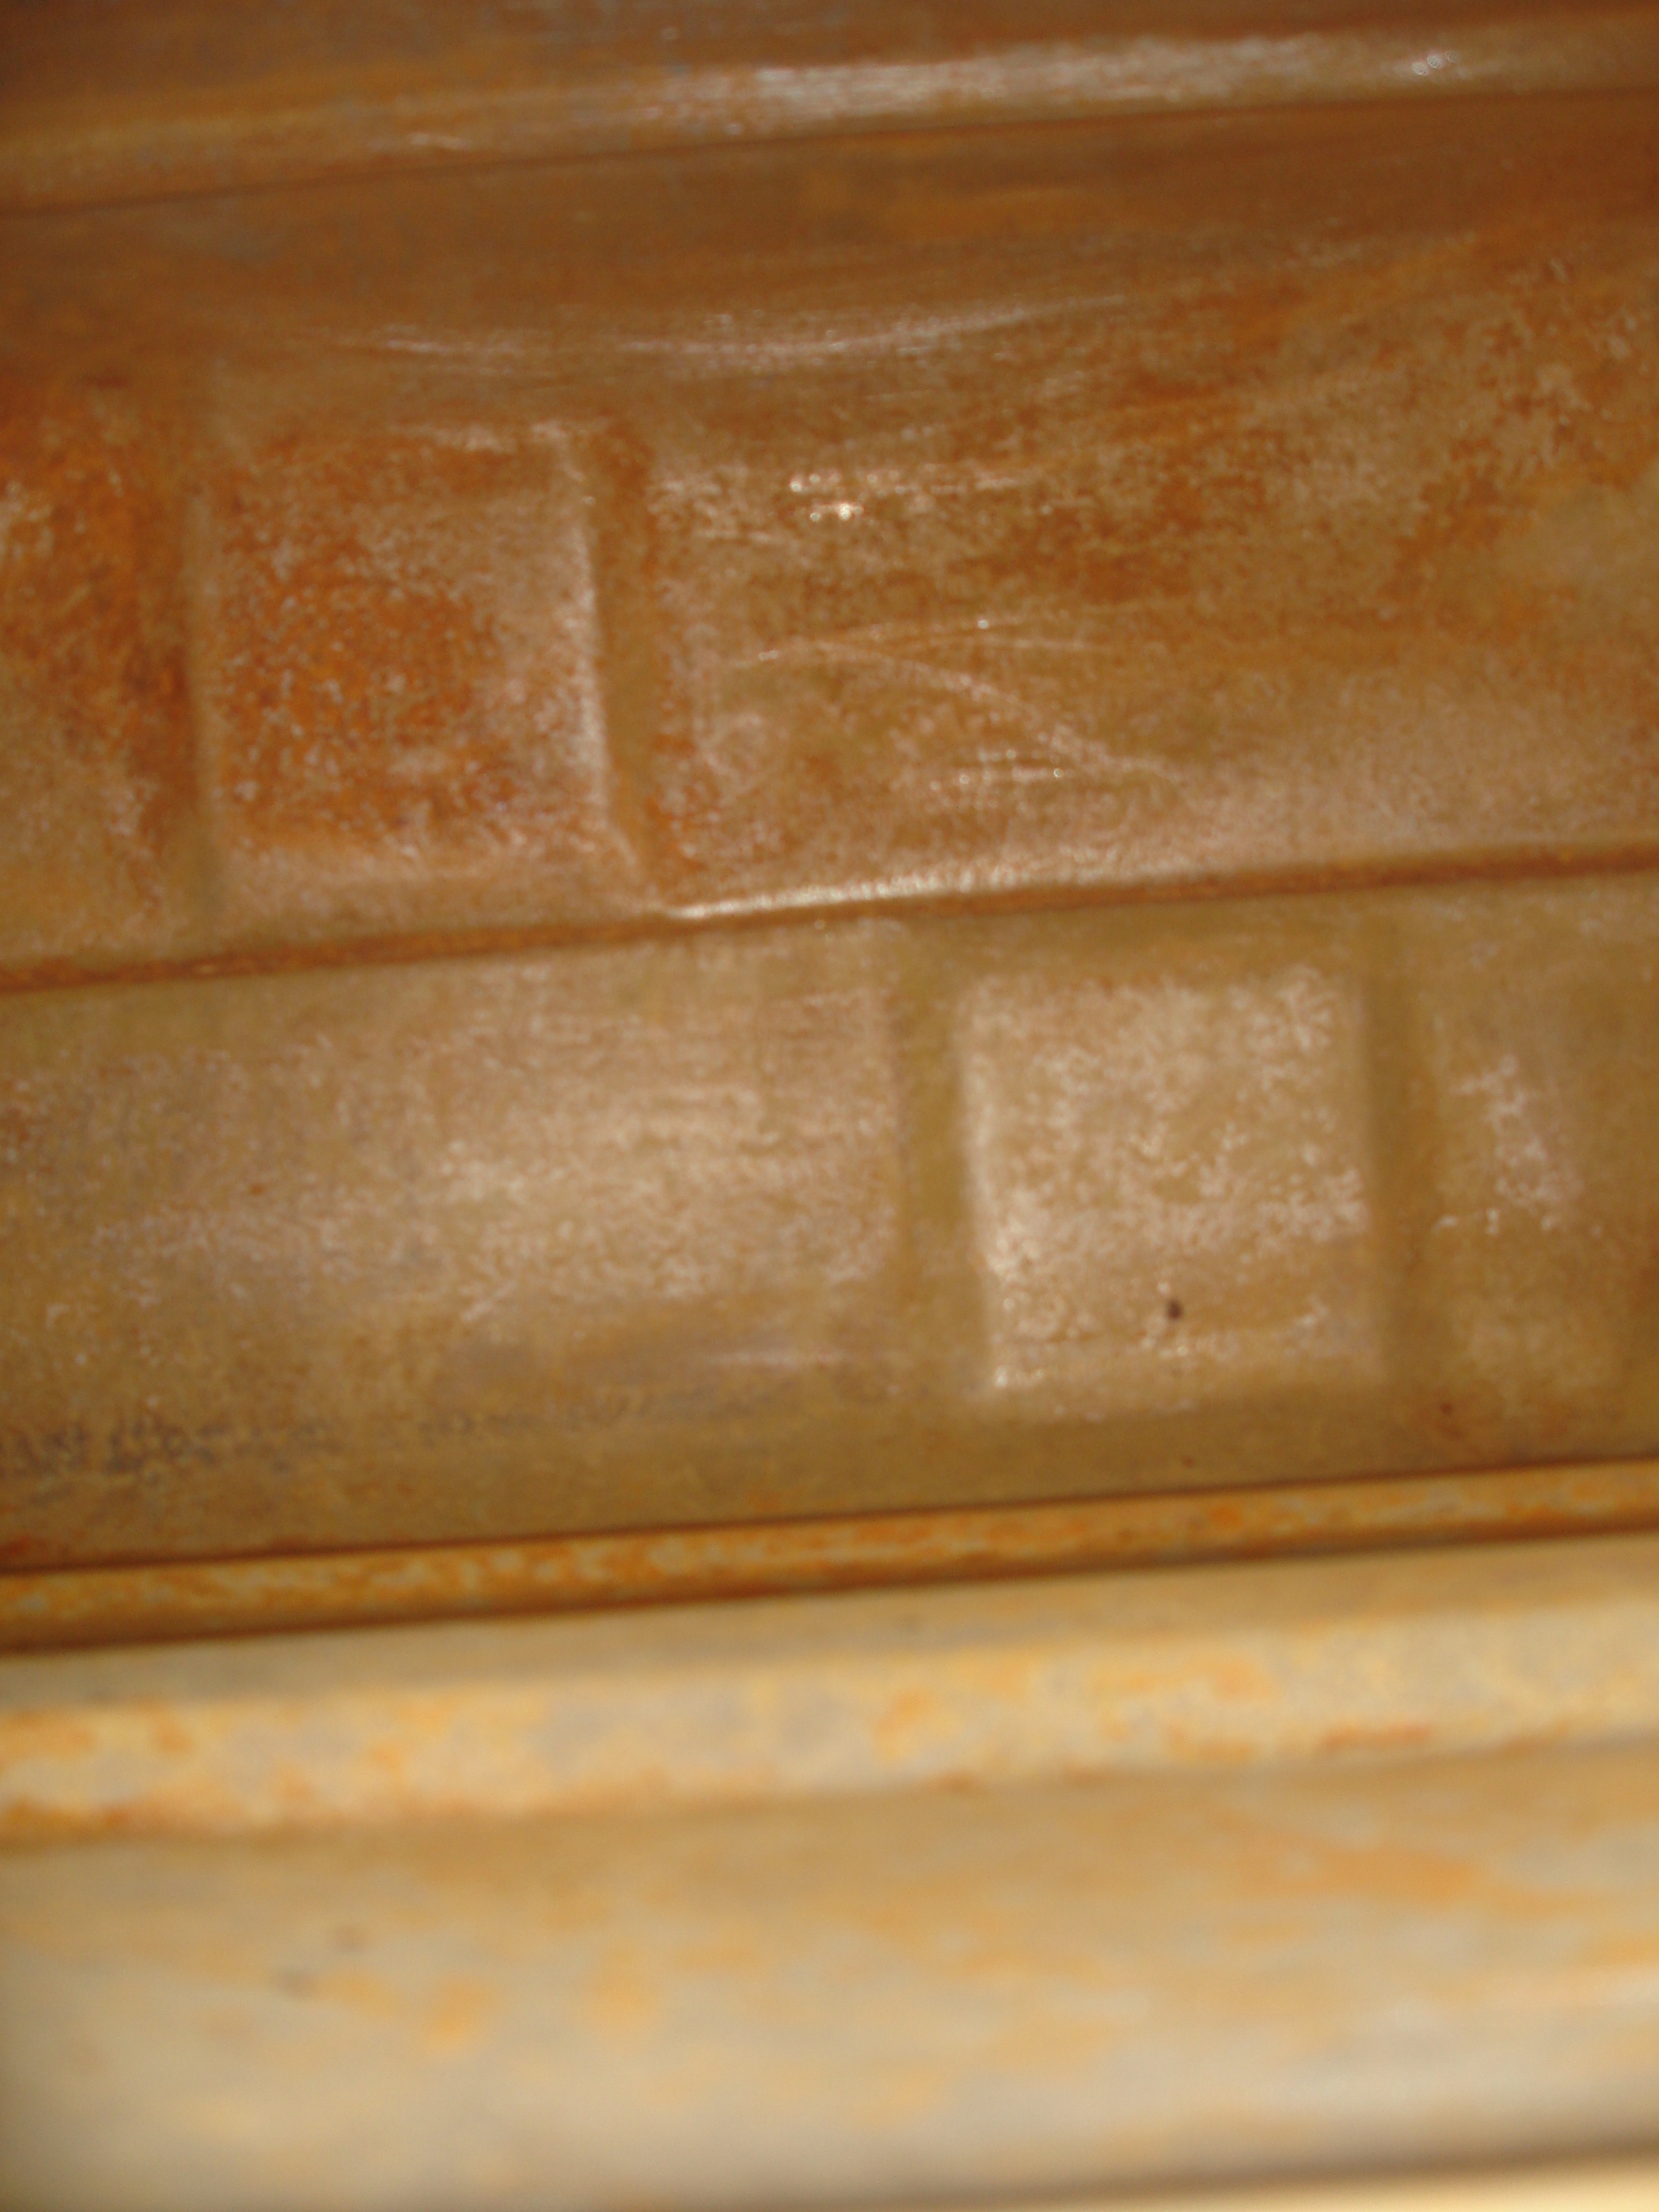
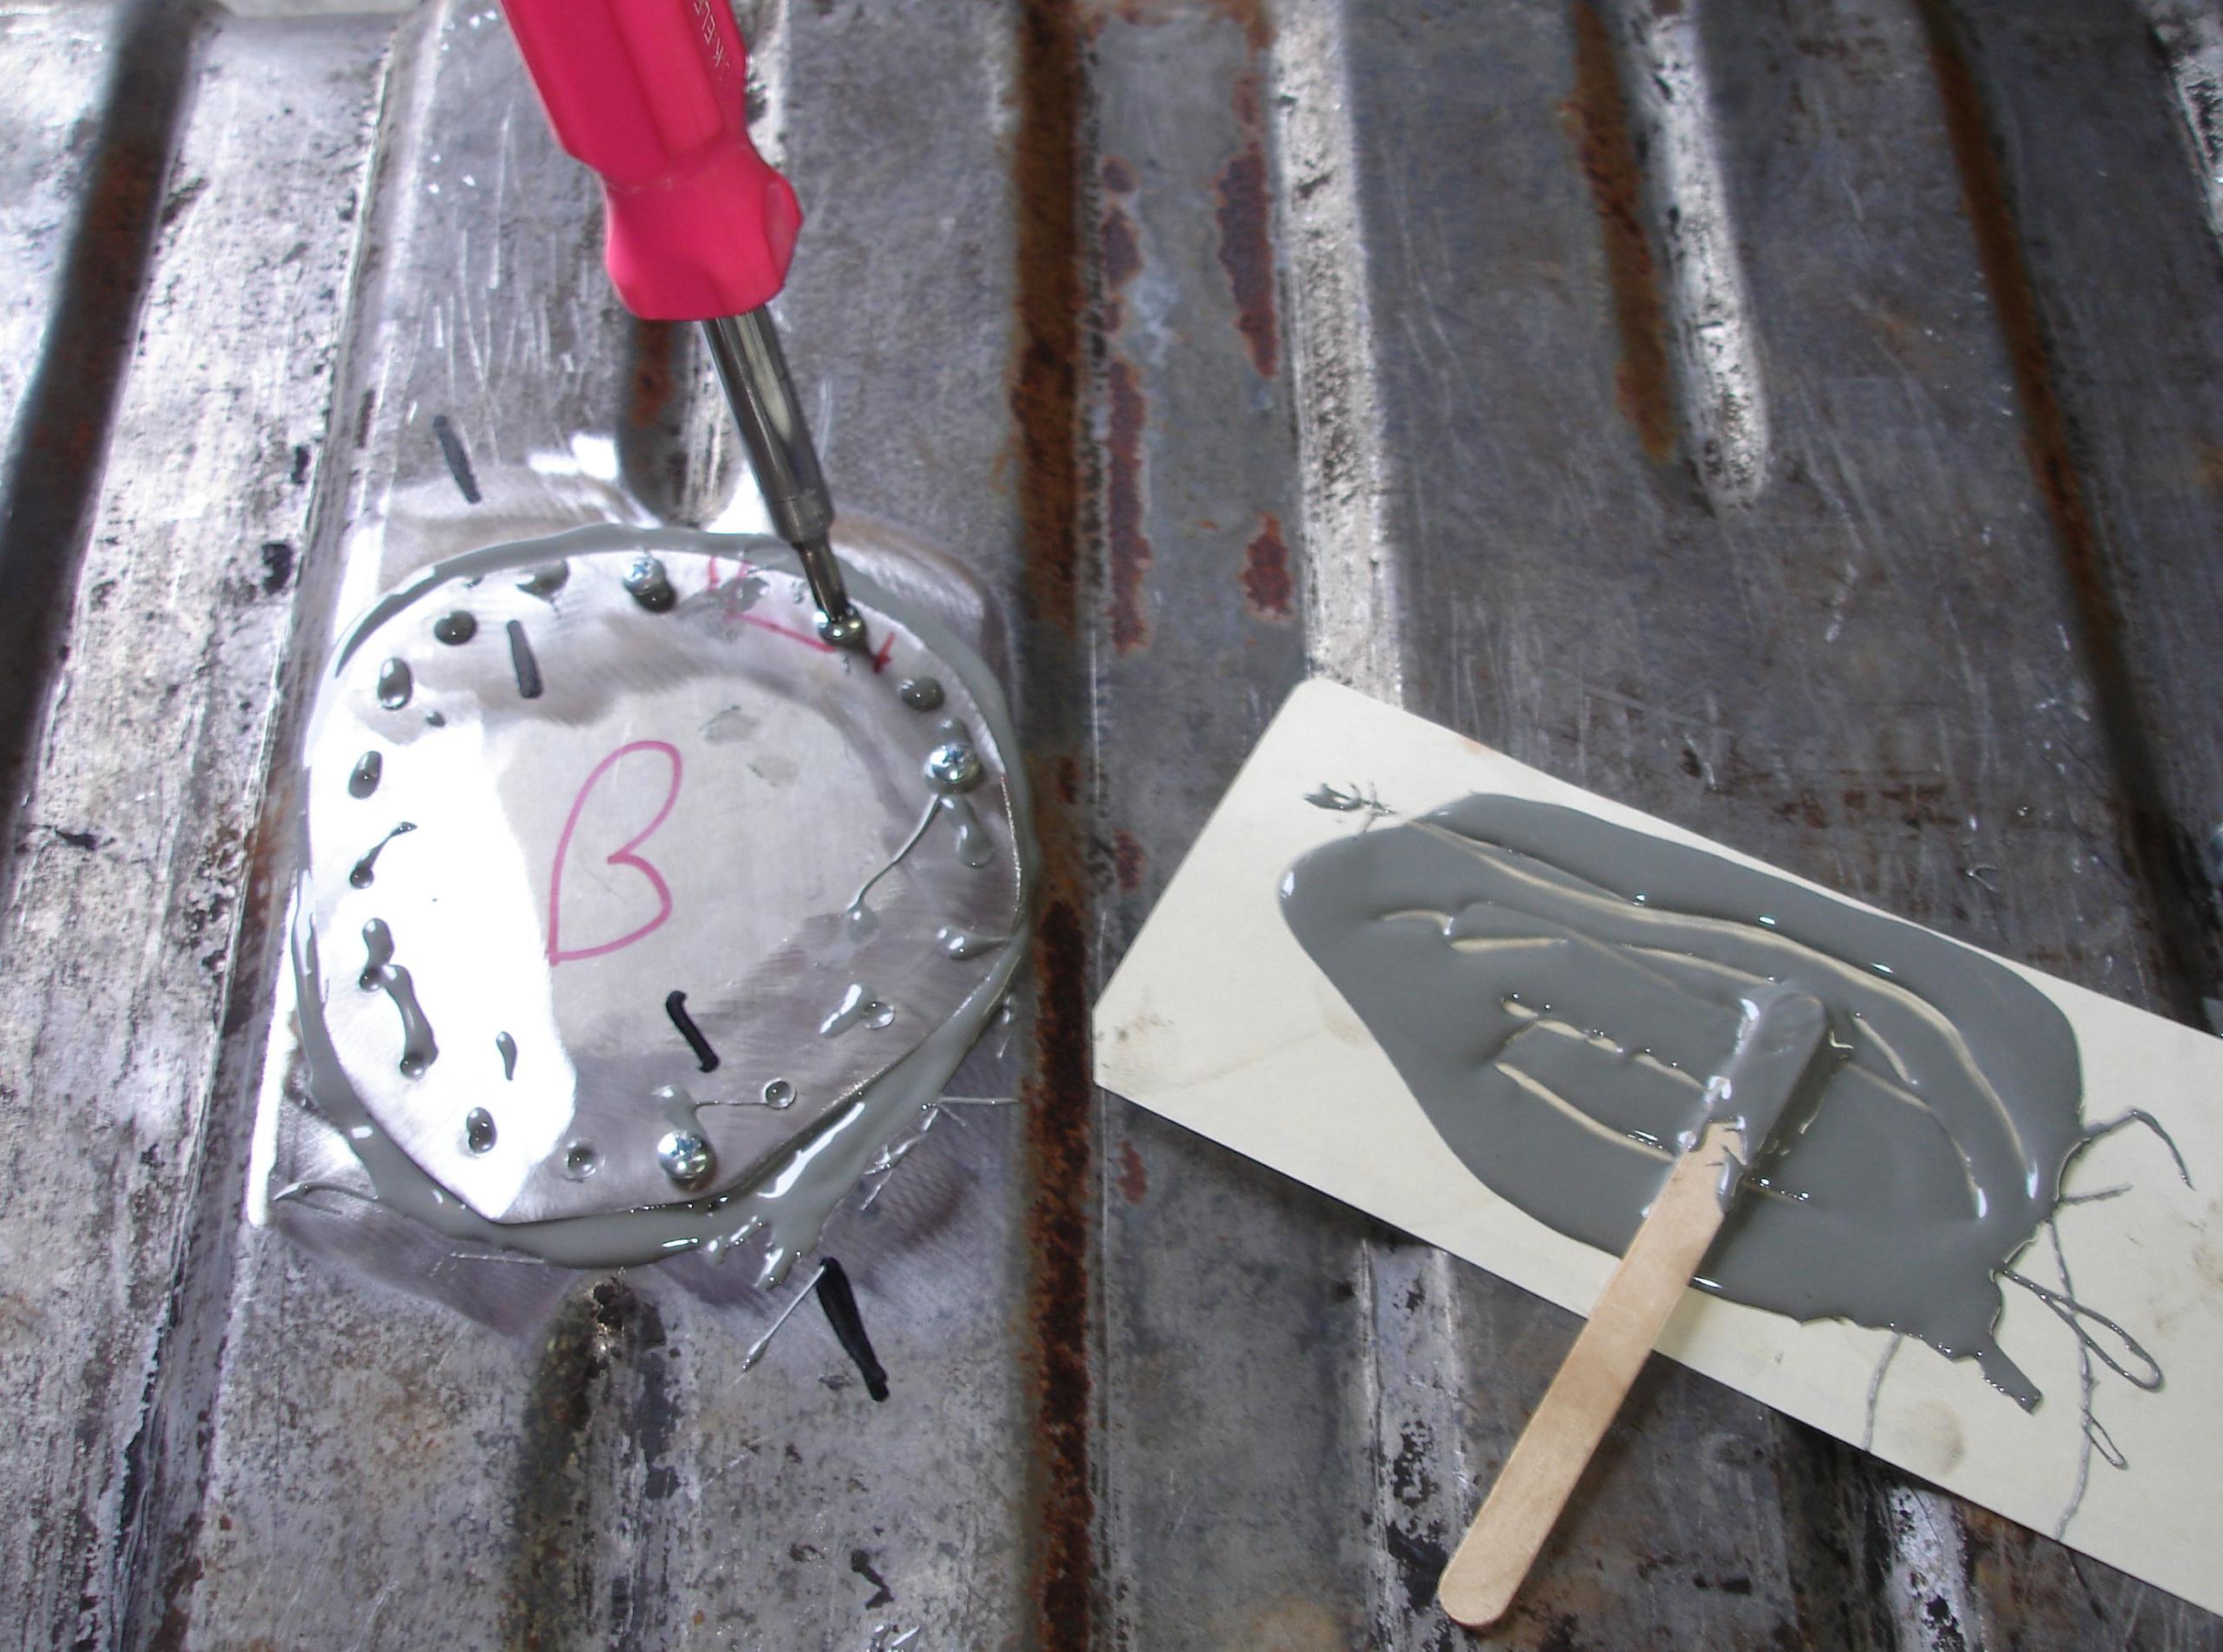
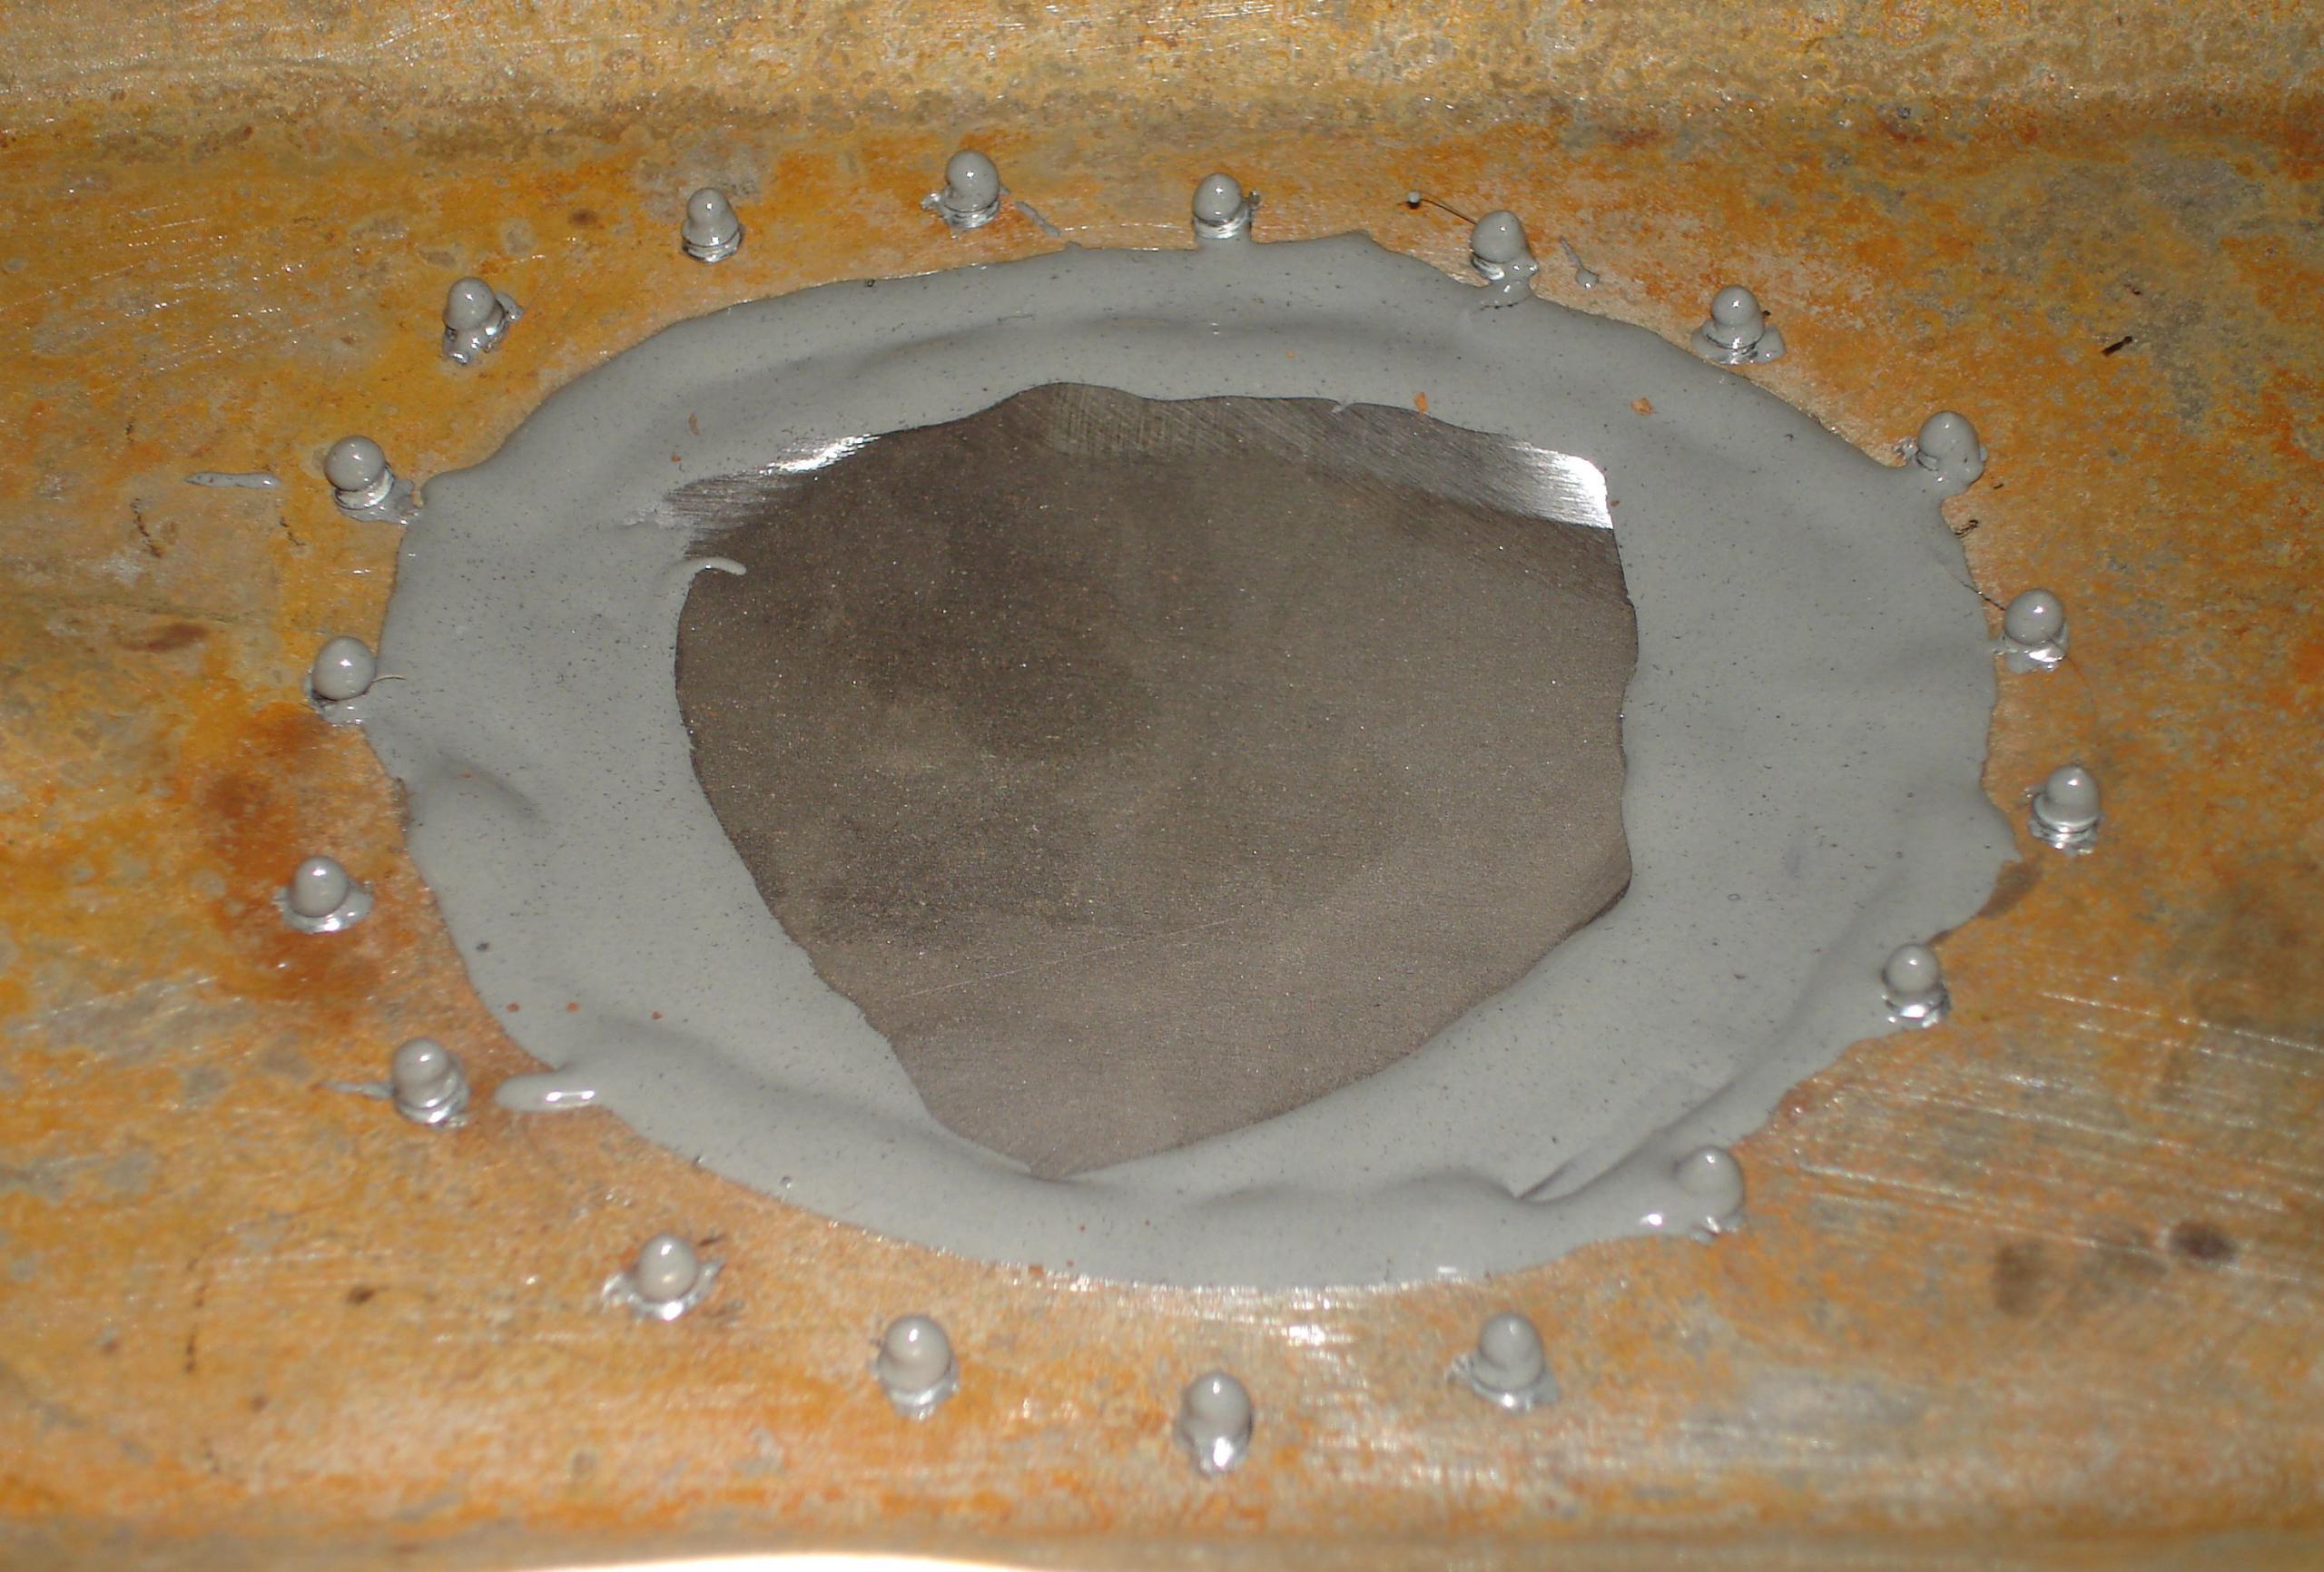
Sealing up the tank was easy, and not very expensive. First, I cut 16 gauge steel patches, drilled 1/8″ holes every 1/2″ around the perimeter of the hole, and a slightly larger hole in the patch. Roughed it all up with a grinder, mixed up some JB Weld, and screwed the patch into place. I flipped the tank over (so the epoxy would level into the patch and not drip) and left it in the sun. The next day I did the other side.
I have no idea how JB Weld is when soaked in gasoline long-term, and I have no interest in finding out! Now that the tank is clean and patched, I mixed up two kits of Caswell’s Phenol Novolac fuel-proof epoxy coating. It’s gasoline and alcohol resistant. Caswell claims 20 minute working time, which isn’t much for a job like this. I followed instructions to the letter, swishing a quart of lacquer thinner in the tank to get out mild grease (which at this point would have only been from my hands), dried it in the sun with a small fan until there was
no odor left. The tank and air was 80 degrees, and I actually got 30 minutes or more working time, so I was able to coat it really well. Two kits was slightly too much, which is good, as I was able to coat the entire tank really well — including of course the screwed/epoxied patches. (Frank: ANY tank lining kit will work. I prefer Bill Hirsch products. They form a thin fuel (including ethanol) lining inside the tank. I’ve used them for years on several tanks with no issues. Use your favorite. )
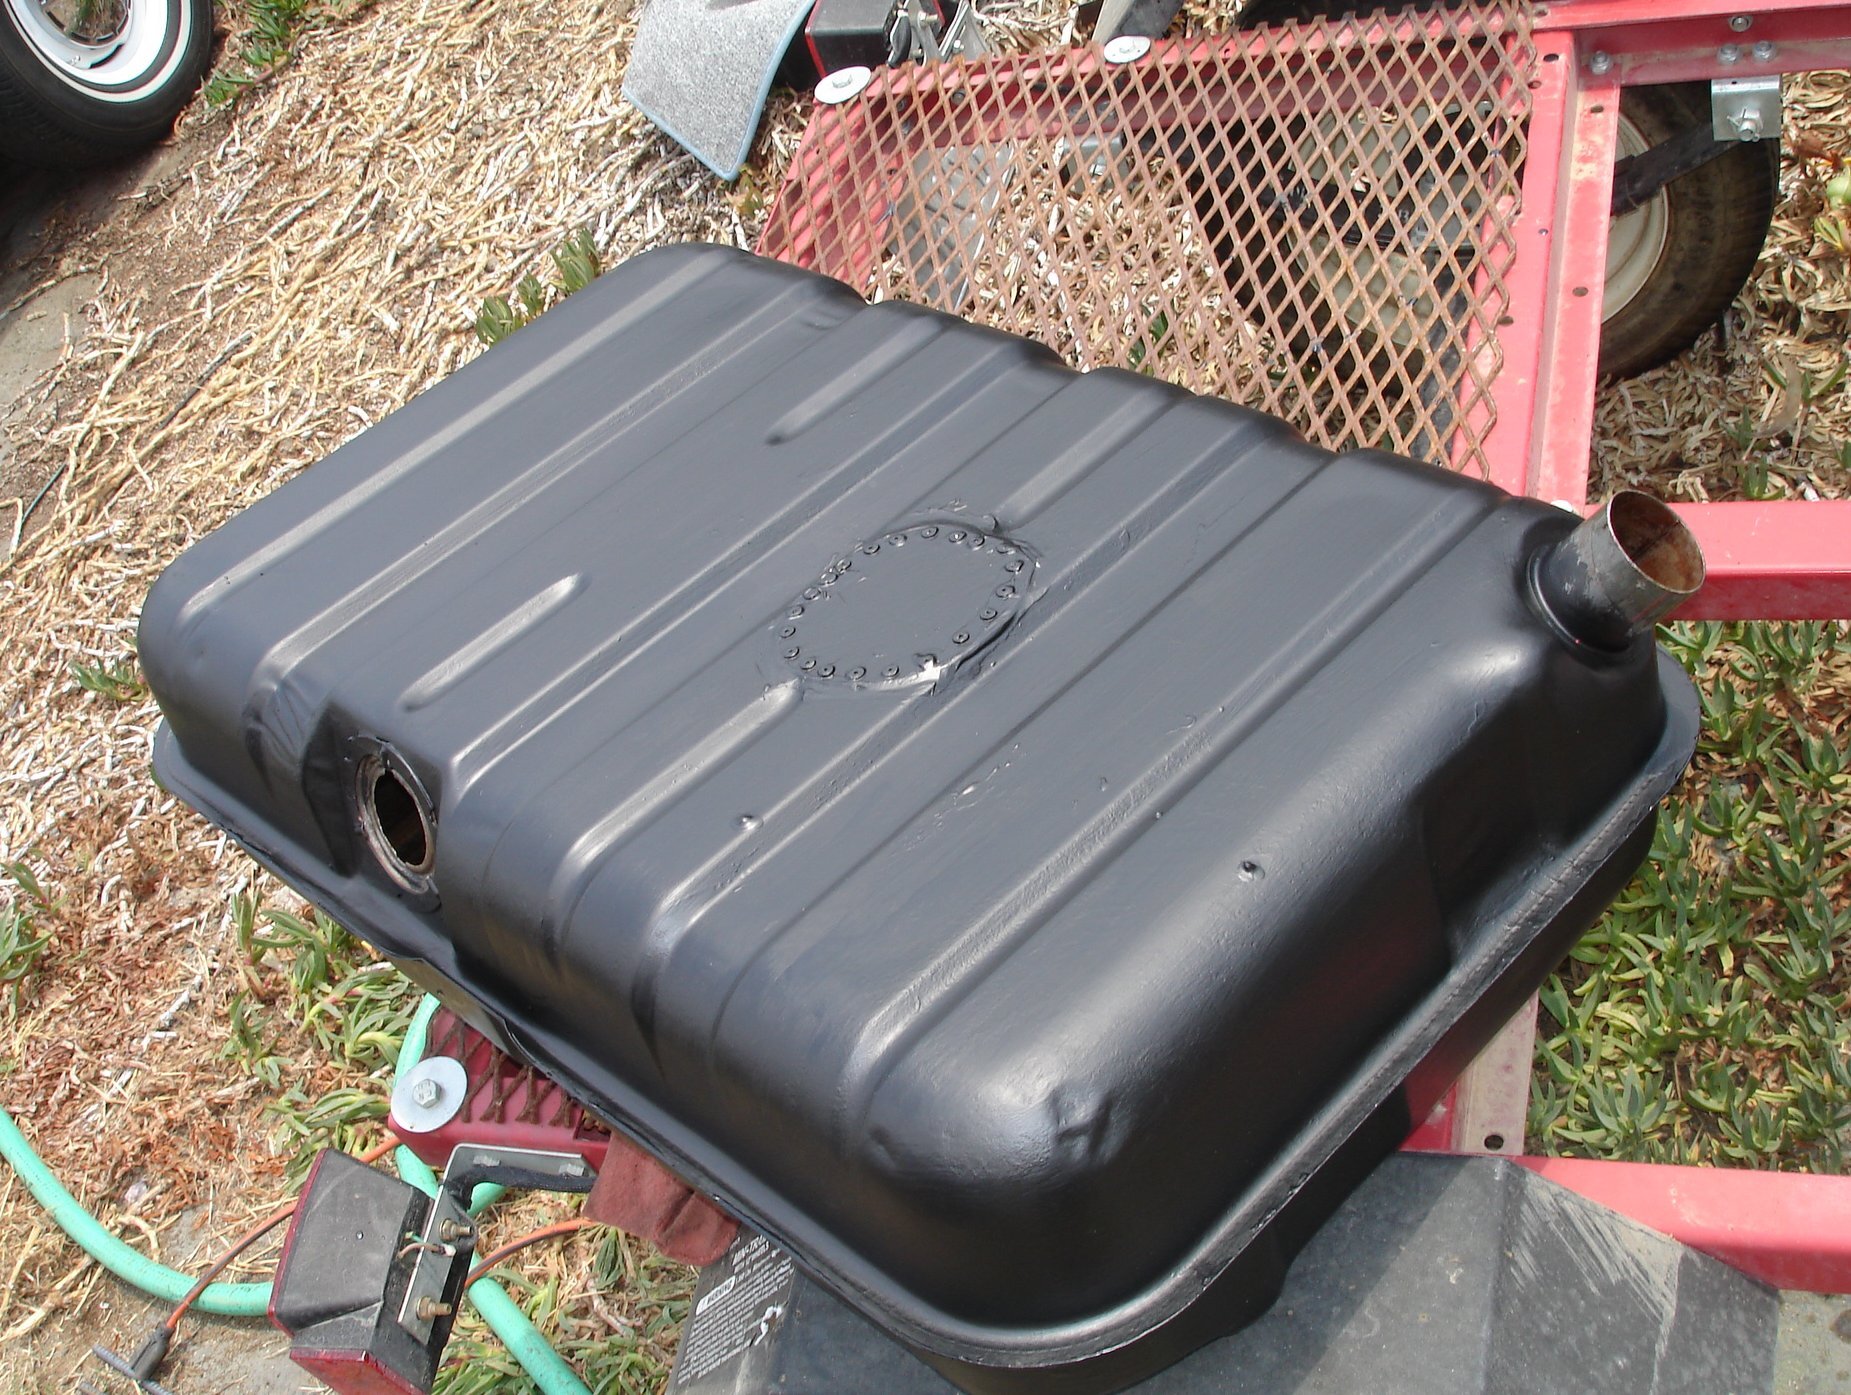
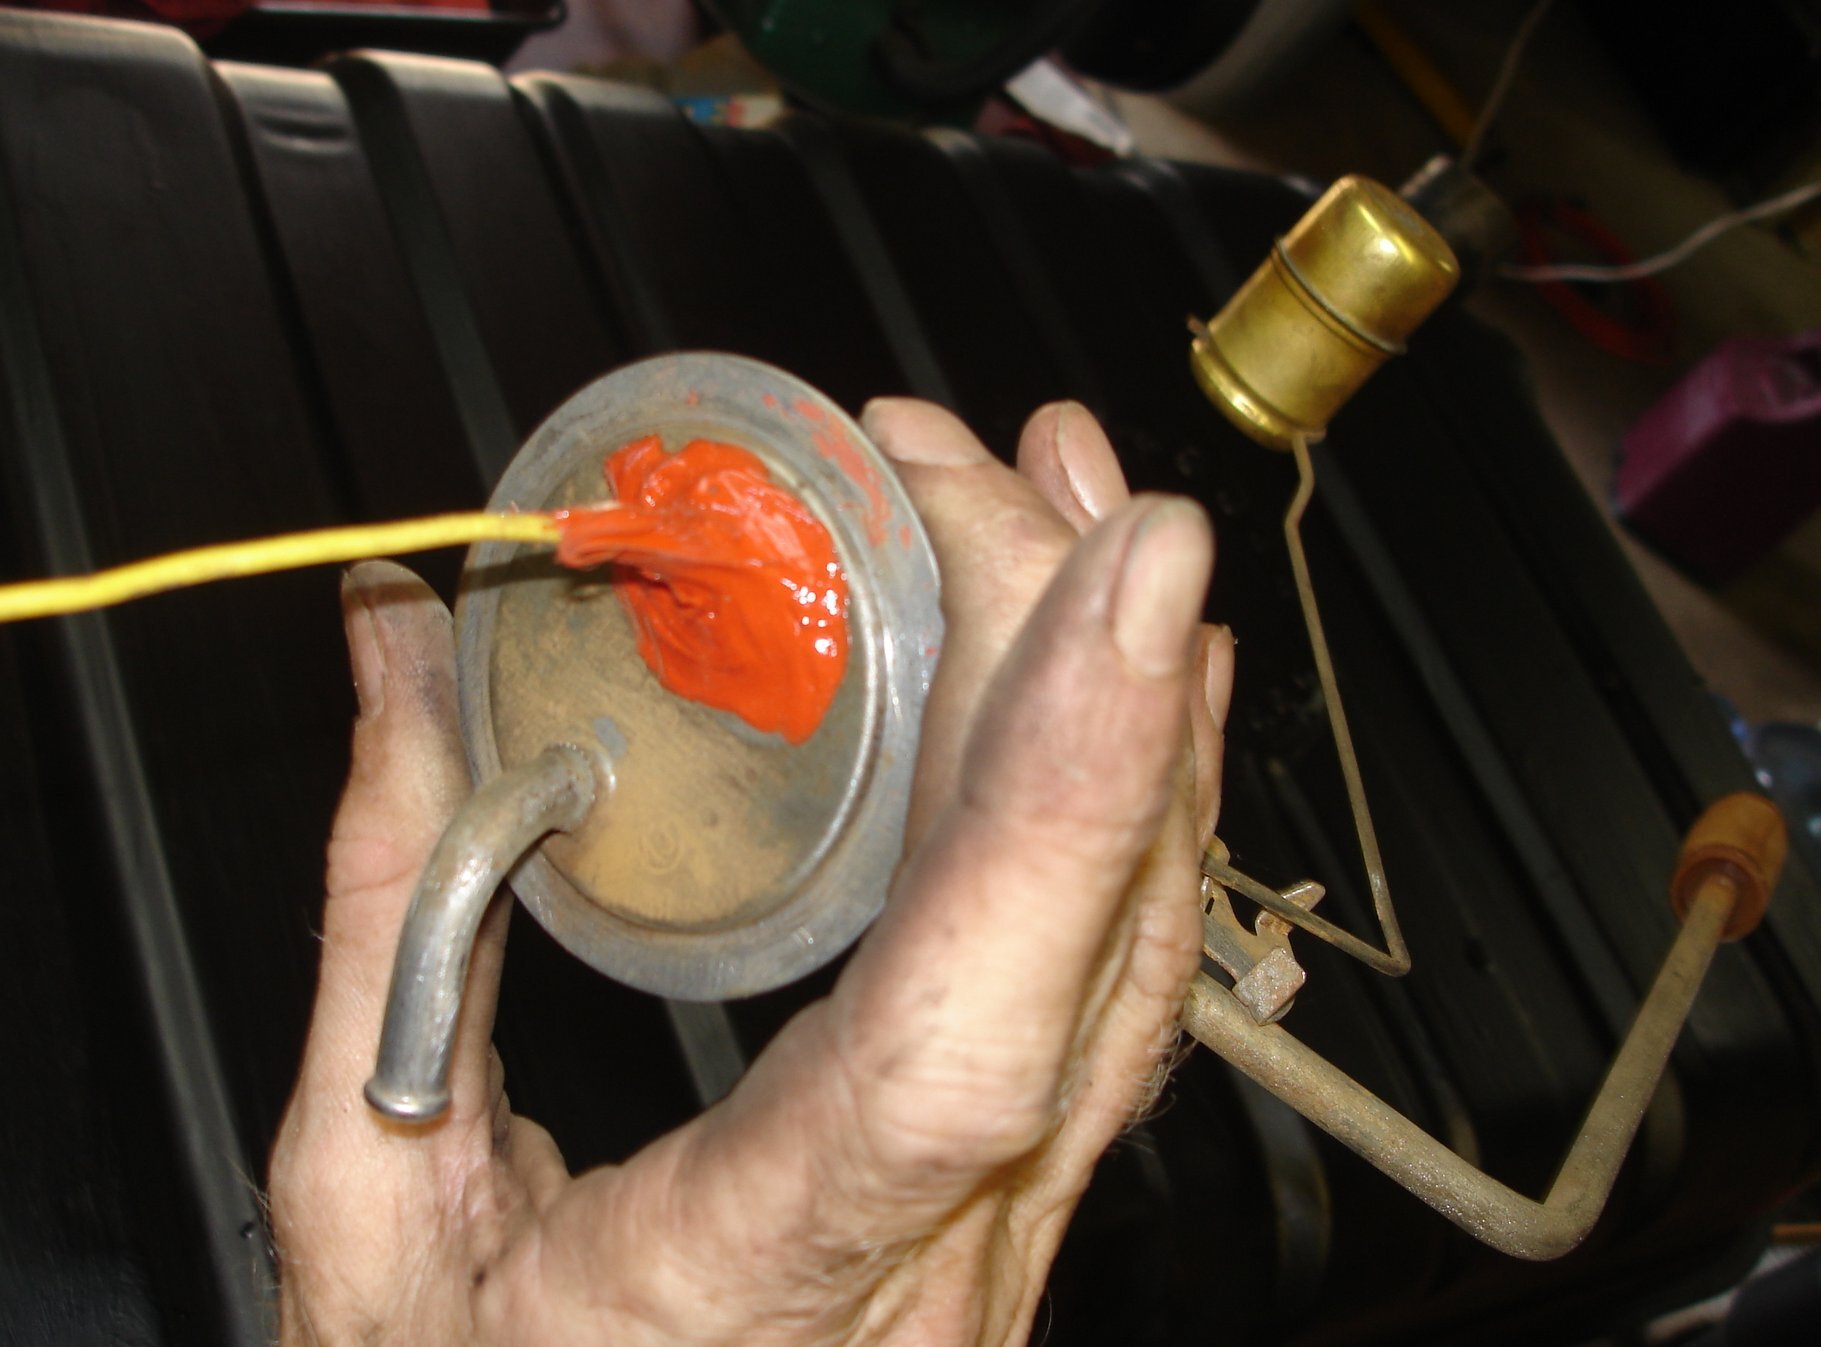
I ground the screw heads nearly off then painted it Eastwood Chassis Black. I bought a new sender float, filter sock and O-ring from Galvin’s AMC Rambler Parts (now AMC Acres), wire brushed the rusty thing clean, and cleaned off the resistor card and made sure
the sender was electrically good before I installed it!
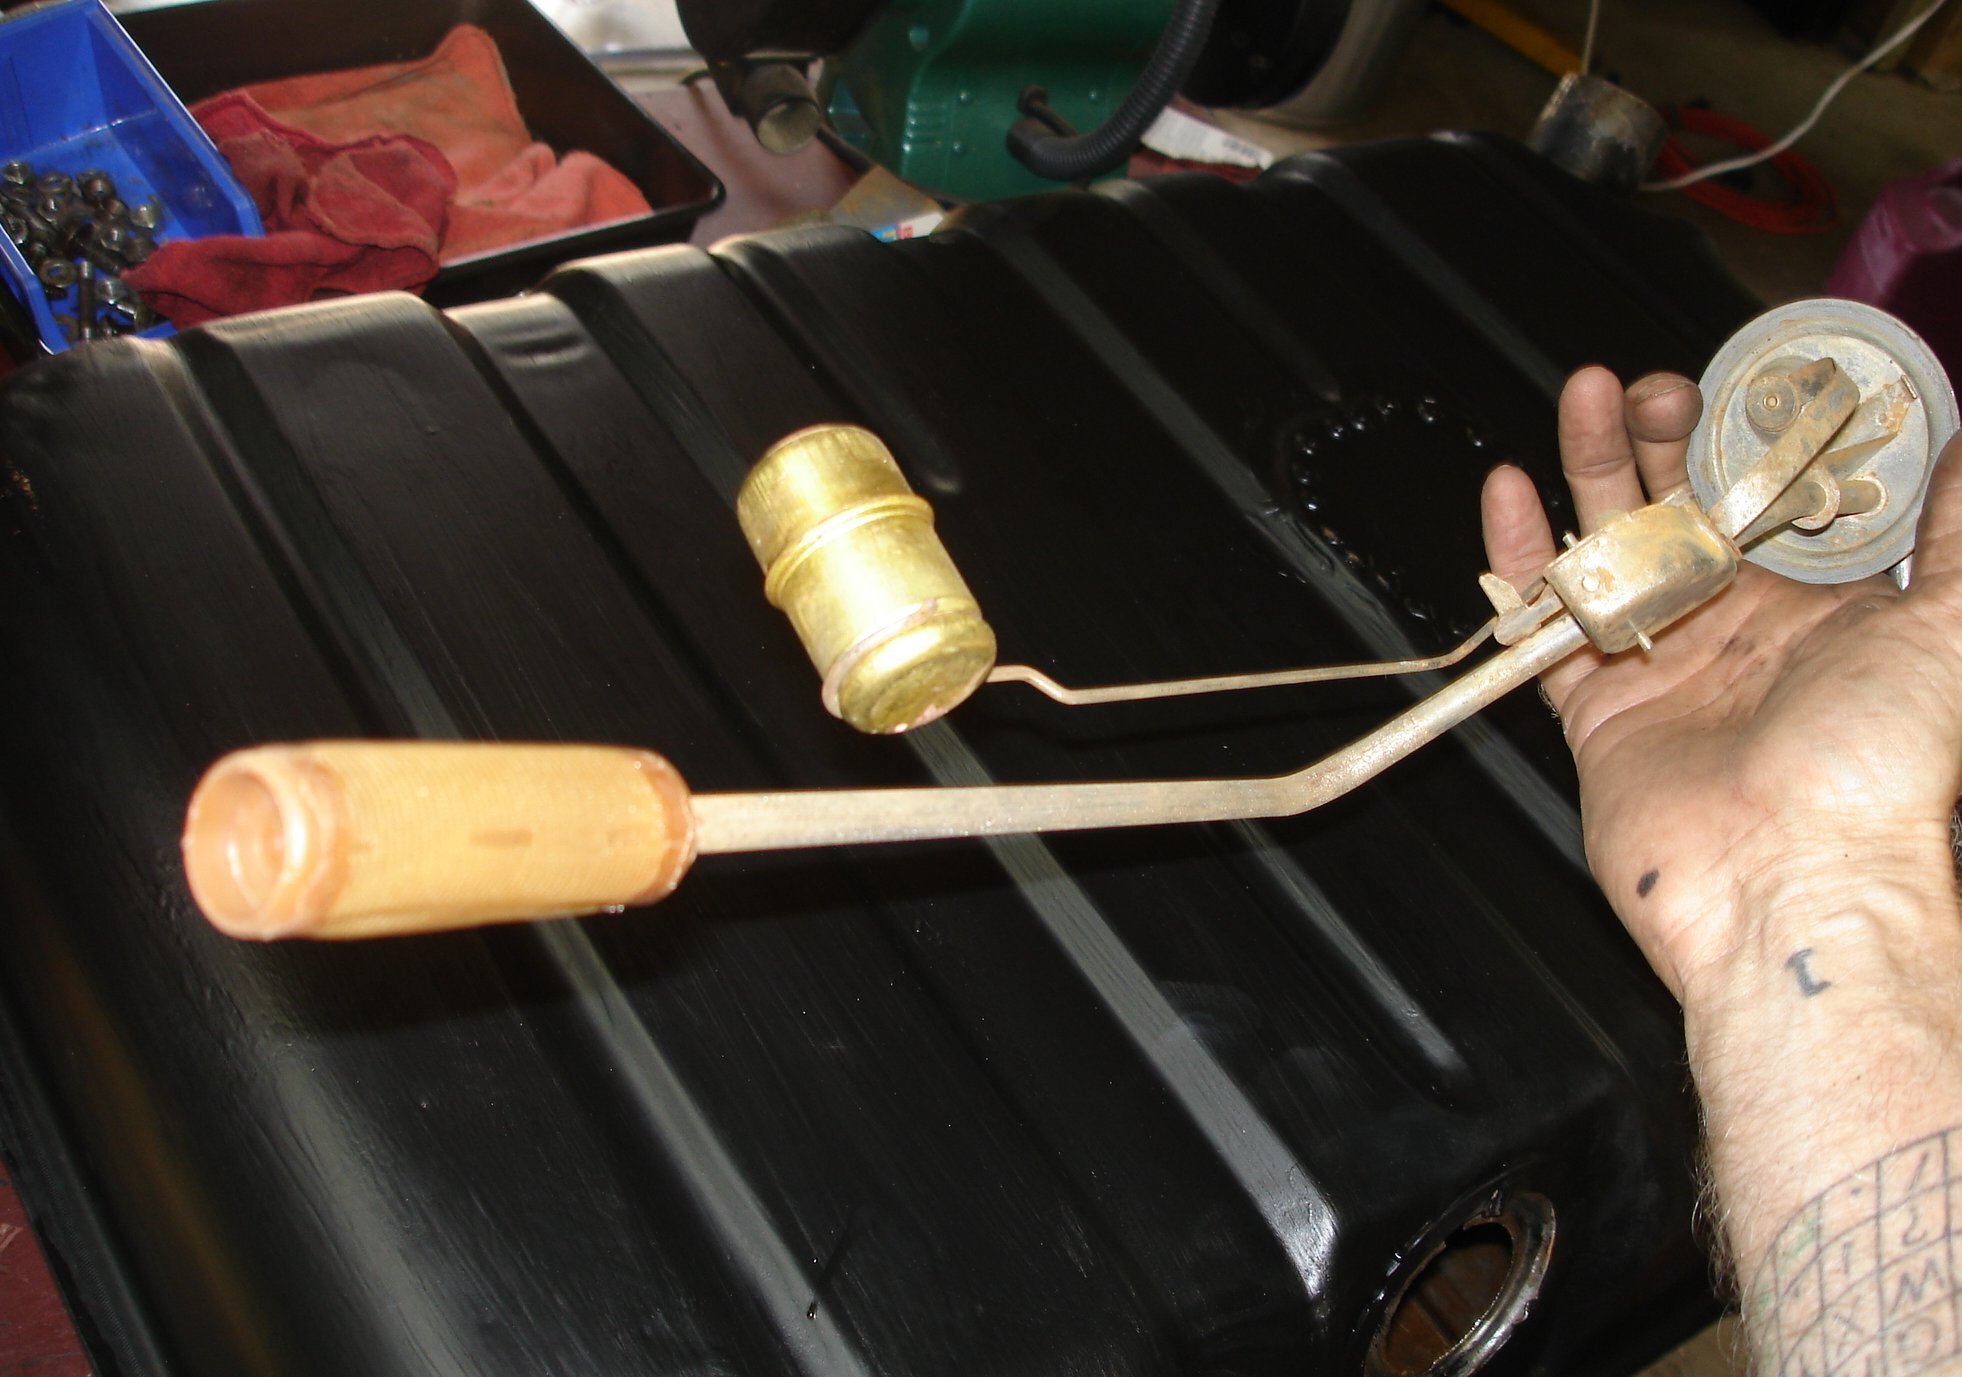
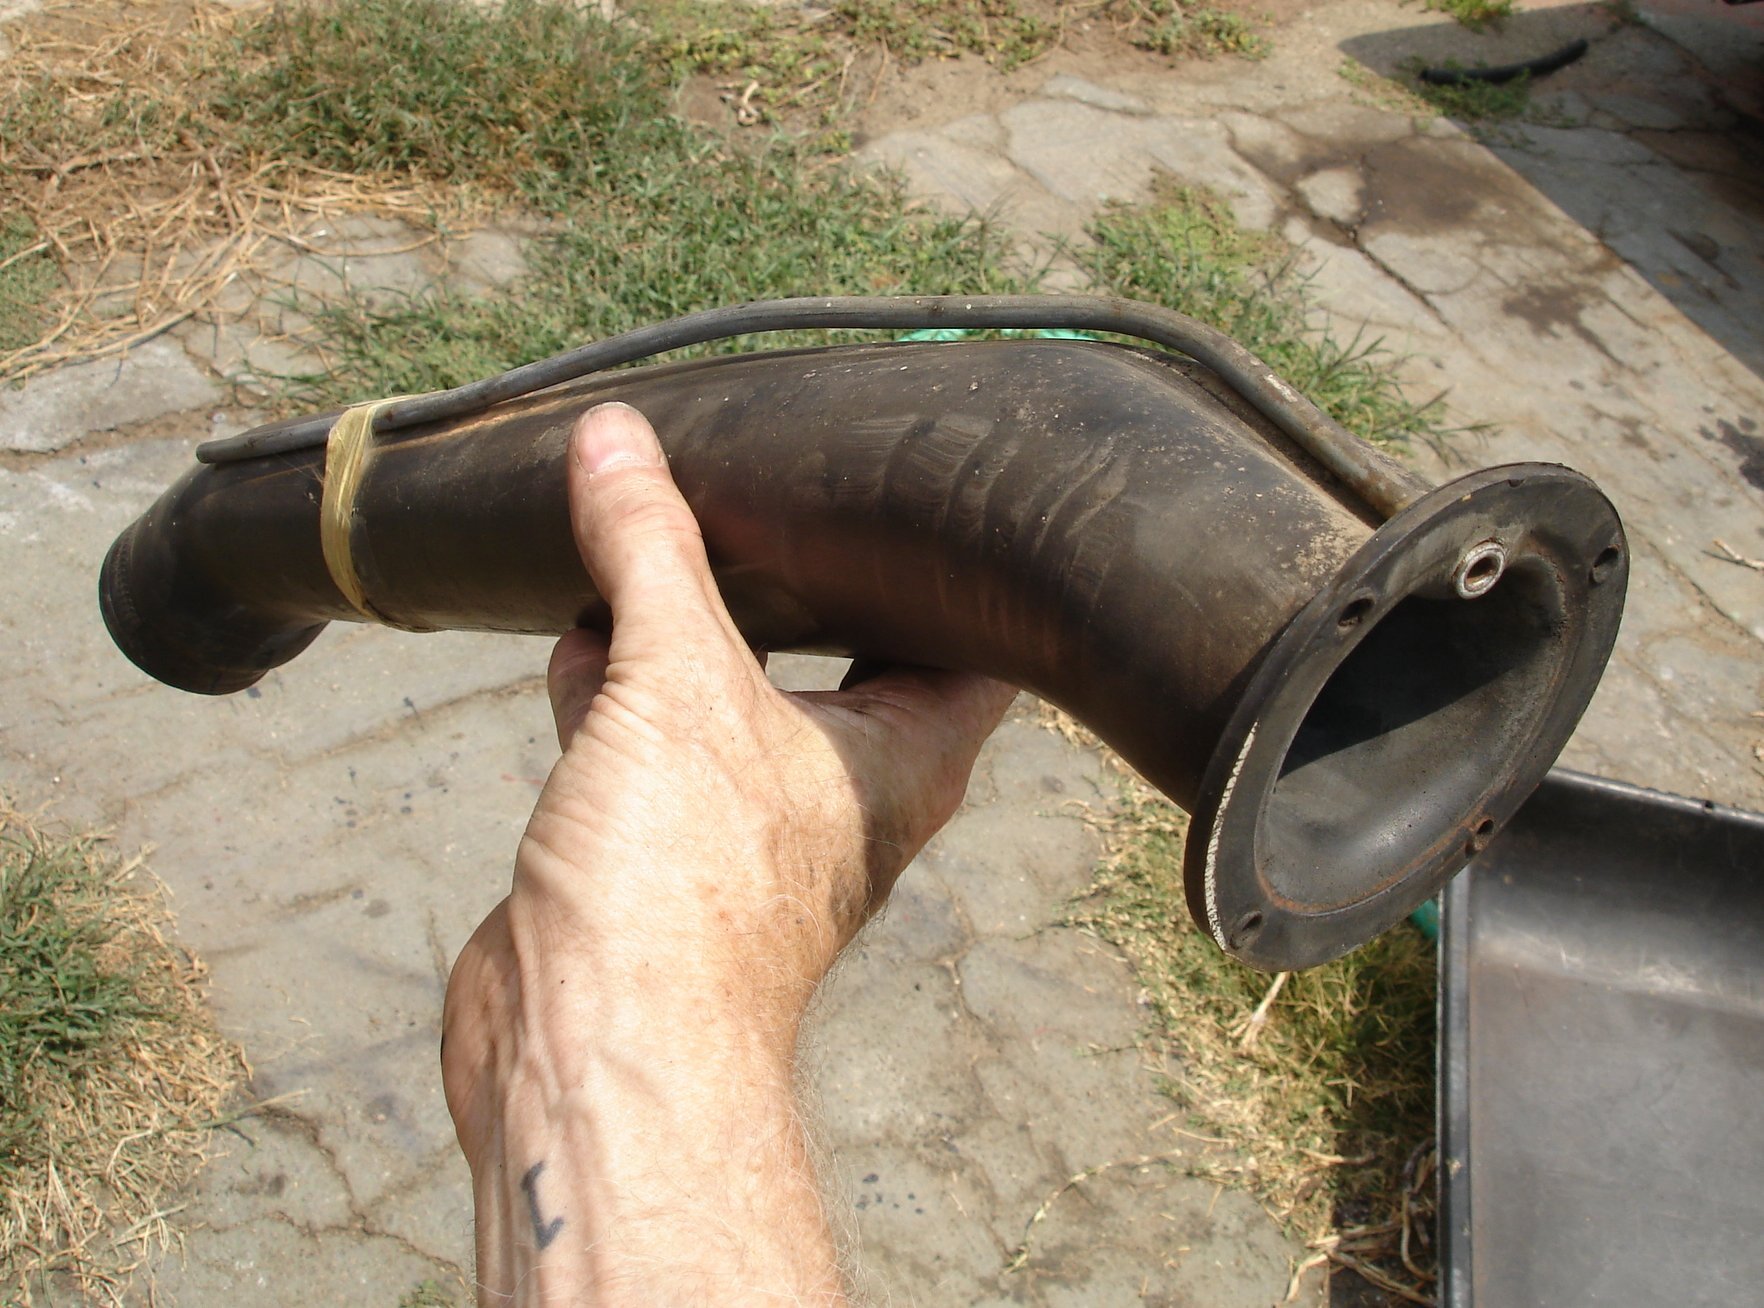
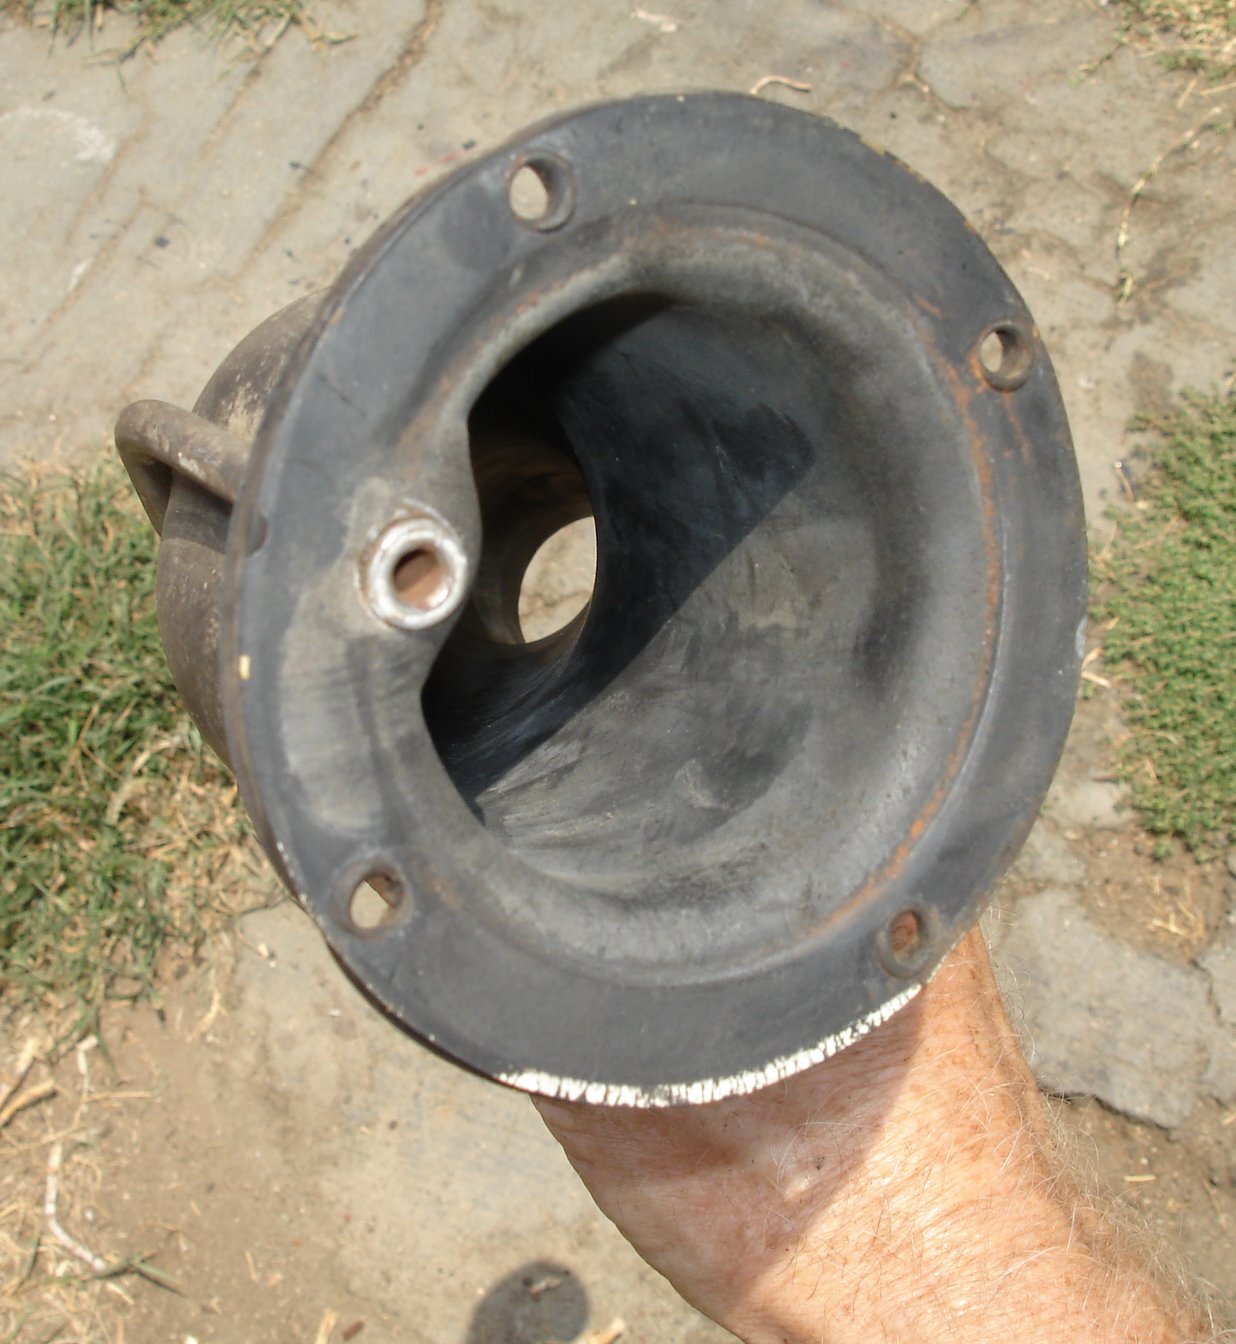
Upon tank re-installation I realized that the filler neck is one piece molded rubber, which is not available for replacement (now available from AMC Acres! Search for “filler hose”) . All pre-63 big cars and pre-64 Americans use this type of filler neck. Luckily mine is in excellent condition; and since the clamp use was a non-factory worm type I think it was replaced “recently” (relative to the car’s age…). Which is very lucky, since I’d have to fabricate a sheet-steel part from scratch.

Deprecated: File Theme without comments.php is deprecated since version 3.0.0 with no alternative available. Please include a comments.php template in your theme. in /home3/amcmagc1/public_html/wp-includes/functions.php on line 6170
Leave a Reply