
Home-Made 1970-up AMC Spring Compressor
by Tom Jennings, edited by Frank Swygert 01-25-2026
As you’ll find out when you go to do the job, it’s difficult to find a spring compressor that actually fits 70-up AMC front springs. They’re 6.5″ diameter, about an inch larger than most.
You need to compress a spring an additional 6″ to get it out of the car; they’re already squashed 4″ just sitting there. About 60% of the car’s weight is on the front, so each spring already has about 800 pounds of force already in it, and compressing it further probably brings it over 1200 pounds.
That’s a 12-guage shotgun’s worth of energy, up close to your head. This isn’t the place for hack jobs.
DISCLAIMER: This is just a document explaining what I did for myself. It’s not a tested product. You assume responsibility for your
actions if you make one and are solely responsible if it fails.
This is a functional copy of the AMC factory spring compressor, which is a great design, as it uses the car chassis itself as part of the compressor, so you can’t walk around with a loaded spring. In both my and AMCs design, the tool is kept centered securely and there’s
little to screw up. Mine is made entirely of rectangular steel, since I have a small mill/drill and no lathe.
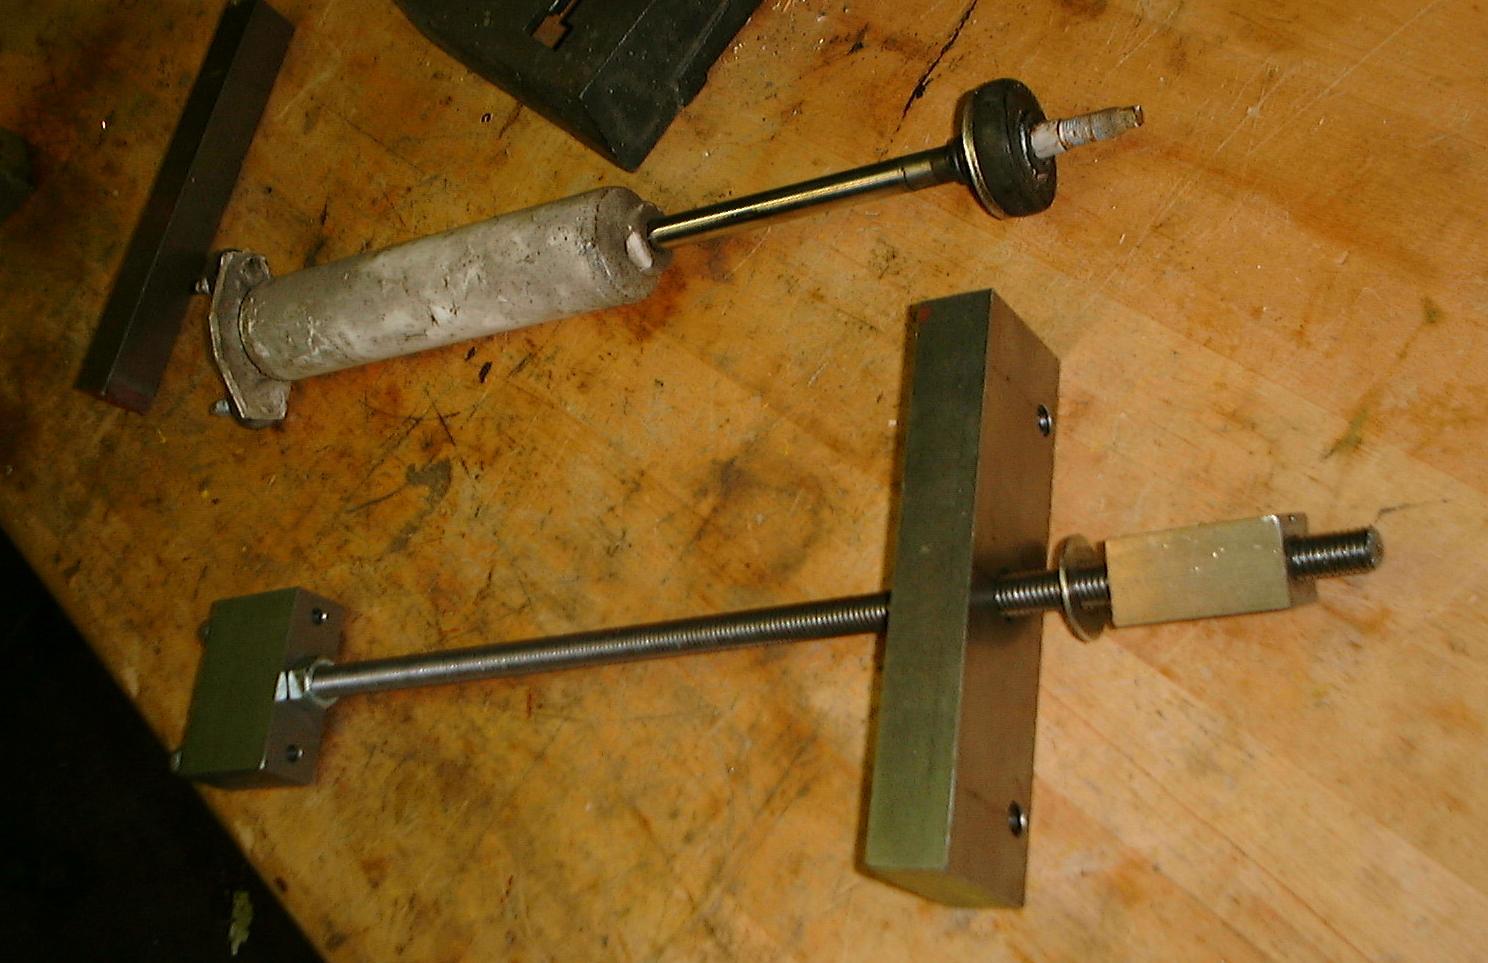
First, here’s the completed puller. Clearly it shares basic geometry with the (1970 Hornet) shock next to it. It’s composed of a central 1/2″-NC cold-rolled steel rod, and some 1″ x 2″ cold-rolled rems I got from Industrial Metal Supply. The rod is not graded but is at least of
quality manufacture, unlike the rough crap you find at Home Depot and other hardware/building supply stores. You need a graded (Grade B7) threaded rod — the typical hardware store threaded rod is too soft and the threads may not hold. Grainger, Fastenal, and most metal supply sources will have them.
Eighteen inches is a good length for the rod. It was long enough for the nut to fully engage when the (old, worn) spring was fully extended. I haven’t yet installed the new springs yet, but I think it’ll be long enough.
IMPORTANT NOTE: The giant square nut is important for strength. An ordinary nut would possibly be strong enough in the short term, but would wear very quickly; there’s a lot of force on very few threads. I used a piece of 1″ square cold-rolled stock, 2″ long, drilled and
tapped. It was a minor pain, but besides being easier to crank on, showed no wear after removing two springs. A Grade 8 nut should suffice.
I stuck an ordinary 1/2″ plain washer between the top plate and the nut, it gets ground up. Somewhere I have an old Rambler trunnion
bearing, which would eliminate wear and make it easier to turn. So would a little spray white lithium grease…
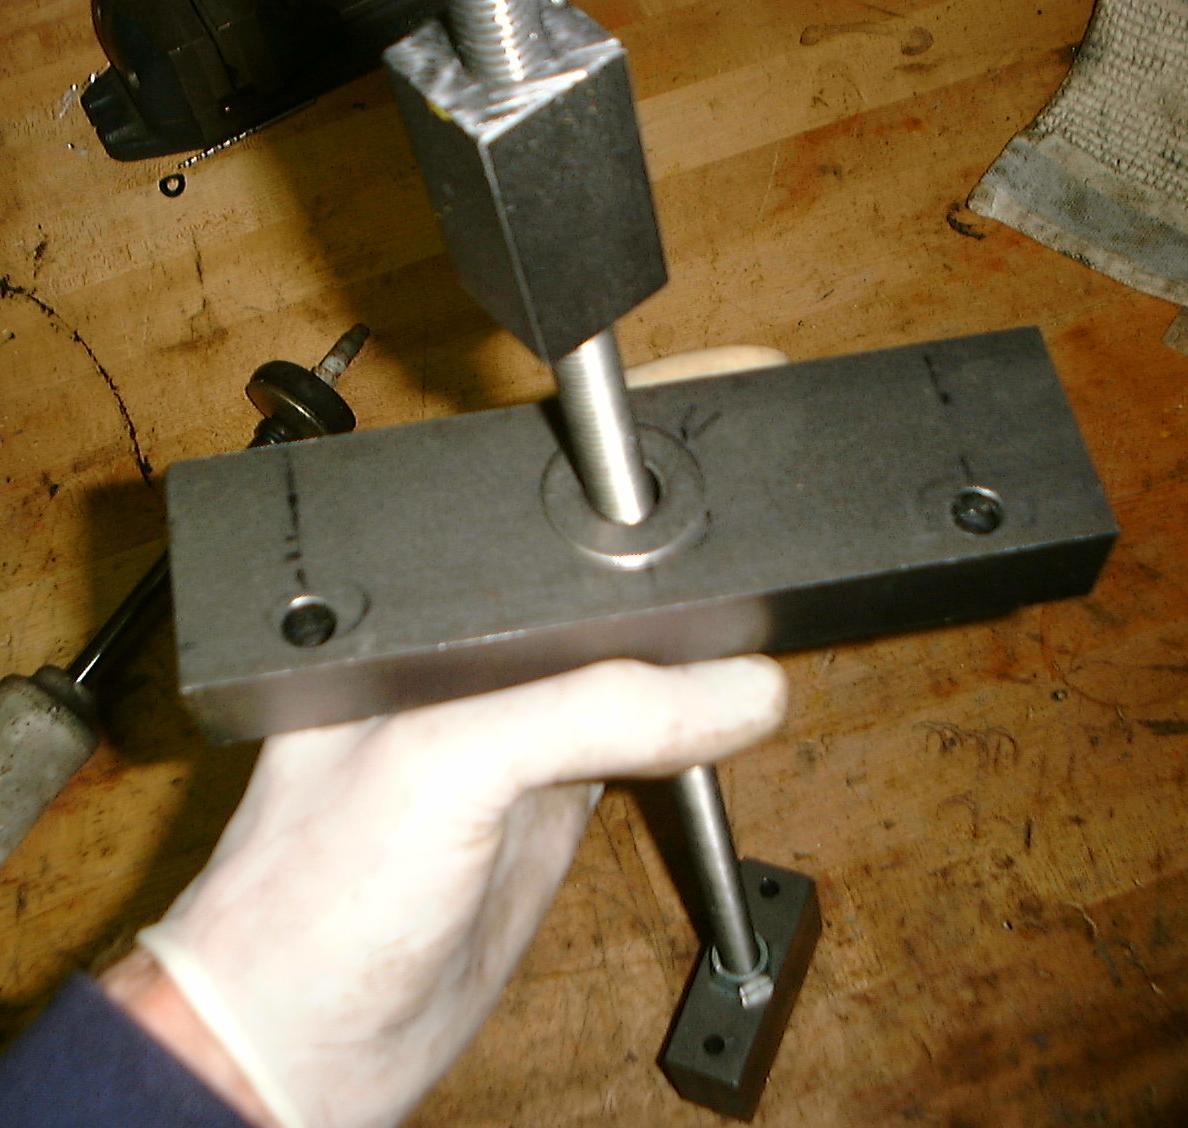
The small end of the tool has two 5/16″-NC holes for bolts (I didn’t have graded studs, but I have Grade 5 bolts) that exactly match the end of the shock (which obviously bolts into the spring perch).
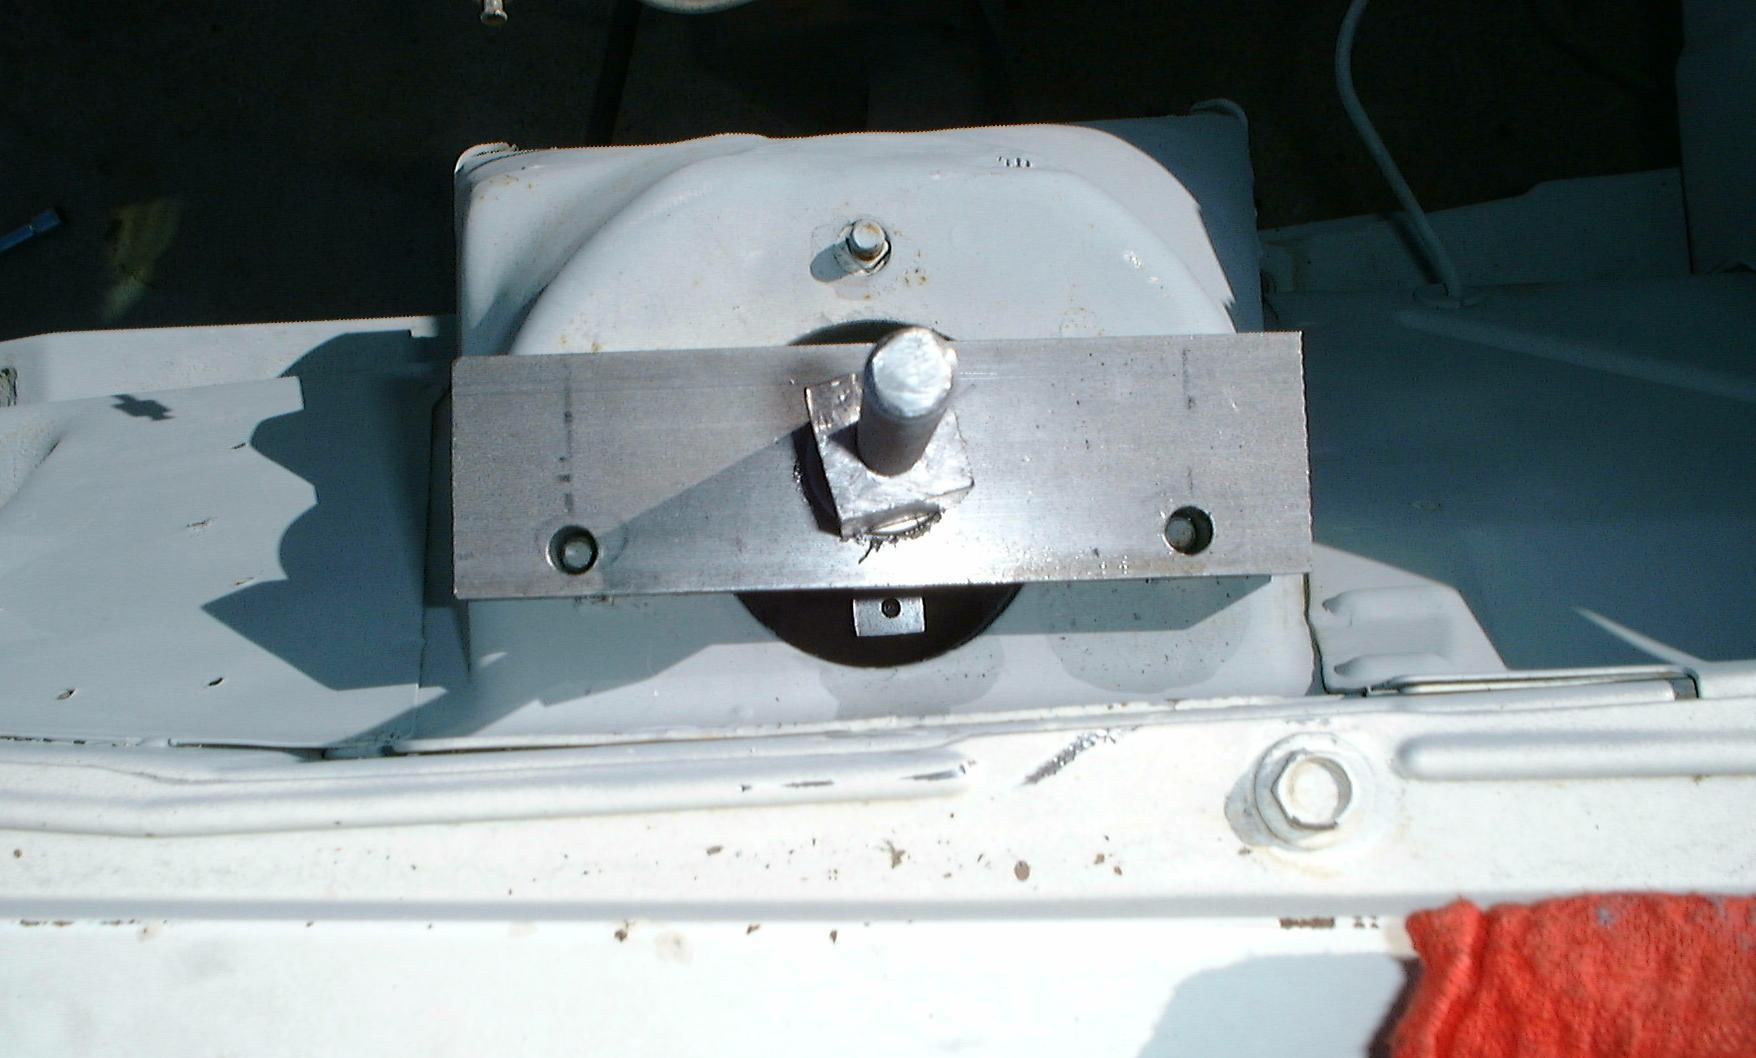
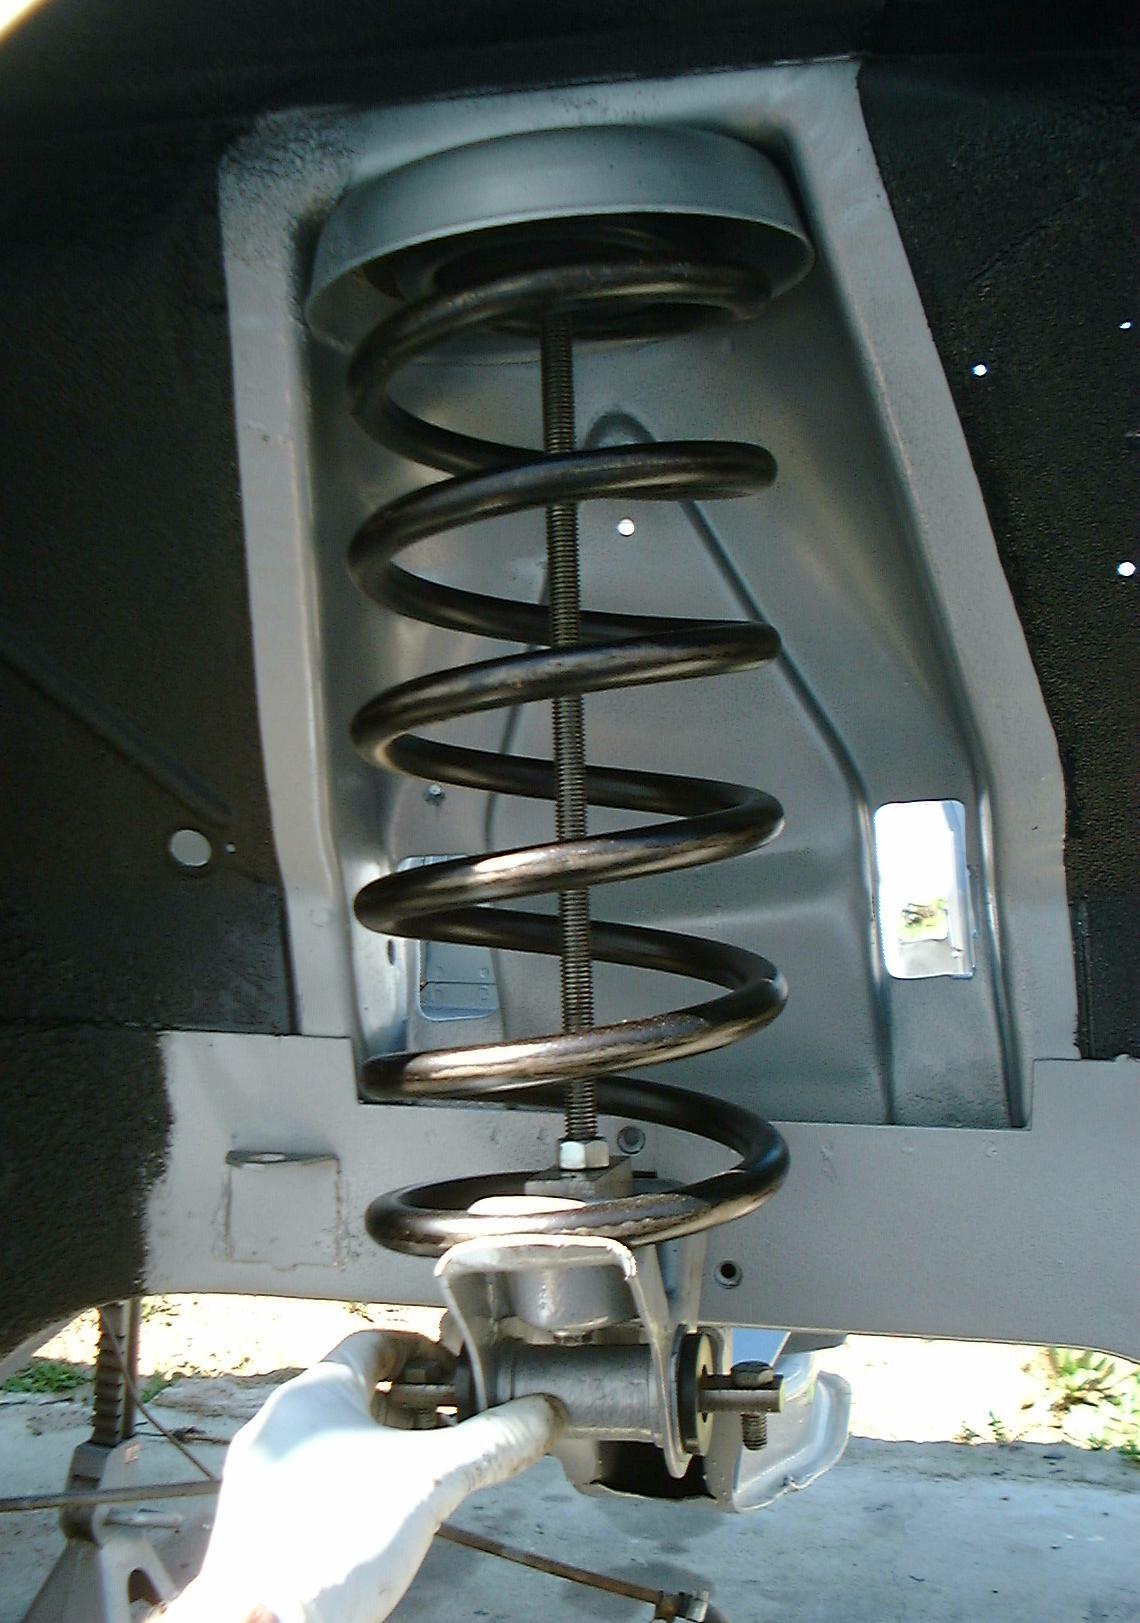
The big end of the tool fits on top of the spring tower. The two small holes simply fit over the shock-mount bolts to center it, shown here in use. (The factory puller has a truncated-cone that centers itself inside the hole in the top of the spring tower).
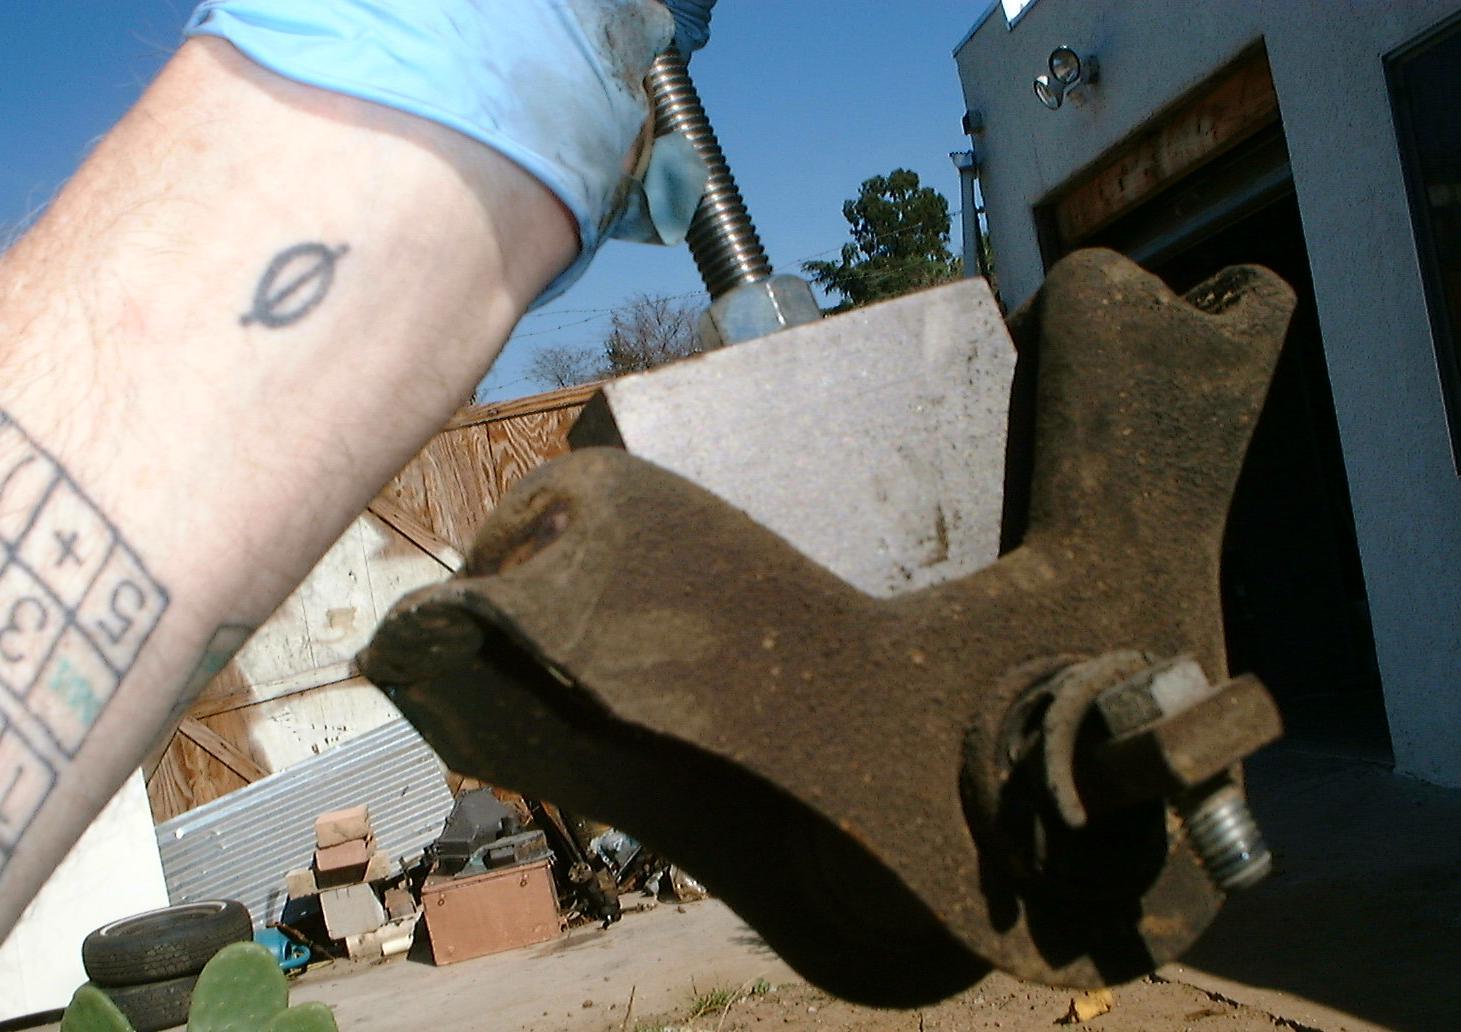
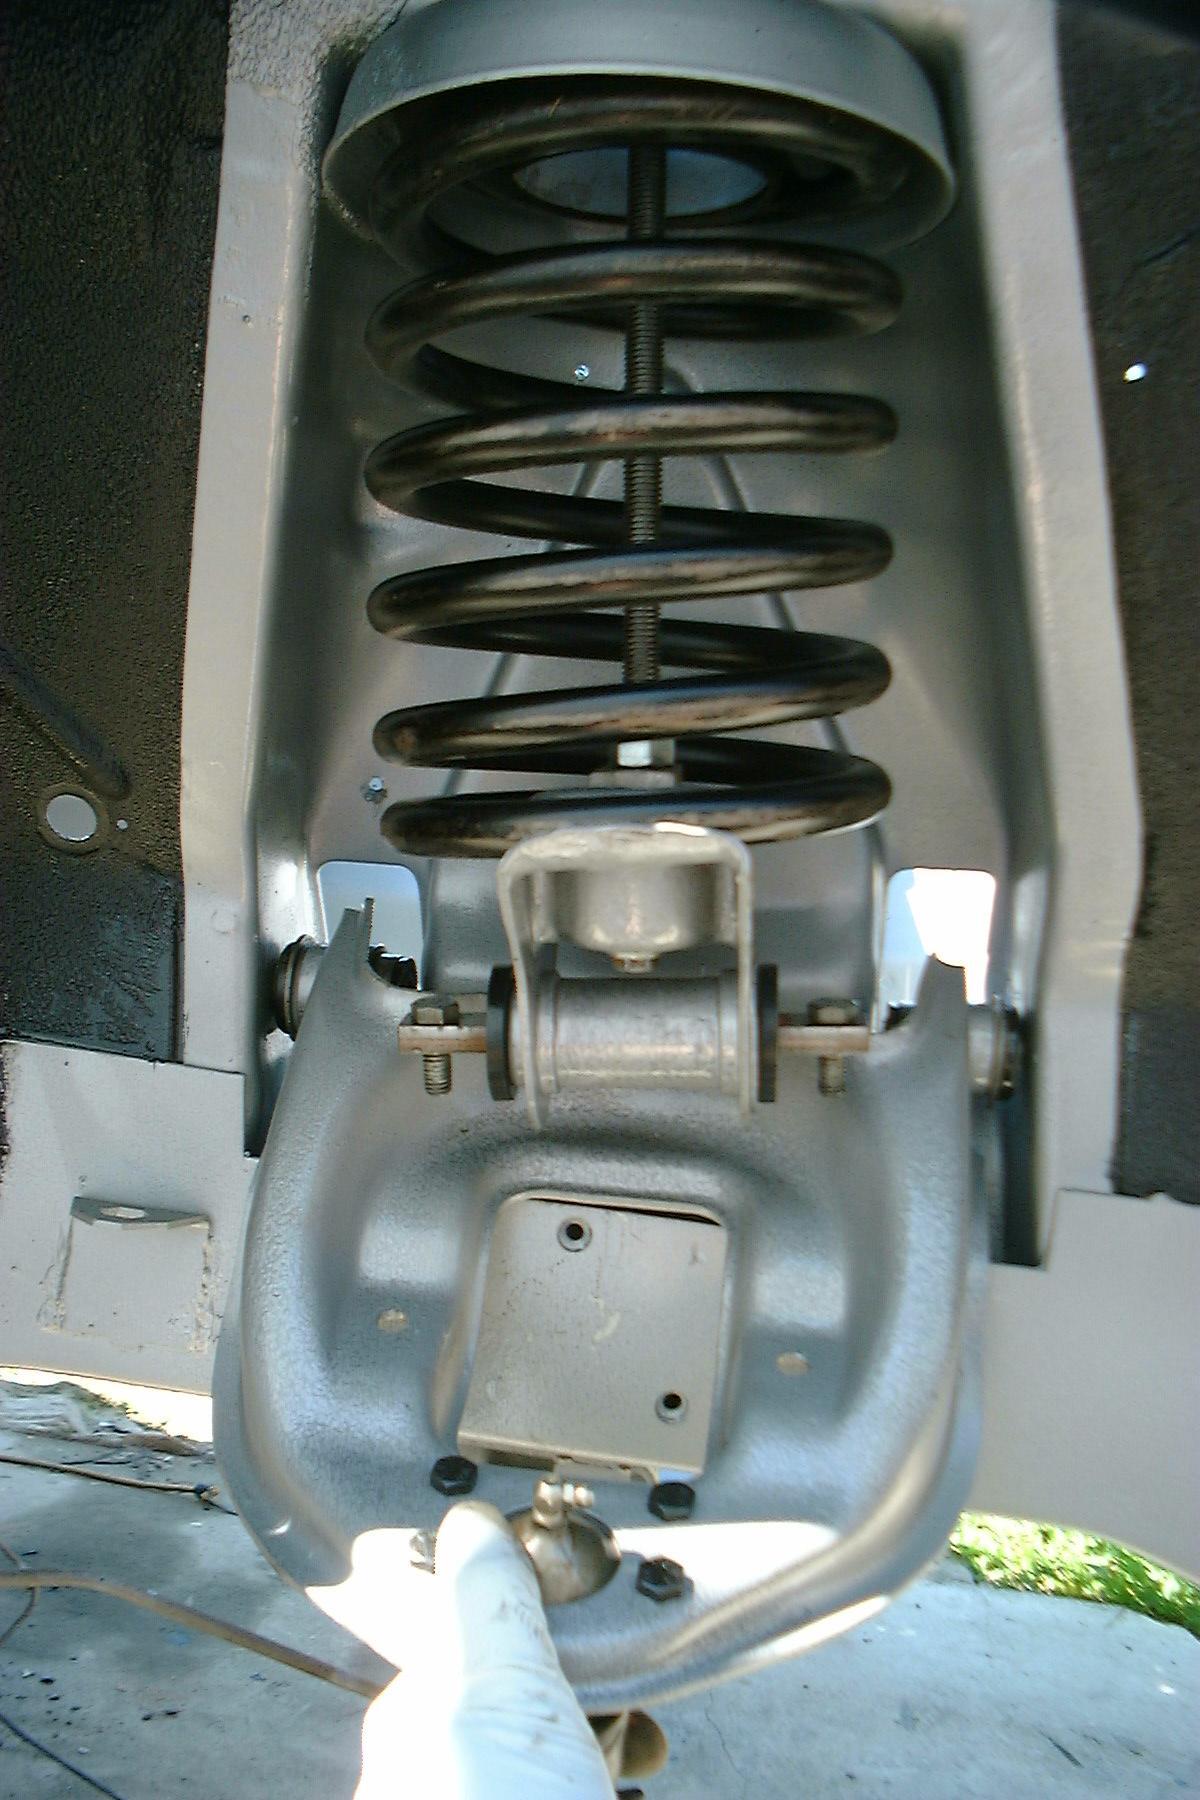
Here’s the tool bolted into the spring perch after removal of the spring.
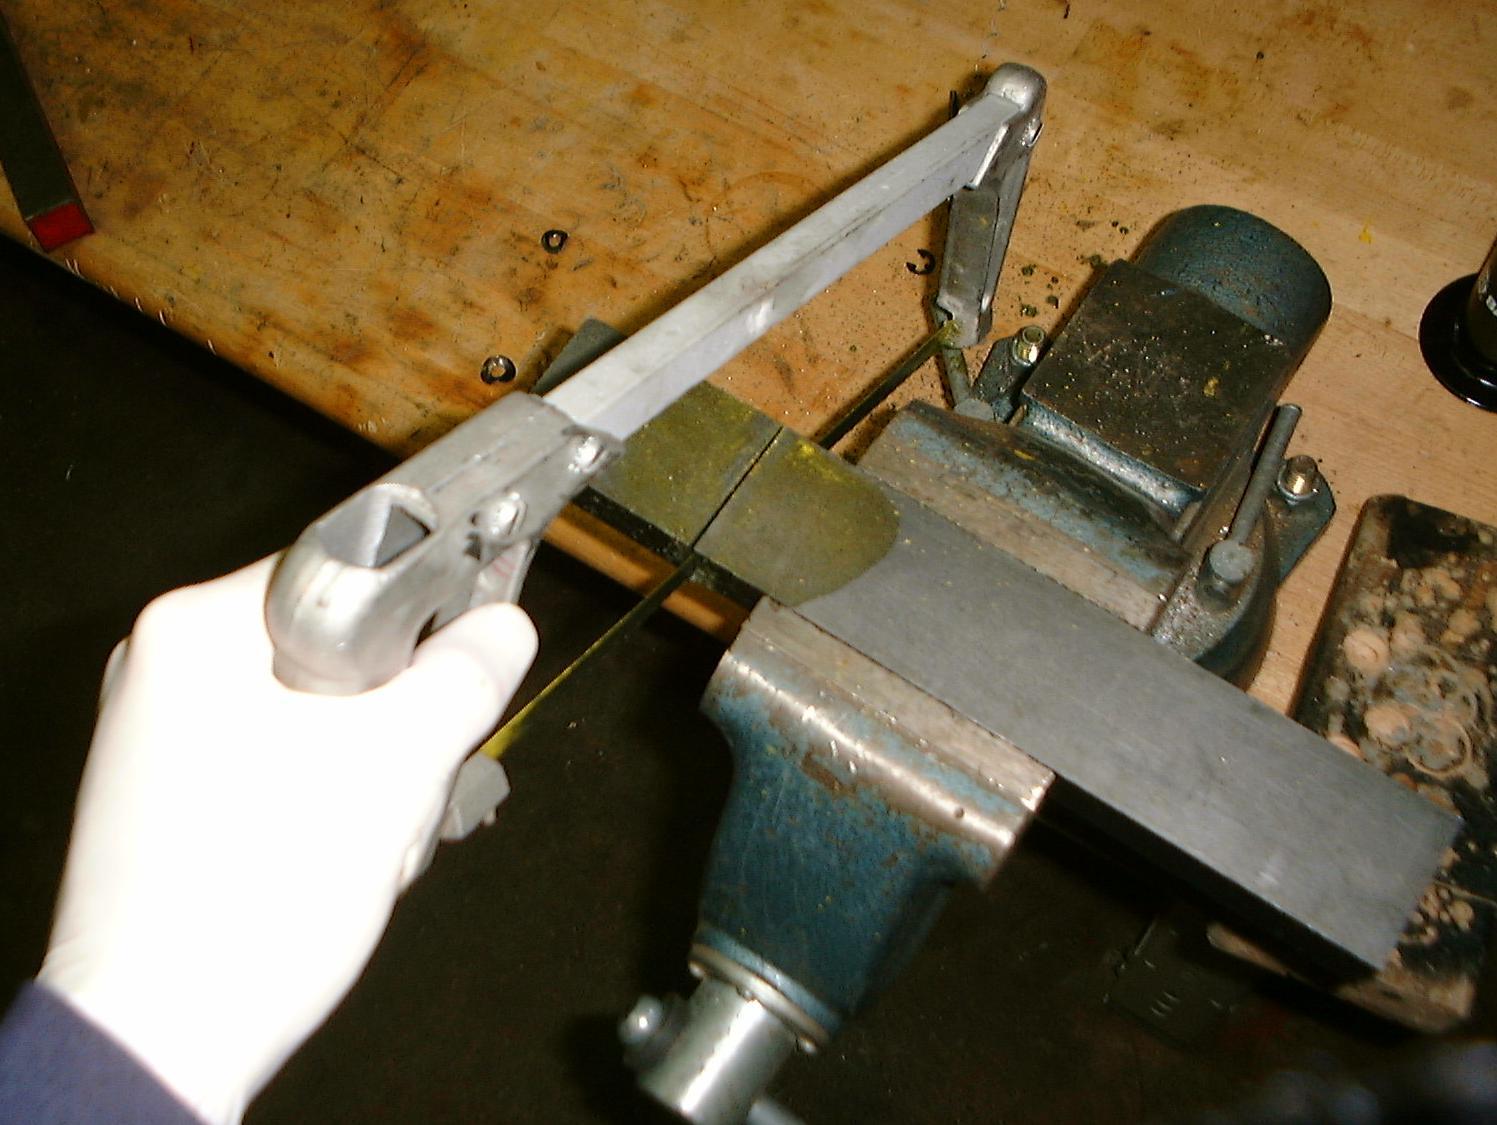
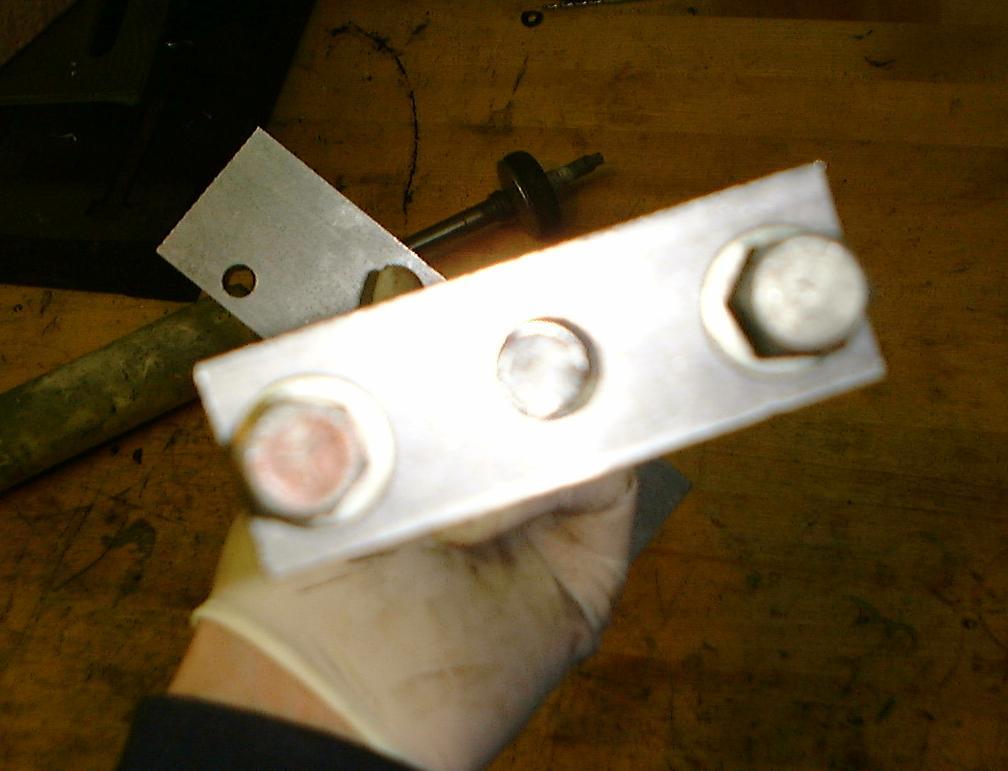
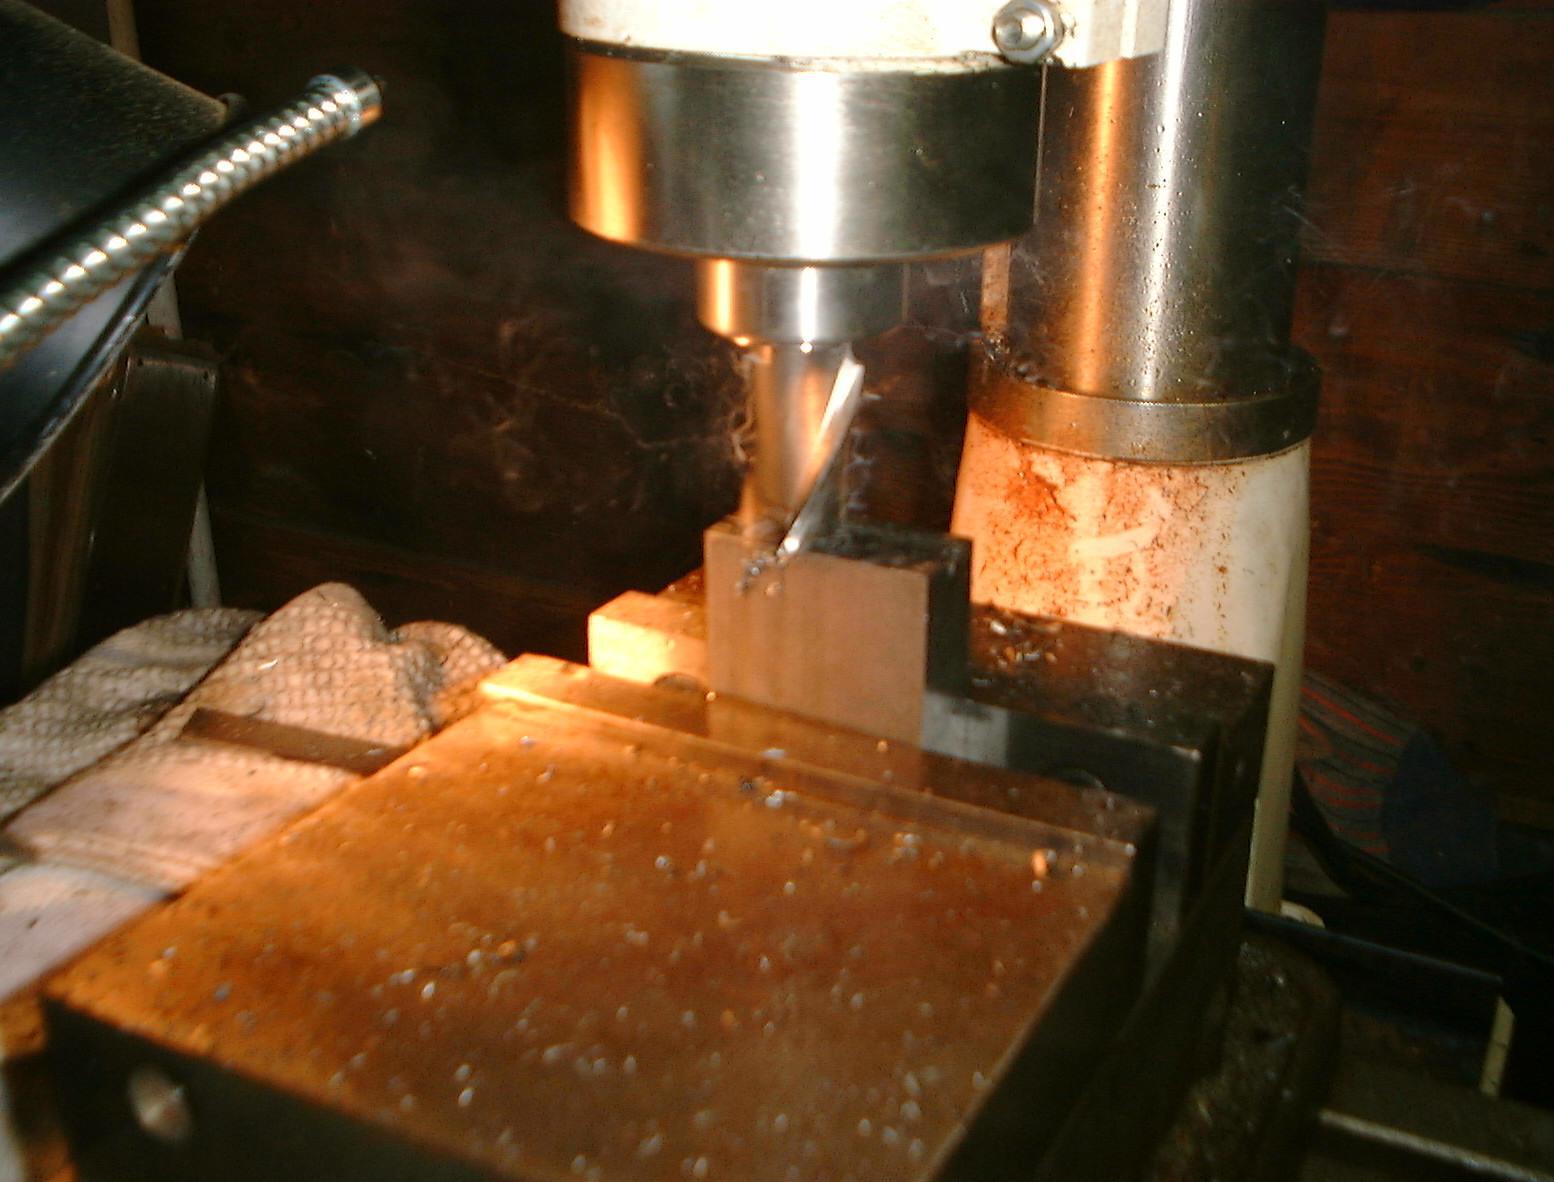
Cutting 1″ x 2″ bar stock with a hacksaw is no fun….
… but at least I don’t have to use a file!
Deprecated: File Theme without comments.php is deprecated since version 3.0.0 with no alternative available. Please include a comments.php template in your theme. in /home3/amcmagc1/public_html/wp-includes/functions.php on line 6170
Leave a Reply